Configuration
Overview
Use the Configuration screen to manage IQ Panel settings, view system information, and access installation and maintenance tools.
Use this screen to:
- Configure panel behavior and system settings.
- Manage users and installer options.
- Review hardware, software, and communication information.
- Change date, time, sound, and network settings.
- Reboot the panel or update its software.
- Access installation and diagnostic tools.
Before you begin
Preconditions
- Make sure the IQ Panel is powered on and operational.
Important limitations
warning
- Rebooting or powering down the panel temporarily interrupts panel access.
- Available options may differ depending on panel model, firmware version, and installed hardware modules.
Screen layout
Configuration dashboard
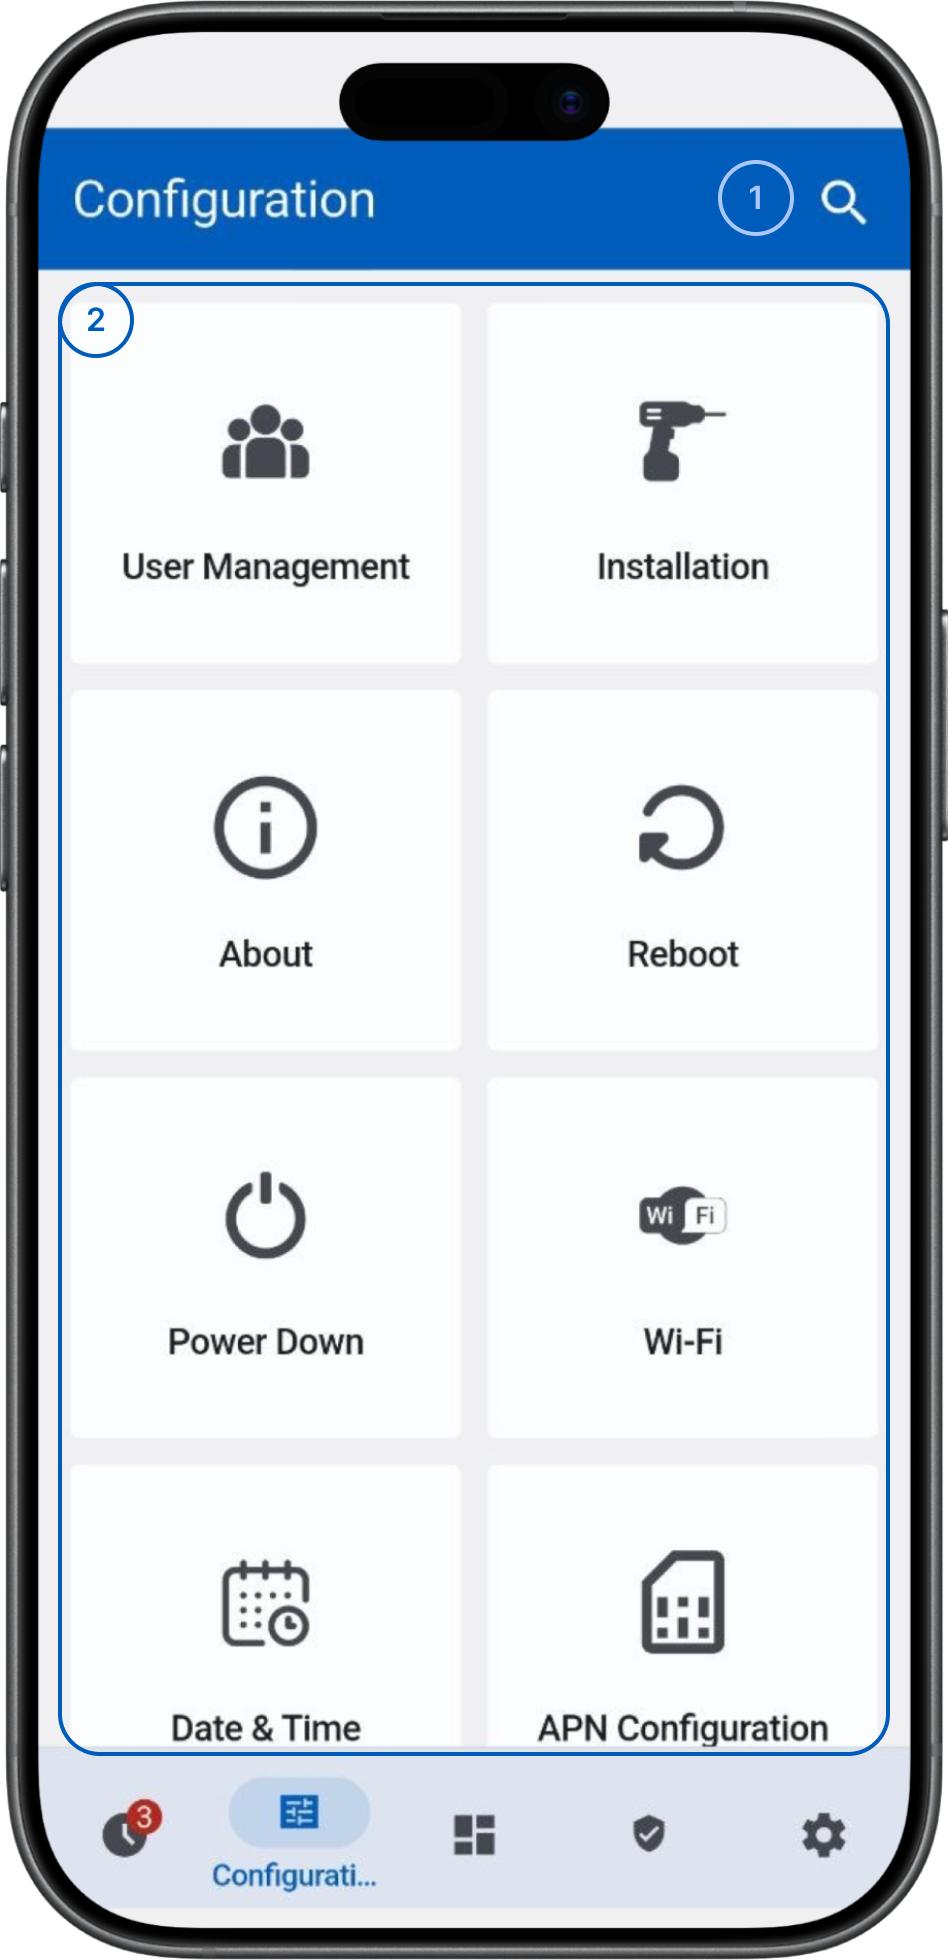
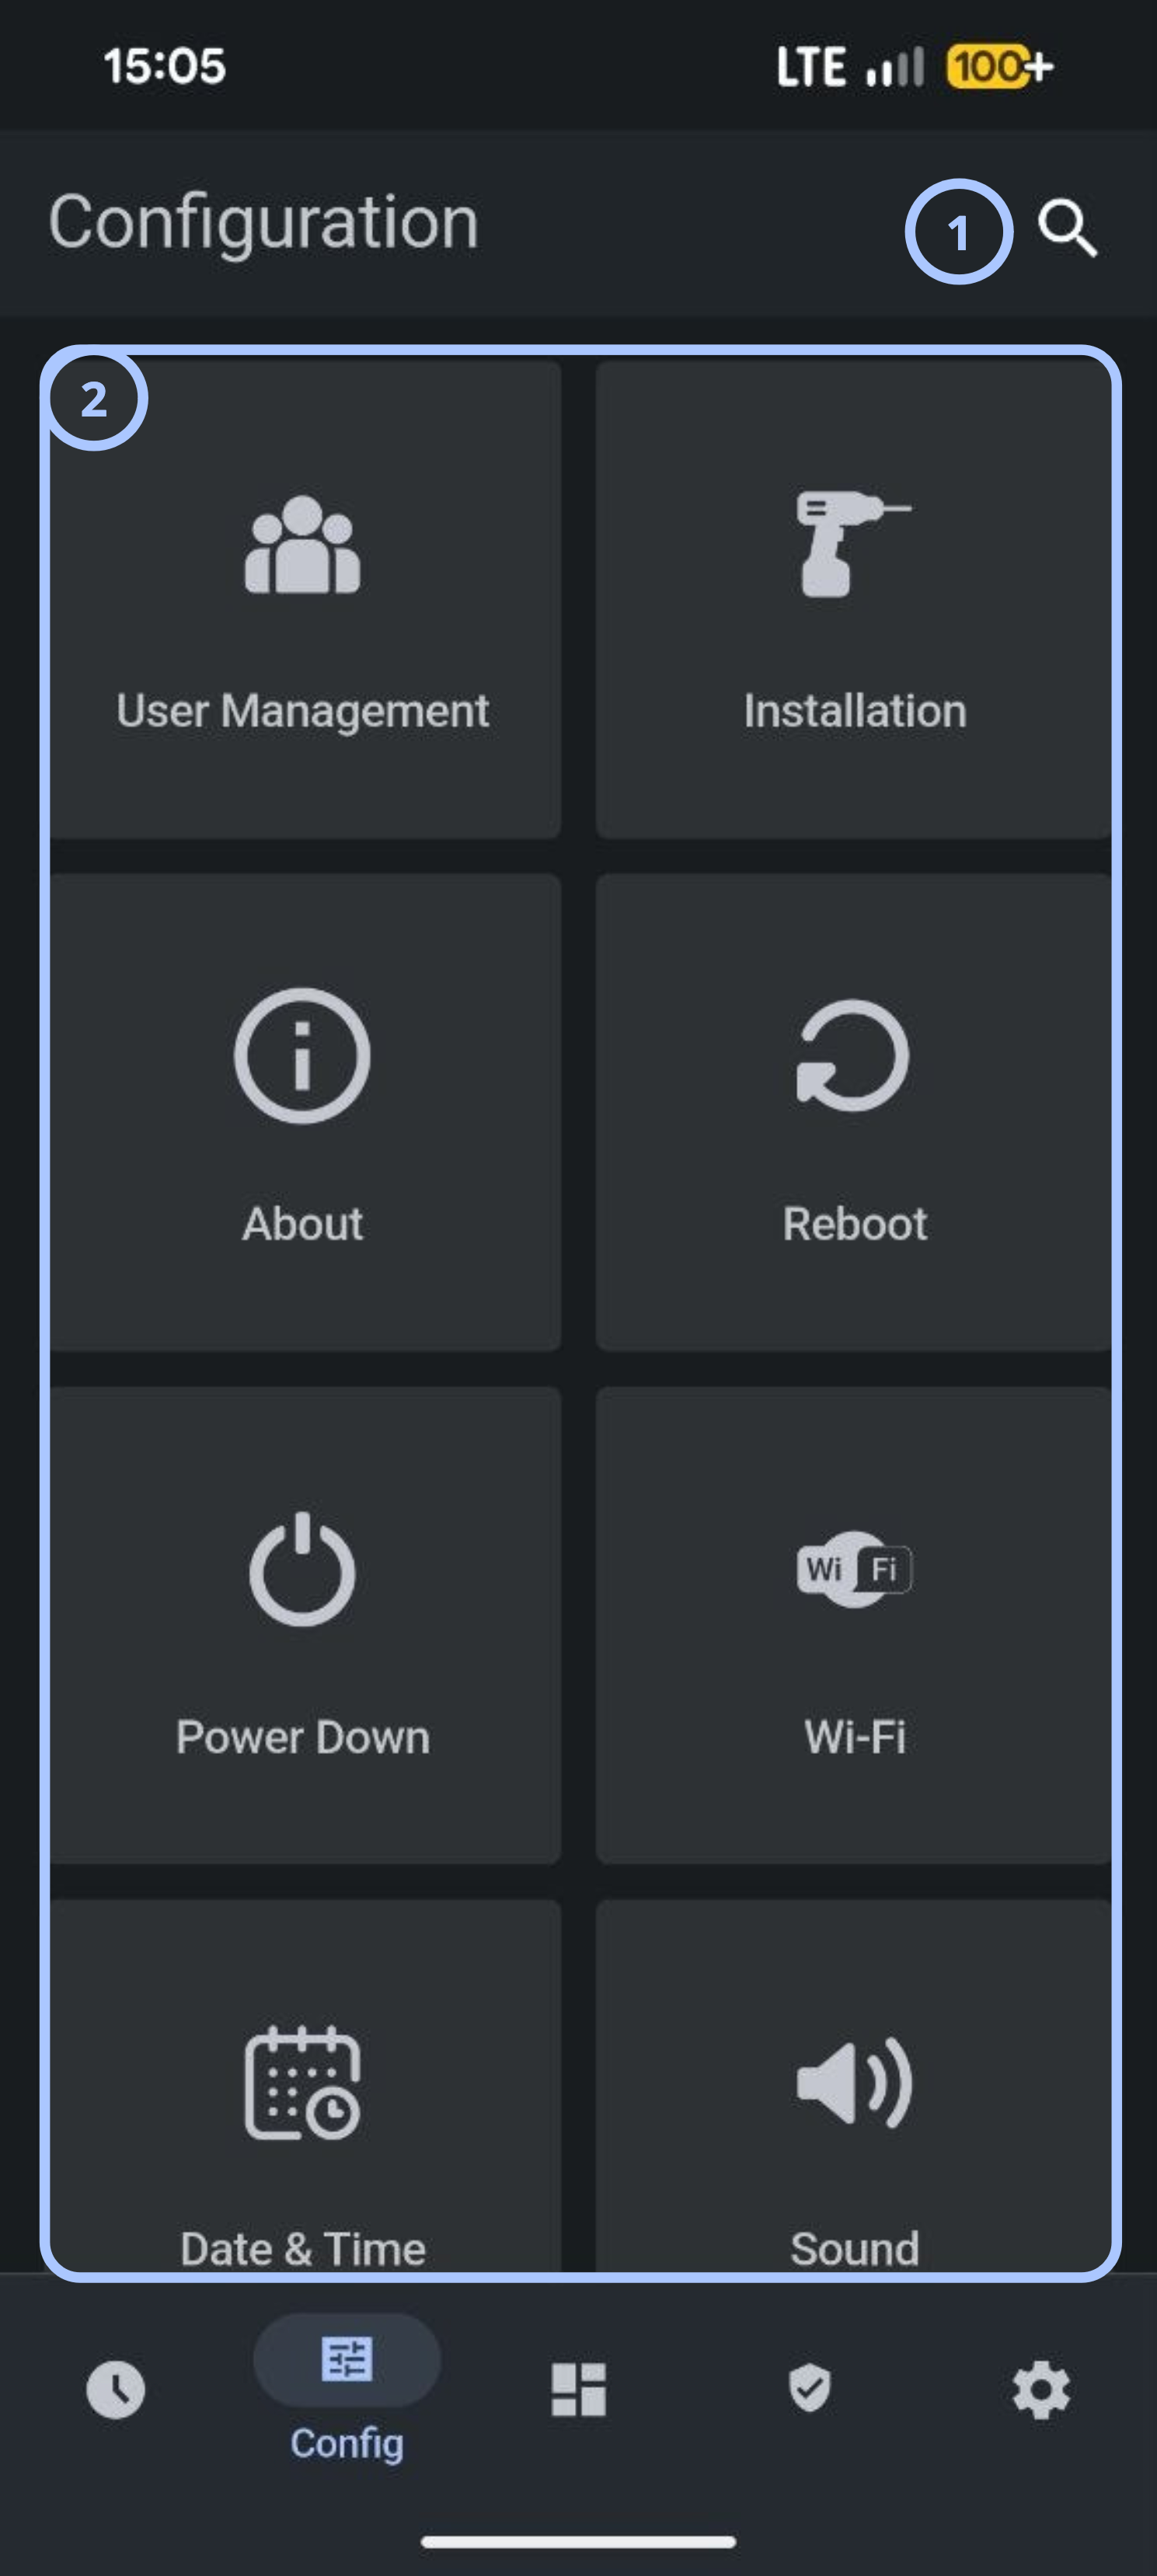
 SearchSearches available configuration screens and settings by keyword.
- Configuration tilesOpens a configuration category or maintenance function.
Configuration tiles
The Configuration screen includes these tiles:
- User ManagementManage panel users and their access settings.
- Installation and AboutInstallation opens installer and advanced system settings. About shows panel and component information, including firmware, hardware, and communication details.
- AboutDisplays panel information and component details. Use when reviewing firmware, hardware, or communication information.
- RebootRestarts the panel. Use after maintenance or troubleshooting activities.
- Power DownSafely shuts down the panel. Use before servicing hardware or disconnecting power.
- Wi-FiConfigures wireless network connectivity. Use when connecting or troubleshooting wireless communication.
- Date & TimeSets the panel date, time, and clock format.
- Network settingsWi-Fi configures the wireless connection. APN Configuration sets the Access Point Name (APN) for cellular data.
- SoundConfigures panel audio settings. Use to adjust announcements, beeps, chimes, and volume.
- Upgrade SoftwareStarts software update procedures. Use when updating panel firmware.
- PartitionsConfigures the panel's security partitions.
Installation screen
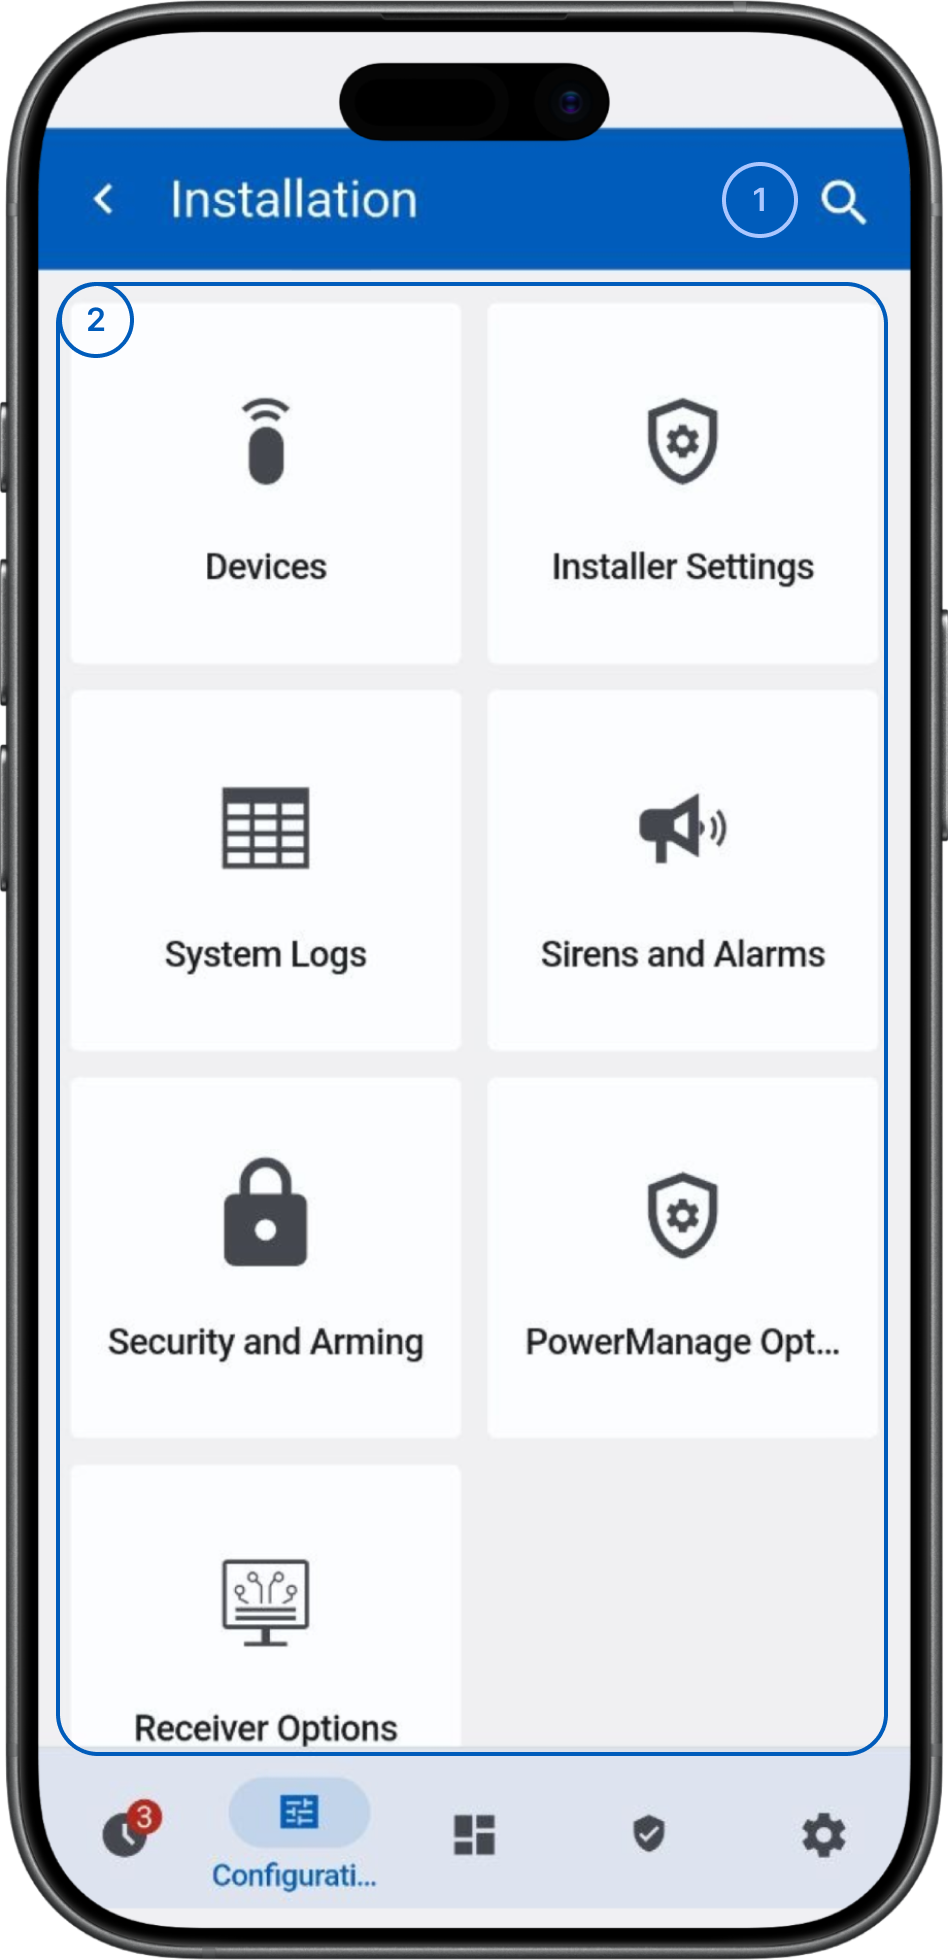
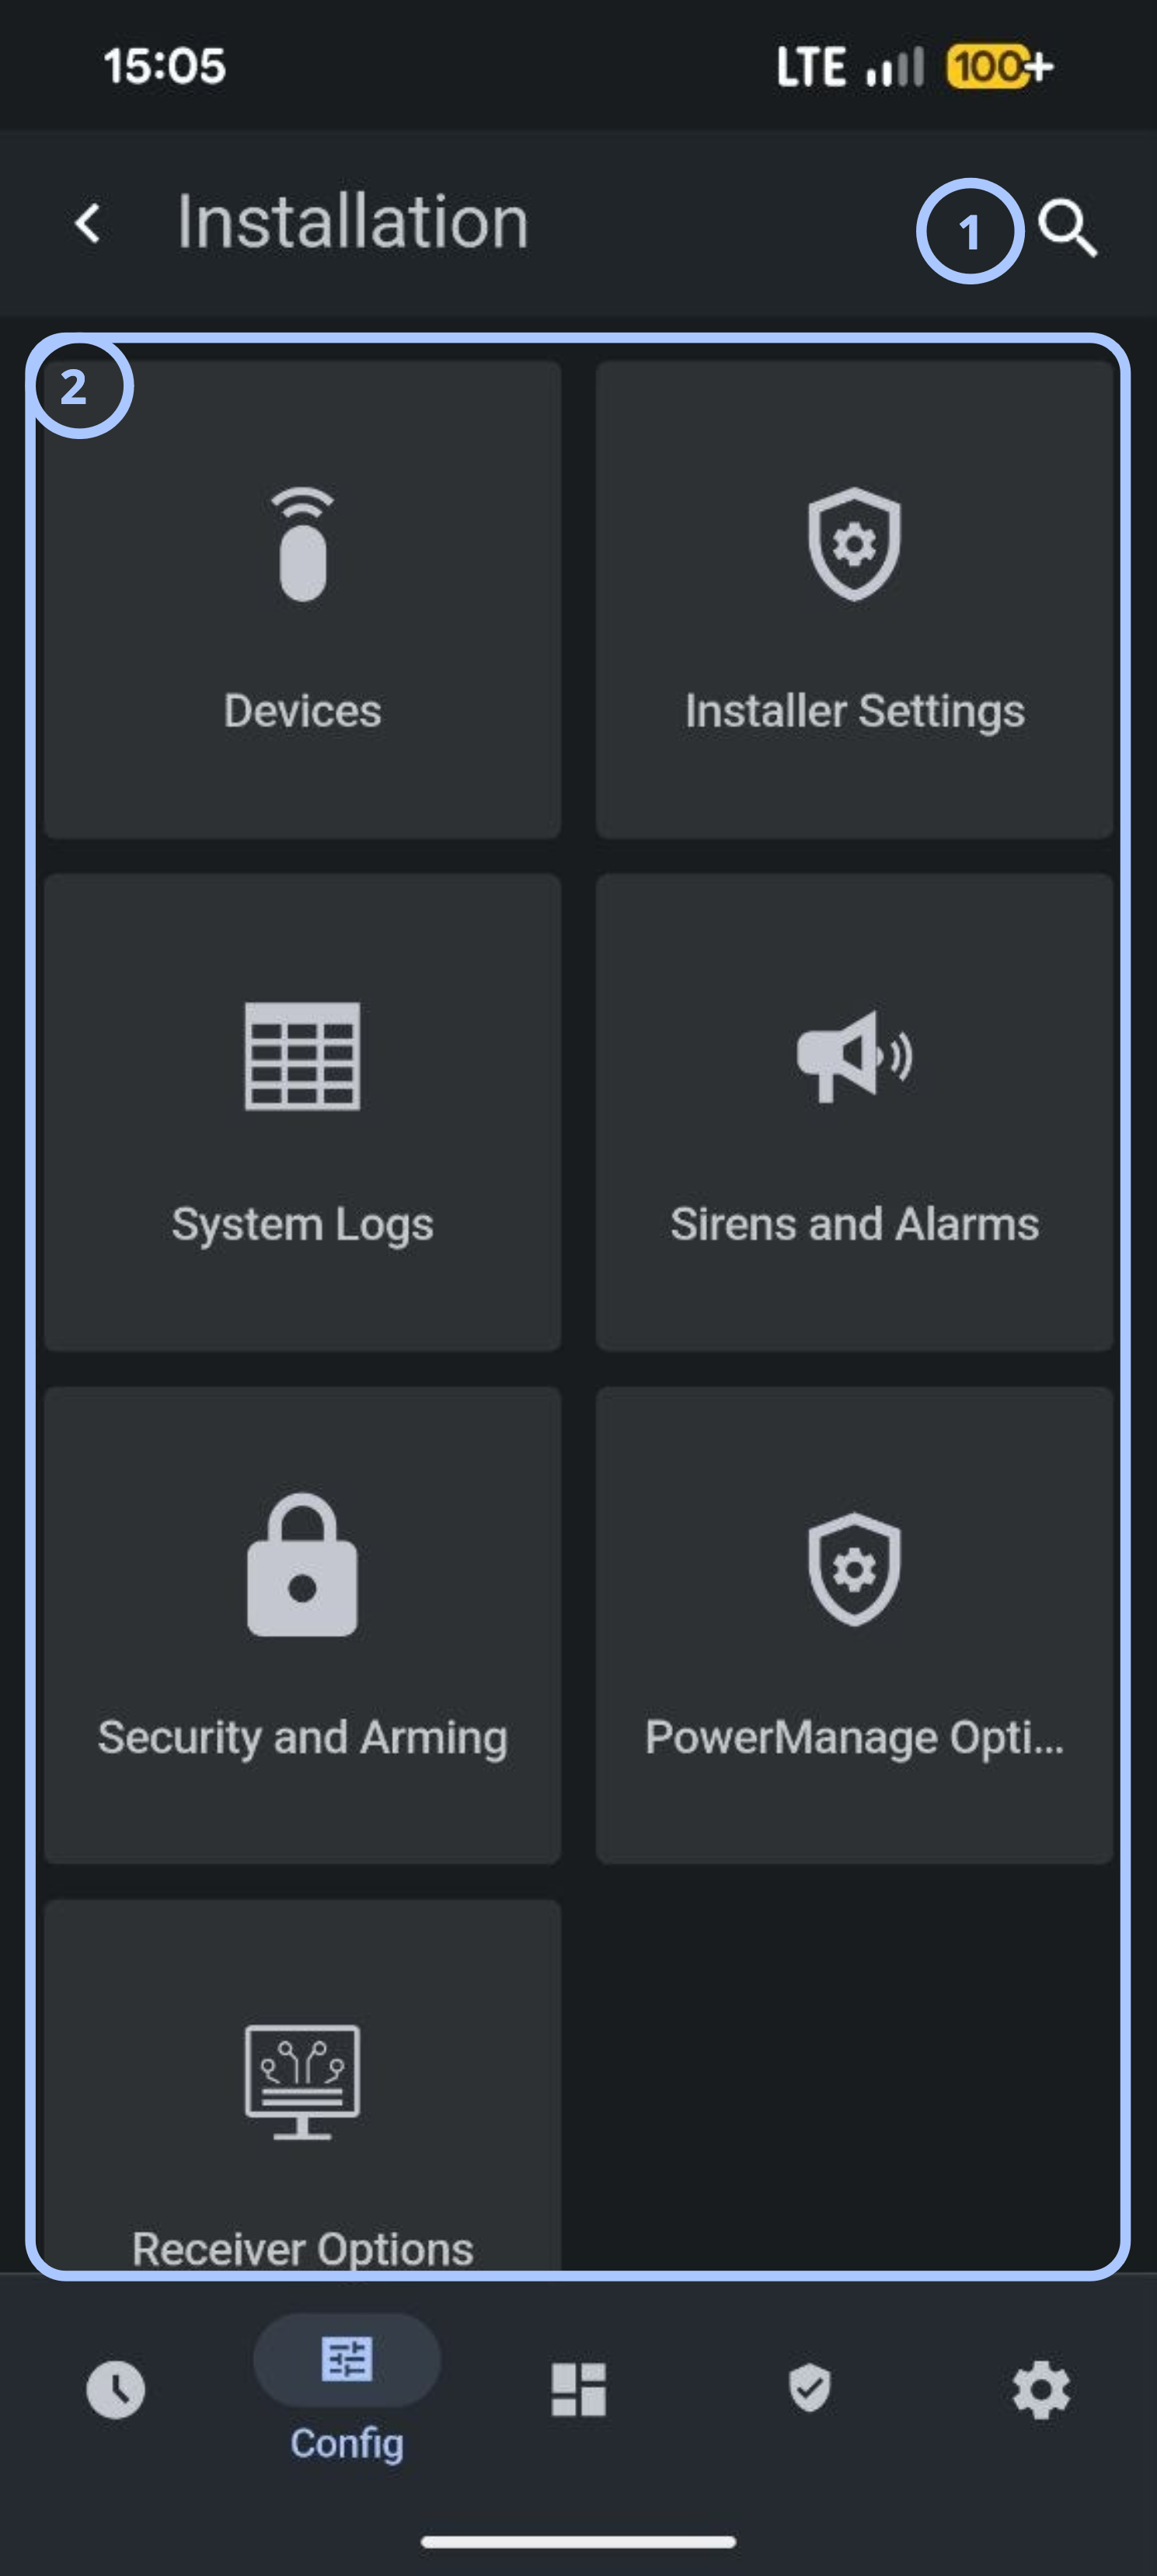
- SearchSearches available configuration screens and settings by keyword.
- Installation optionsOpens installer-level settings and diagnostic tools.
Installation tiles
The Installation screen contains the following primary tiles.
- DevicesManages connected devices, such as sensors and keypads.
- Installer SettingsOpens advanced settings for installation and system setup.
- System LogsShows system events and panel activity.
- Sirens and AlarmsConfigures siren and alarm output behavior.
- Security and ArmingConfigures arming behavior and security options.
- PowerManage OptionsConfigures the panel's connection to the PowerManage server.
- Receiver OptionsConfigures receiver settings for alarm reporting.
About screen
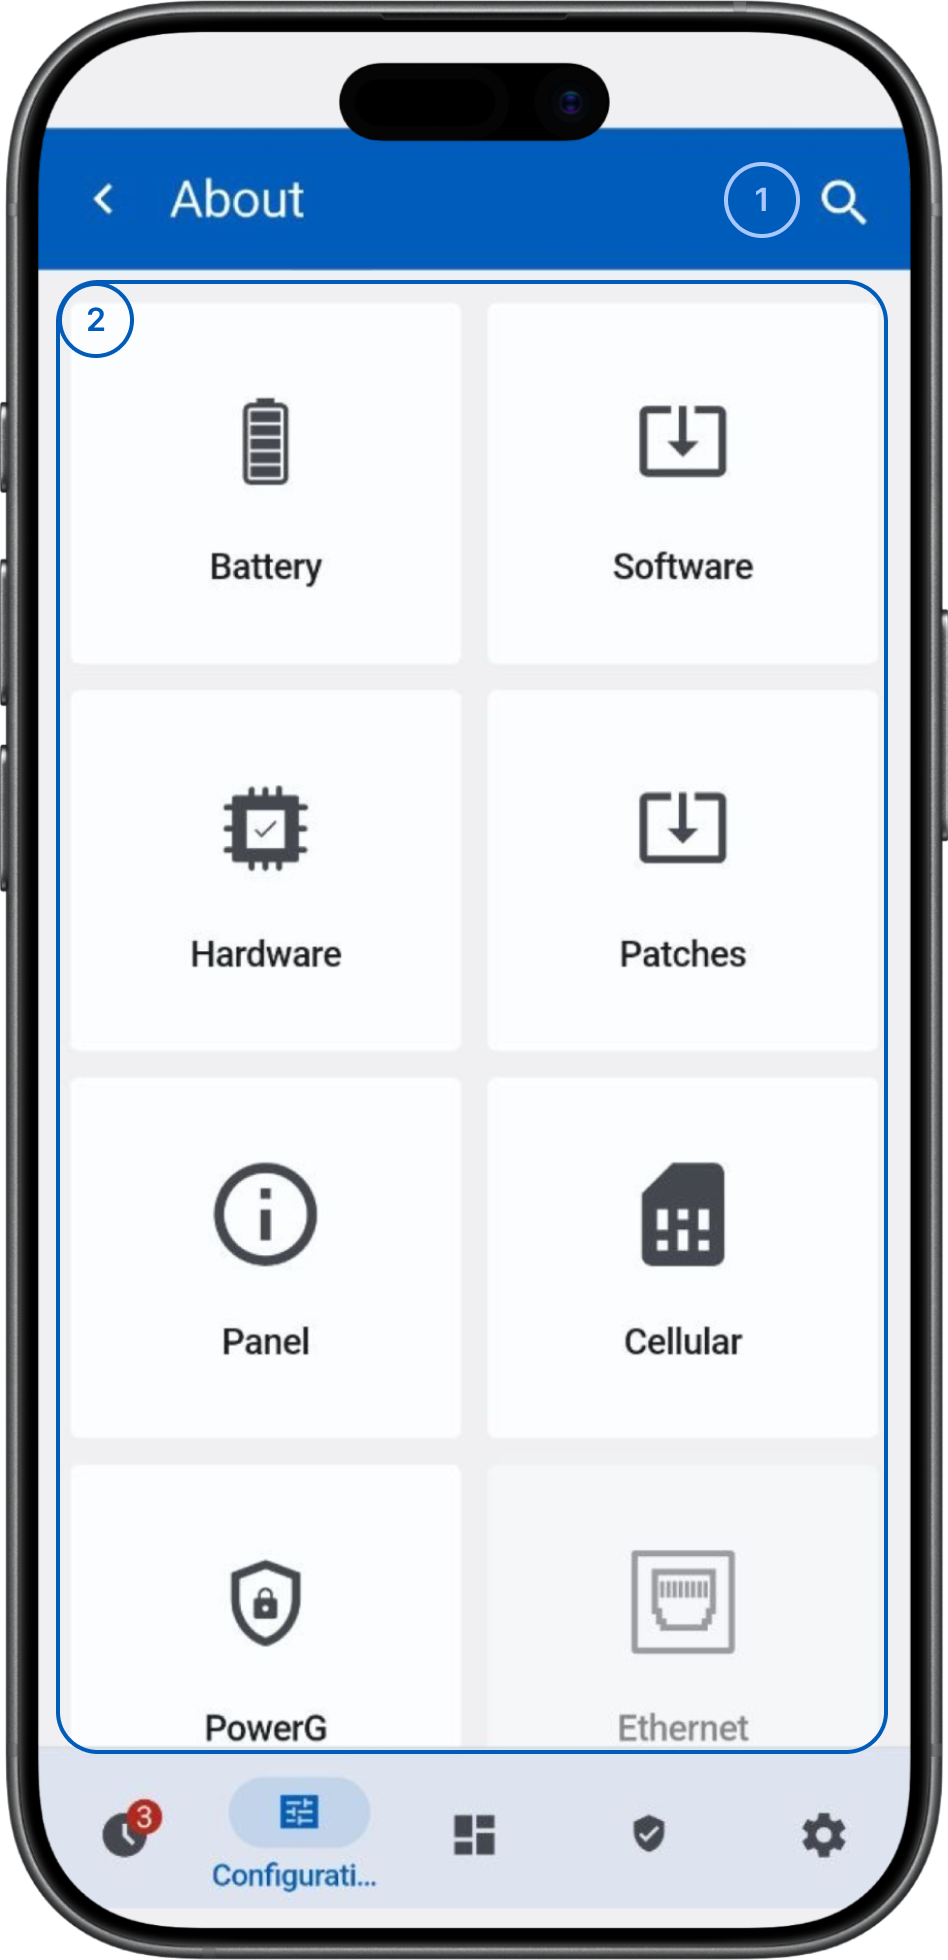
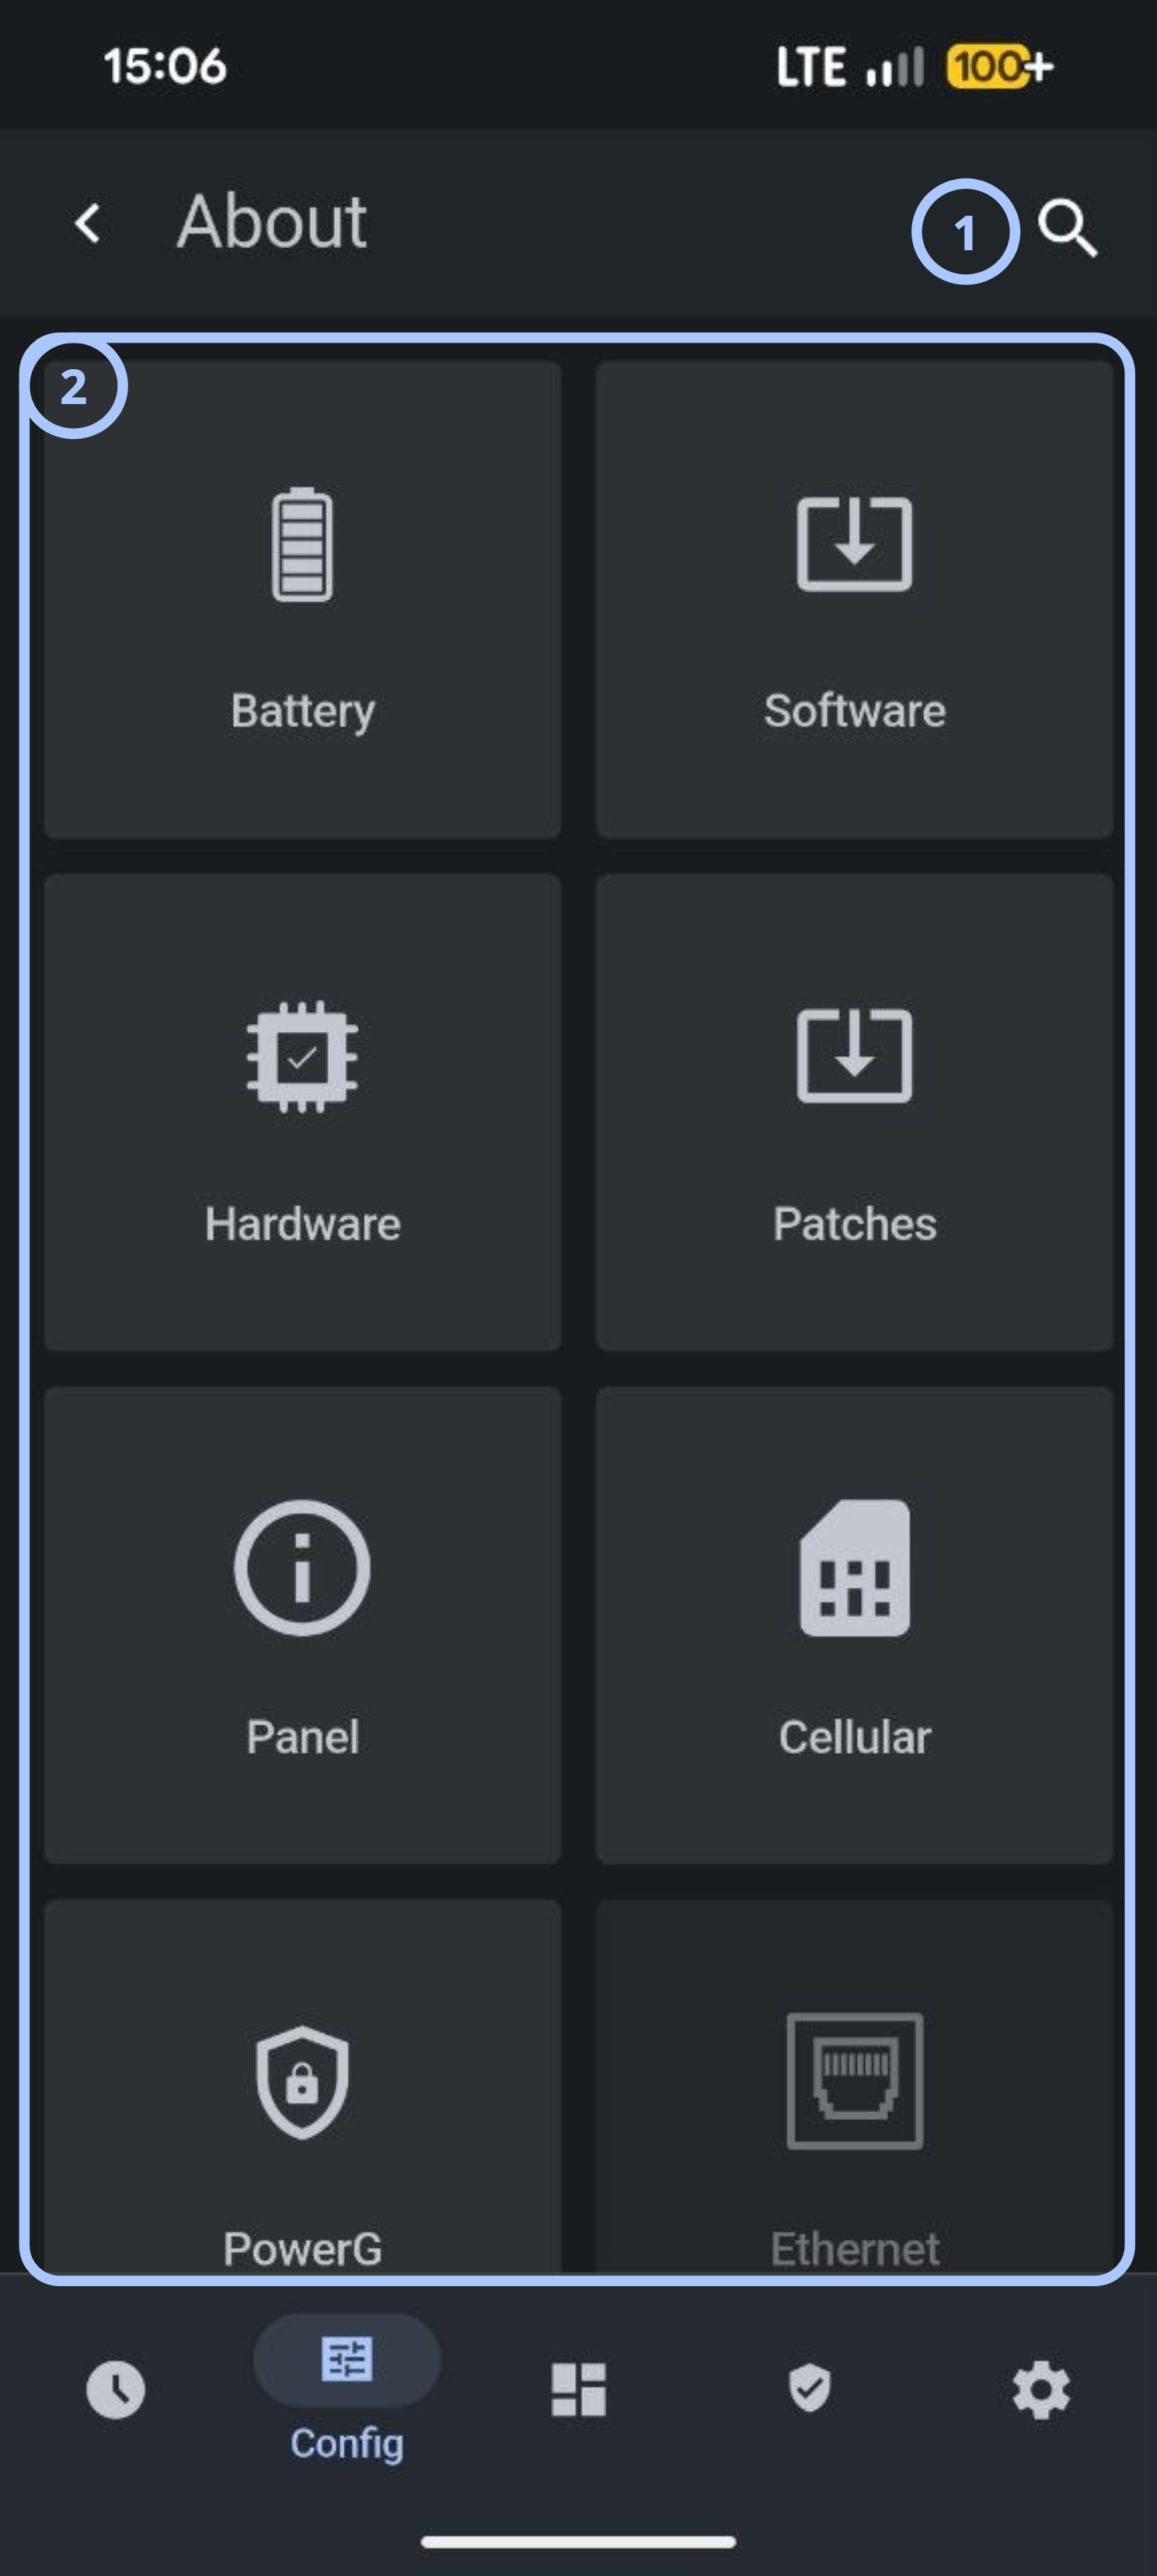
- SearchSearches available configuration screens and settings by keyword.
- About optionsOpens panel information categories, including battery, hardware, software, and connectivity details.
About tiles
The About screen contains the following primary tiles.
- BatteryShows battery status and details.
- Software and HardwareSoftware shows panel software information. Hardware shows panel hardware information.
- RebootRestarts the panel.
- PatchesShows available panel patches.
- PanelShows panel identification and general details.
- Communication detailsCellular shows cellular communication details. PowerG shows PowerG communication details. Ethernet shows wired connectivity details.
Date & Time
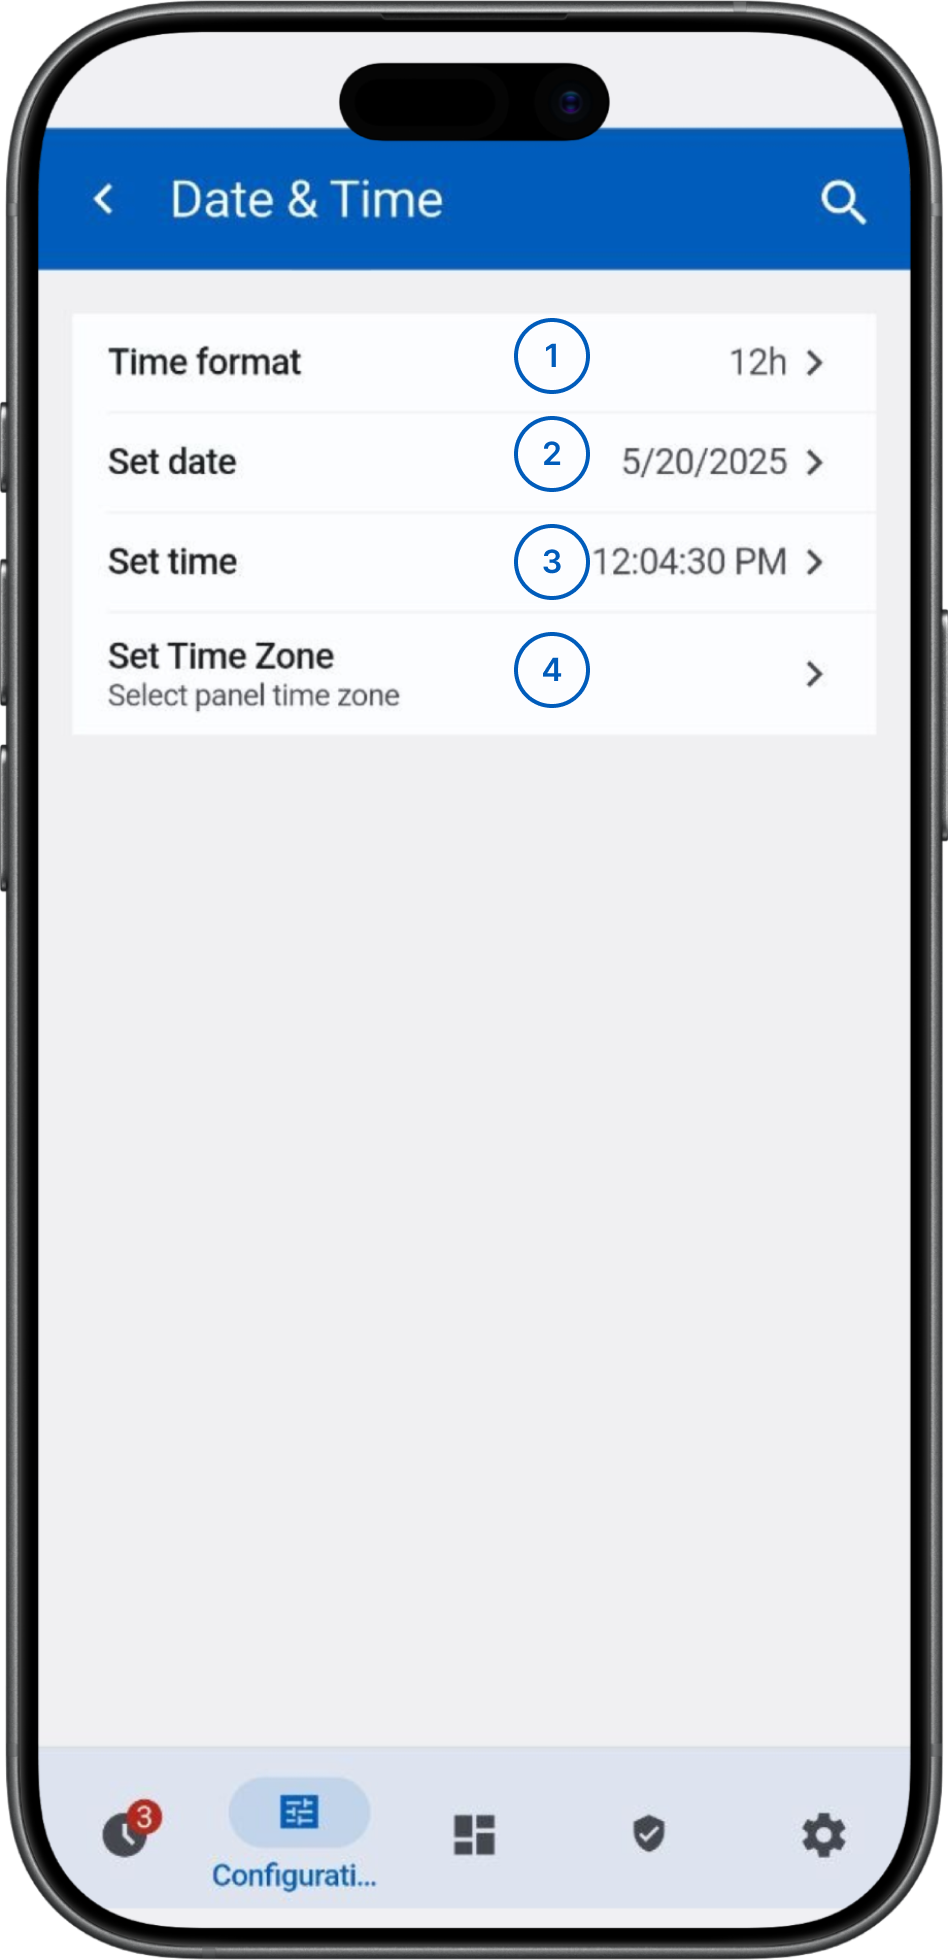
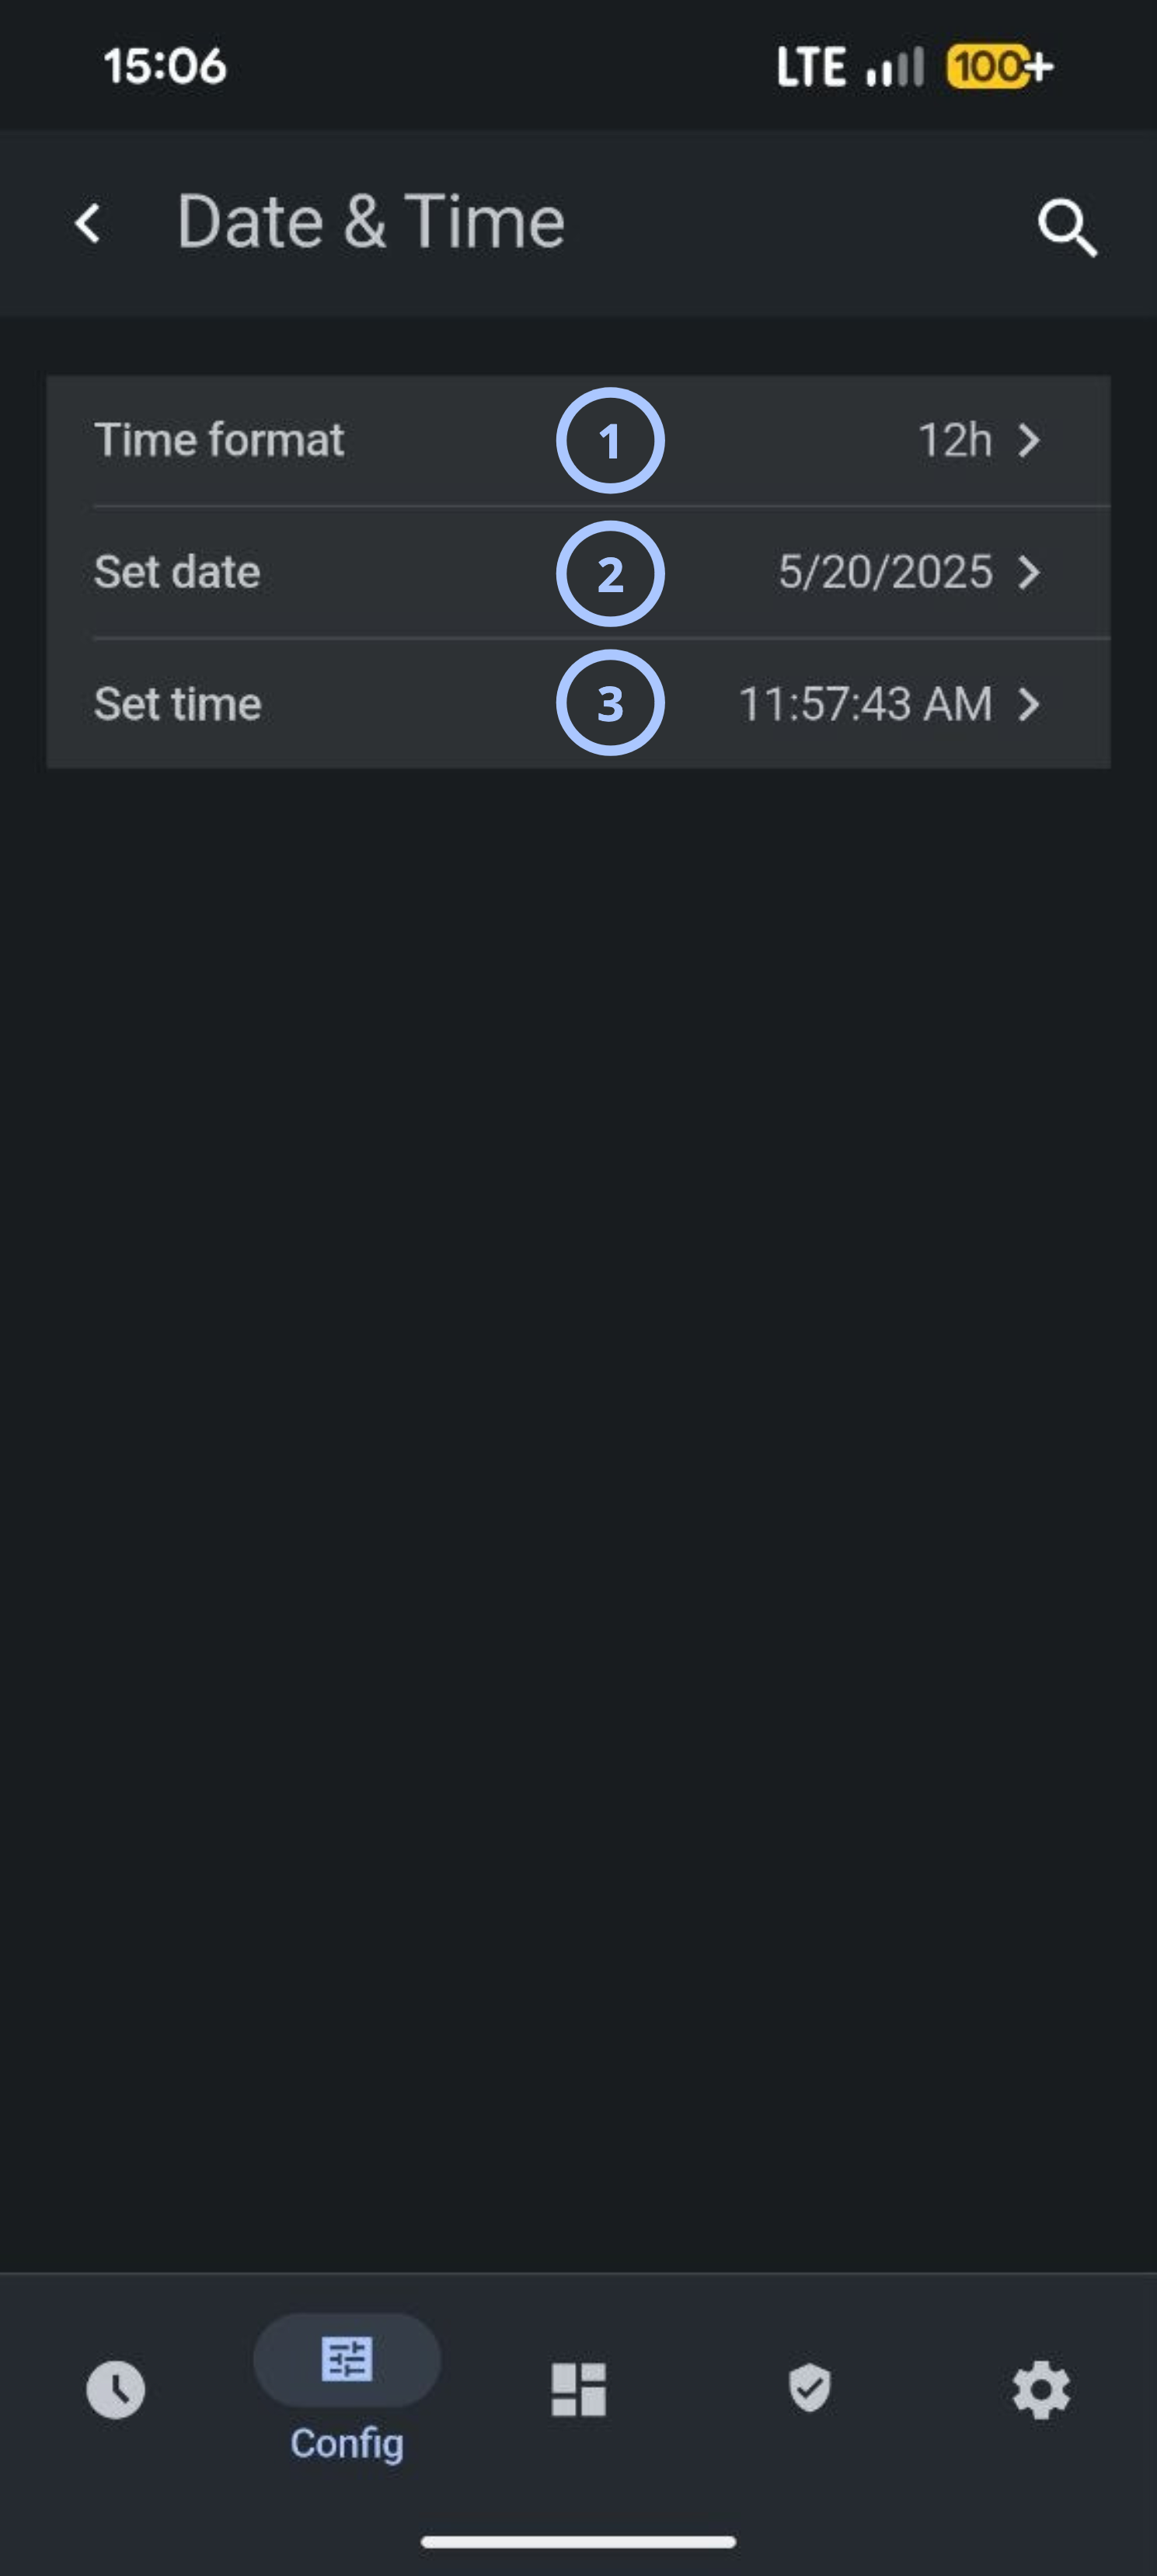
- Time formatSets the panel's clock format to 12-hour or 24-hour.
- Set dateSets the panel date.
- Set timeSets the panel time.
- Set Time ZoneSets the panel time zone.
APN Configuration
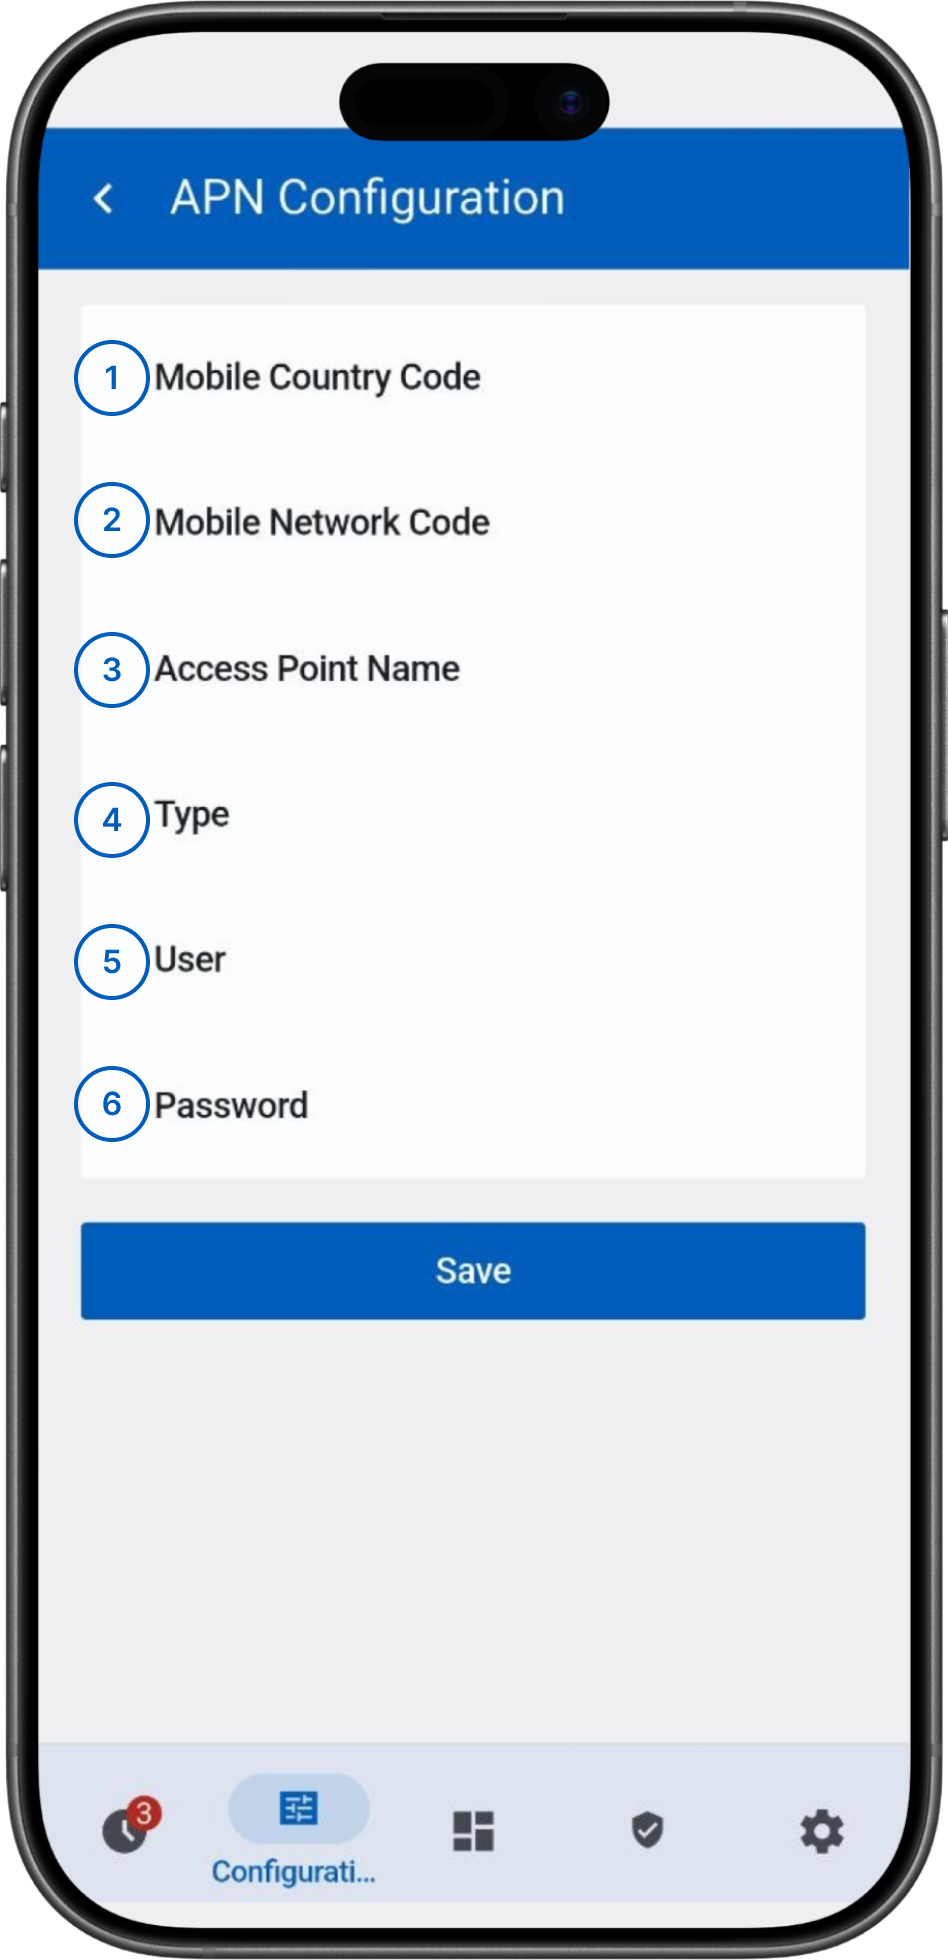
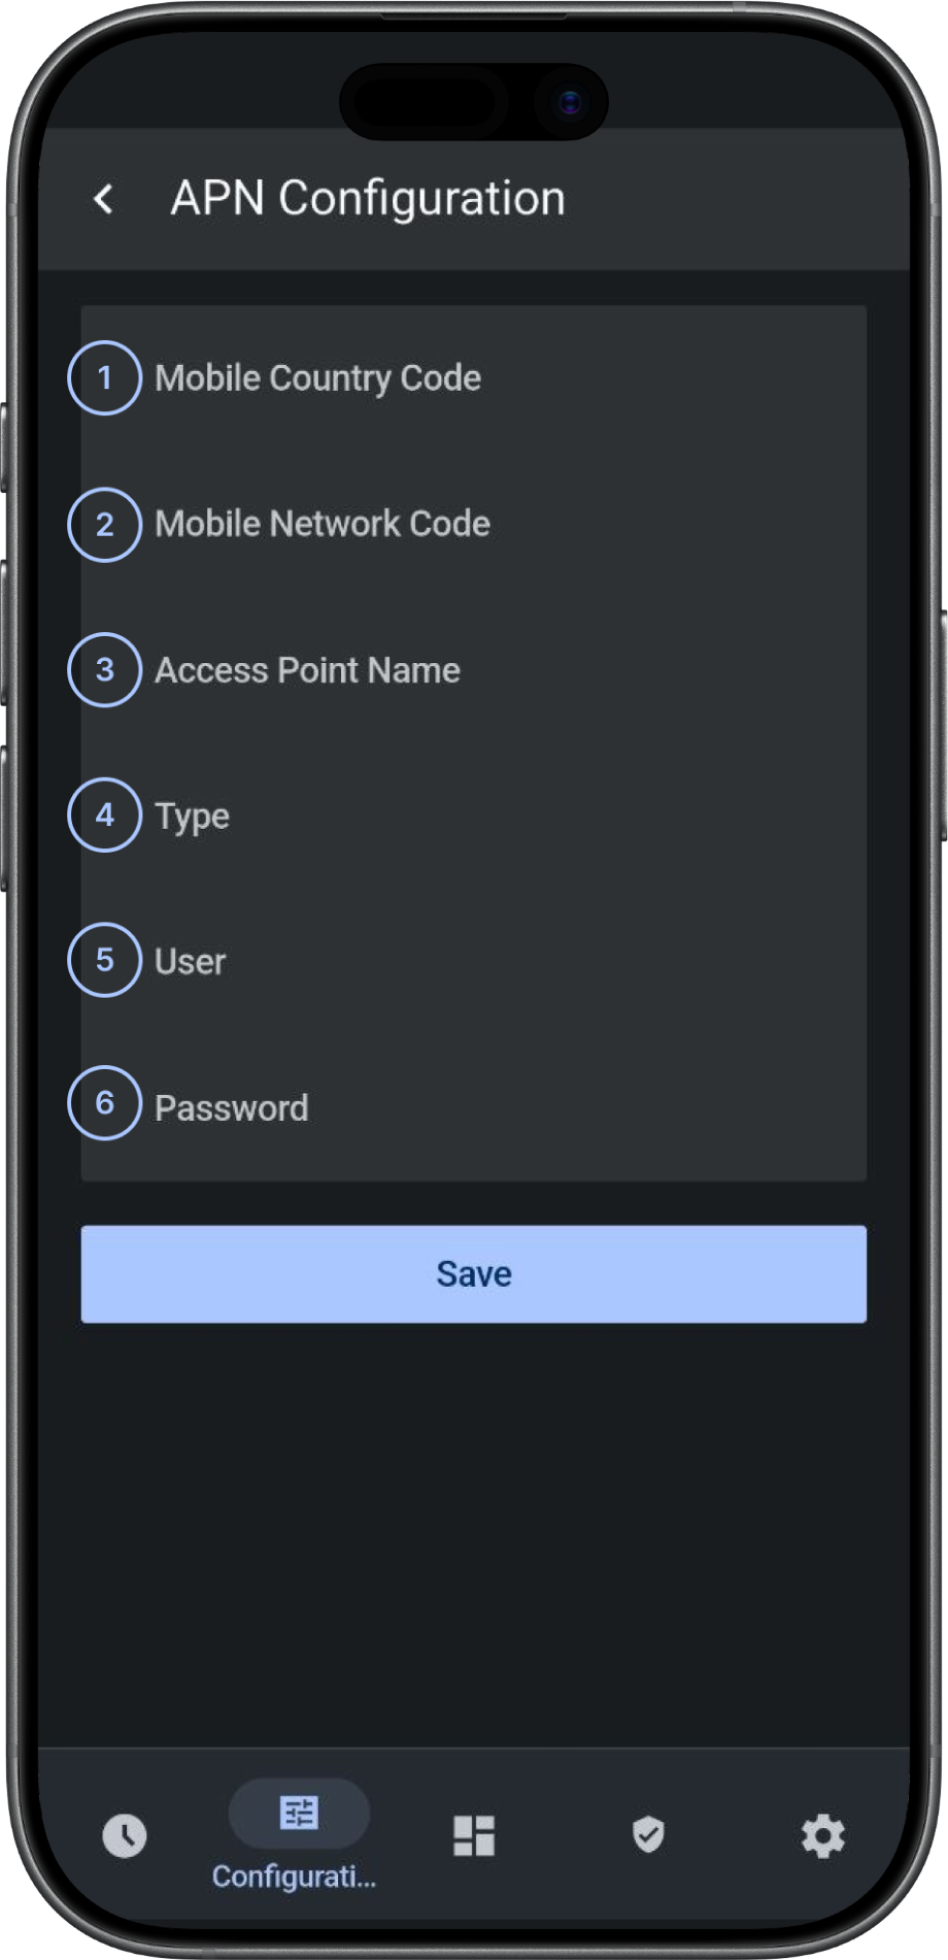
- Mobile Country CodeSets the mobile country code (MCC) used by the cellular network. Enter the value provided by your carrier when configuring a custom Access Point Name (APN).
- Mobile Network CodeSets the mobile network code (MNC) used by the cellular network. Enter the value provided by your carrier when configuring a custom APN.
- Access Point NameSets the APN value provided by your cellular carrier so the panel can connect to its data network.
- TypeSets the APN authentication or connection type required by your carrier.
- UserSets the username for APN authentication when your carrier requires credentials.
- PasswordSets the password for APN authentication when your carrier requires credentials.
Sound
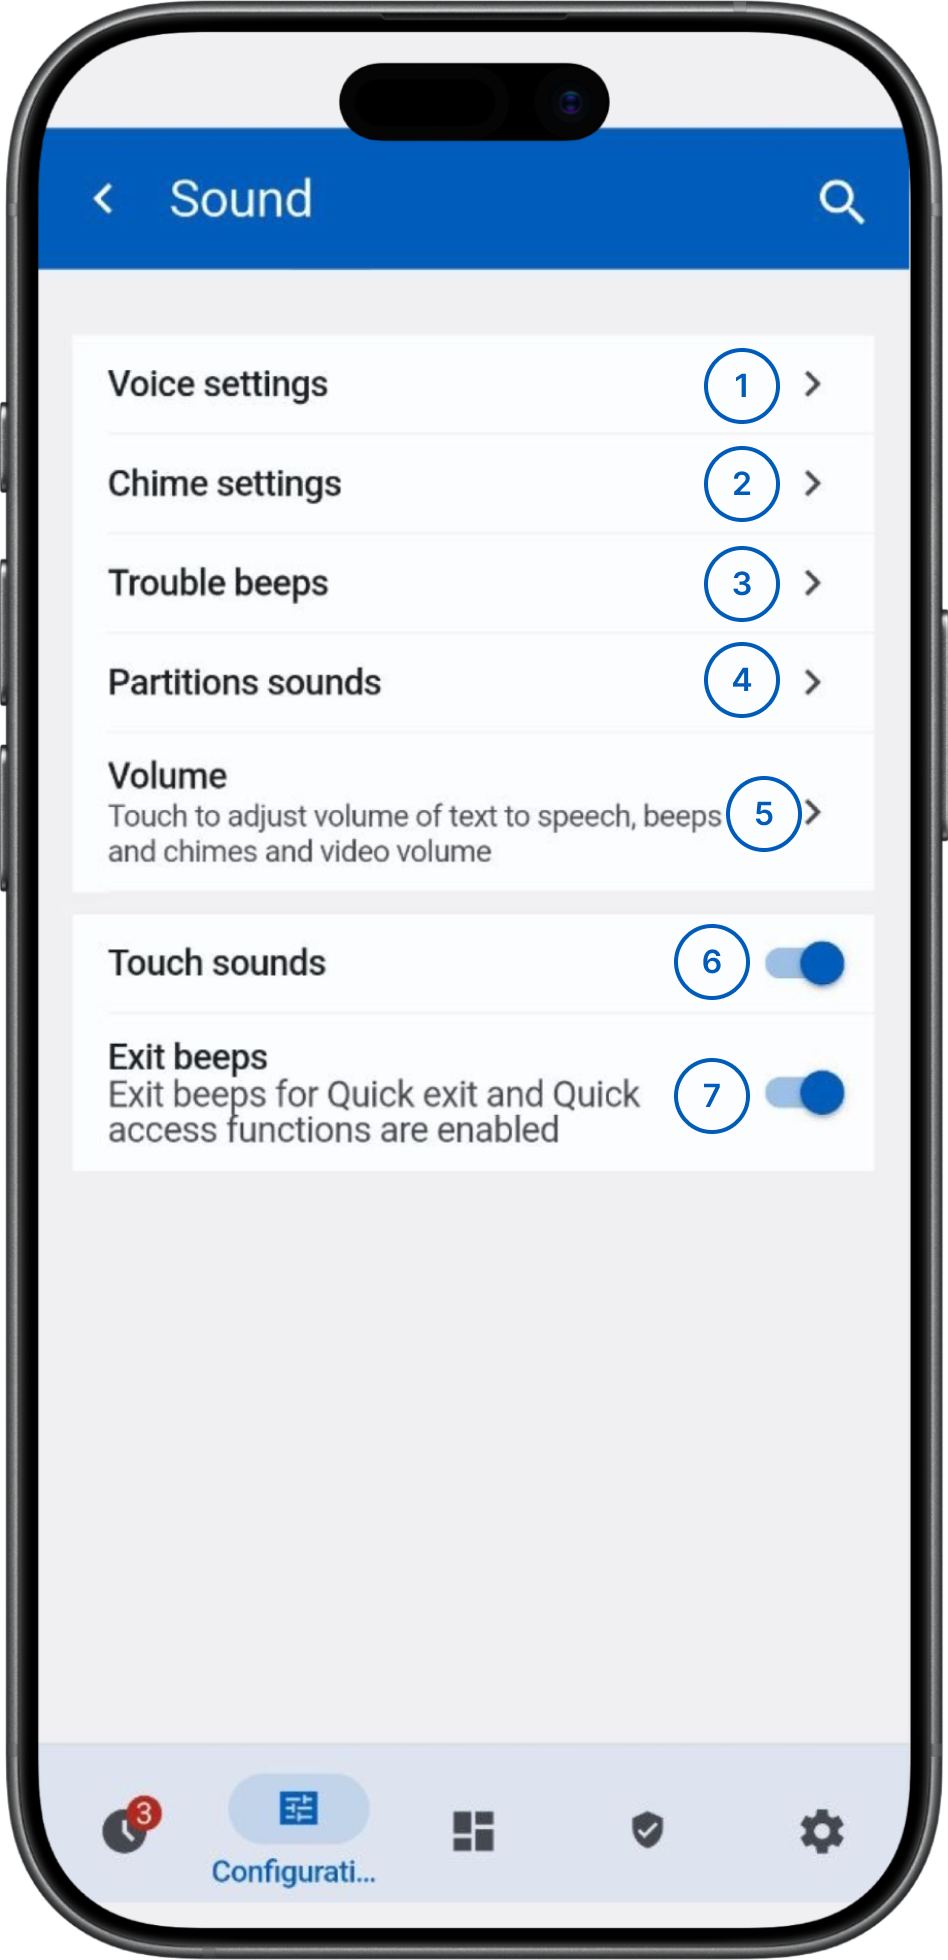
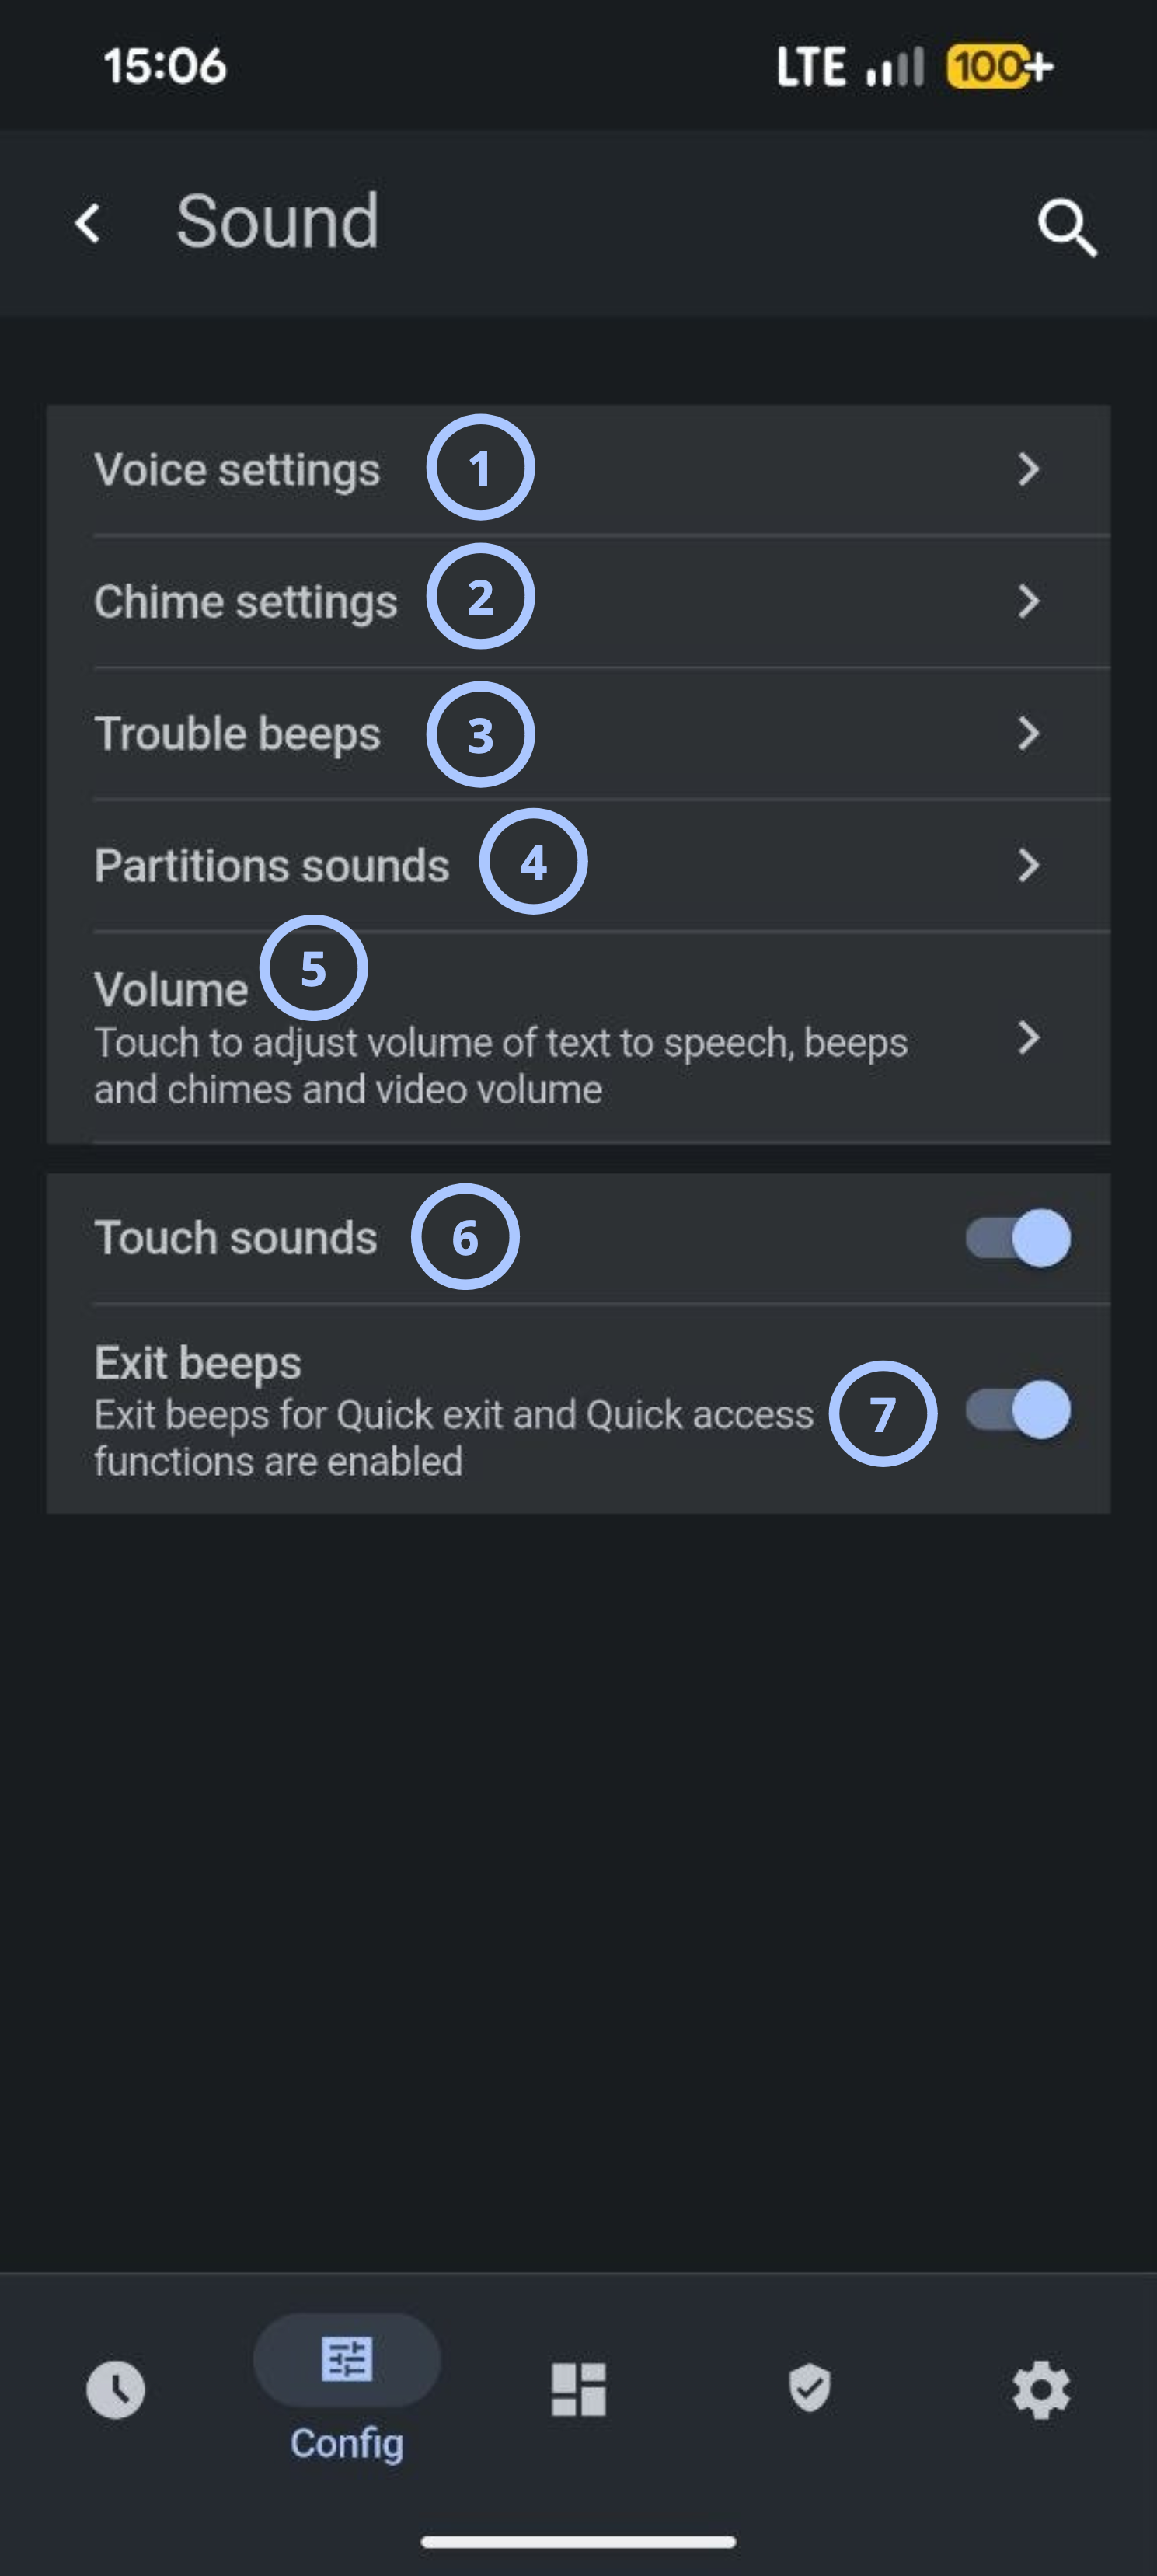
- Voice settingsOpens options for spoken panel announcements.
- Chime settingsOpens chime options for doors and zones.
- Trouble beepsOpens audio alert options for system troubles.
- Partitions soundsOpens sound settings for individual partitions.
- VolumeAdjusts the volume of text-to-speech, beeps, chimes, and video.
 Touch soundsTurns audible feedback for screen interactions on or off.
- Exit beepsTurns exit beeps for the Quick exit and Quick access functions on or off.
Common scenarios
Review panel information
- Open Configuration.
- Select About.
- Select the information category to review.
- Review the displayed details.
Configure date and time
- Open Configuration.
- Select Date & Time.
- Select Time format and choose the required format.
- Select Set date and enter the correct date.
- Select Set time and enter the correct time.
- Select Set Time Zone and choose the required Time Zone.
- If prompted, save the changes.
note
Incorrect date and time settings can affect event logs and troubleshooting activities.
Configure APN settings
- Open Configuration.
- Select APN Configuration.
- Enter the Mobile Country Code.
- Enter the Mobile Network Code.
- Enter the Access Point Name.
- Enter the Type, if required by the carrier.
- Enter the User and Password, if required by the carrier.
- Select Save.
note
APN settings are typically provided by the cellular carrier. Incorrect values can prevent the panel from establishing a cellular data connection.
Configure sound settings
- Open Configuration.
- Select Sound.
- Select the setting that you want to modify.
- Adjust the required option.
- If prompted, save the changes.
Reboot the panel
- Open Configuration.
- Select Reboot.
- Confirm the action if prompted.
- Wait for the panel to restart.
Panel access is interrupted during restart
Panel services may be temporarily unavailable during the restart process.
Power down the panel
- Open Configuration.
- Select Power Down.
- Confirm the shutdown request.
- Wait until the panel fully powers down.
Configure PowerManage connection (LwM2M only)
- Log in to Direct mode.
- Select Config.
- Select Installation.
- Select PowerManage Options.
- Set Host Name to
powermanage.com. - Set Port Number to
5685. - If prompted, save the changes.
Tips
tip
- Verify the date and time after firmware upgrades or prolonged power interruptions.
- Use system logs during troubleshooting to identify recent panel events.
- Confirm network configuration after changing Wi-Fi settings.
Troubleshooting
Date or time is incorrect
Possible causes:
- The date or time was entered incorrectly.
- The selected time format is incorrect.
- The system clock was not updated.
What to try:
- Open Date & Time settings.
- Confirm the selected time format.
- Enter the correct date and time.
- If prompted, save the changes.
Software update cannot start
Possible causes:
- Network connectivity is unavailable.
What to try:
- Check network connectivity.
- Start the software update again.
- If the update still cannot start, contact your administrator or service provider.
Related pages
See also
Was this page helpful?