Billing
Overview
The Billing page is used to review and manage billing plans for supported IQ and Neo 5 panels.
Use this page to:
- Review the active service plan, billing recurrence, and billing country.
- Choose a new billing plan.
- Deactivate or reactivate a billing plan.
- Transfer the service plan from one dealer to another.
Billing helps administrators manage panel service plans and understand which billing plan is active, available, or eligible for reactivation.
Before you begin
Preconditions
- The panel must exist in PowerManage.
- The panel must be visible on the Equipment page.
- Billing must be enabled in the license.
Dependencies
- Billing functionality depends on Billing Enabled in license.
Important limitations
- If the selected country is incorrect, the billing plan request can be rejected.
- If there is no active billing plan, users may not be able to access the mobile app for the IQ and Neo 5 panels.
Page layout
Billing plan dialog
The Billing plan dialog opens from the billing action on the equipment row.
PowerManage includes the billing plan button on the Equipment page and in Equipment hub:




| Callout | Description |
|---|---|
| 1 | Equipment hub |
| 2 | Billing plan button |
| 3 | Equipment page |
The billing plan button displays the billing plan set for the panel:
| Billing plan button | Description |
|---|---|
| Red | No active billing plan |
| Rotating star | The billing plan request is in progress |
| Gray | Mobile App Plan |
| Blue | One-year billing plan |
| Green | One-month billing plan |
| Yellow | Two-year billing plan |
| Light Blue | Three-year billing plan |
Select the billing plan button to open the Billing status panel and set up the panel's billing plan:
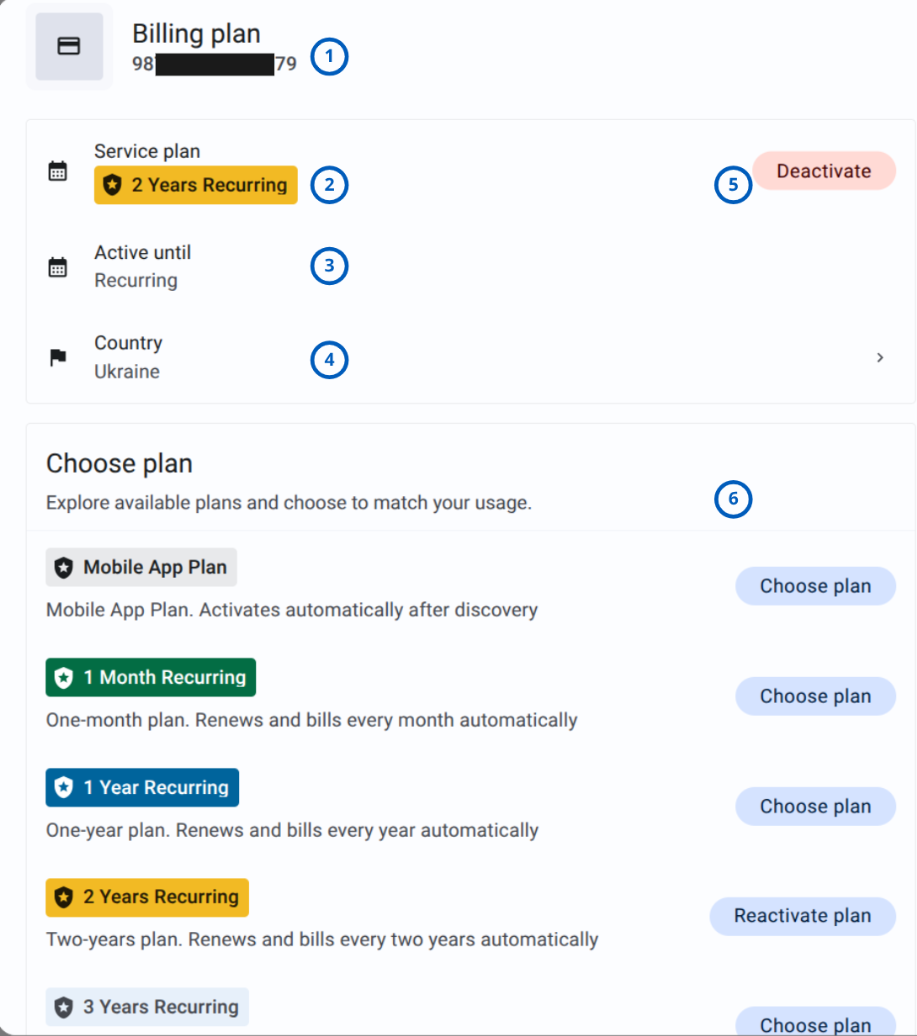
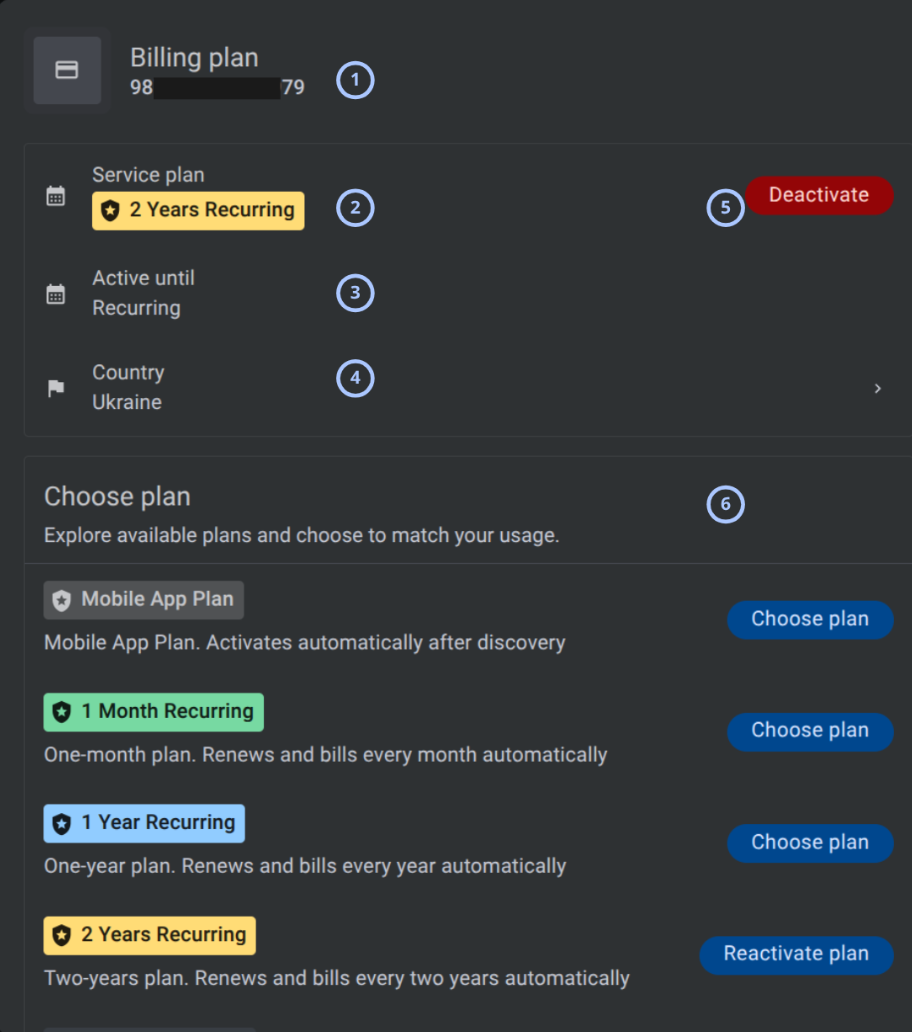
| Callout | UI element | Description | When to use |
|---|---|---|---|
| 1 | Panel identifier | Shows the selected panel identifier. | Use to confirm which panel you are managing. |
| 2 | Service plan | Shows the active service plan. | Use to confirm the current active plan. |
| 3 | Active until | Shows the active period or recurrence state. | Use to understand whether the plan renews automatically. |
| 4 | Country | Shows the billing country. | Use to confirm regional billing configuration. |
| 5 | Deactivate button | Red button labeled Deactivate. | Use to deactivate the current billing plan. |
| 6 | Choose plan menu | Use to review all available plans and actions. |
How to use this page
Choose a billing plan
Goal:
- Select a new billing plan for a panel.
Steps:
- Open the panel Billing plan dialog.
- Scroll to Choose plan.
- Review the plan descriptions.
- Select Choose plan next to the required plan.
- Complete the confirmation workflow when prompted.
Expected result:
- The selected billing plan is requested according to billing rules.
Confirm the billing country before choosing a plan. An incorrect country can cause the billing request to be rejected.
Deactivate a billing plan
Goal:
- Deactivate the current billing plan for a panel.
Steps:
- Open the panel Billing plan dialog.
- Review the active Service plan.
- Select Deactivate.
- Confirm the action when prompted.
Expected result:
- The active billing plan is deactivated.
Reactivate a billing plan
Goal:
- Restore a billing plan when reactivation is available.
Steps:
- Open the panel Billing plan dialog.
- Scroll to Choose plan.
- Find the plan with Reactivate plan.
- Select Reactivate plan.
- Complete the confirmation workflow when prompted.
Expected result:
- The plan is reactivated when the action is allowed.
Confirm that billing is enabled
Goal:
- Verify that billing functionality is enabled in PowerManage.
Steps:
- Open Version & License.
- Select License info.
- Review the Billing section.
- Confirm that Billing Enabled shows a checkmark.
Expected result:
- Billing is enabled when the checkmark is shown.
Deactivate and Terminate billing plan
To deactivate and terminate a billing plan for an IQ or Neo 5 panel, first request plan deactivation in PowerManage.
After the deactivation request is processed, open the panel in Dealer Portal and terminate the billing plan.
- Deactivate on PowerManage
- Deactivate
- Terminate on Portal
- Terminate
- Result
- In PowerManage, open the panel and locate the Billing plan section.
- Select Deactivate.
The following section shows the active service plan and allows you to request its deactivation.
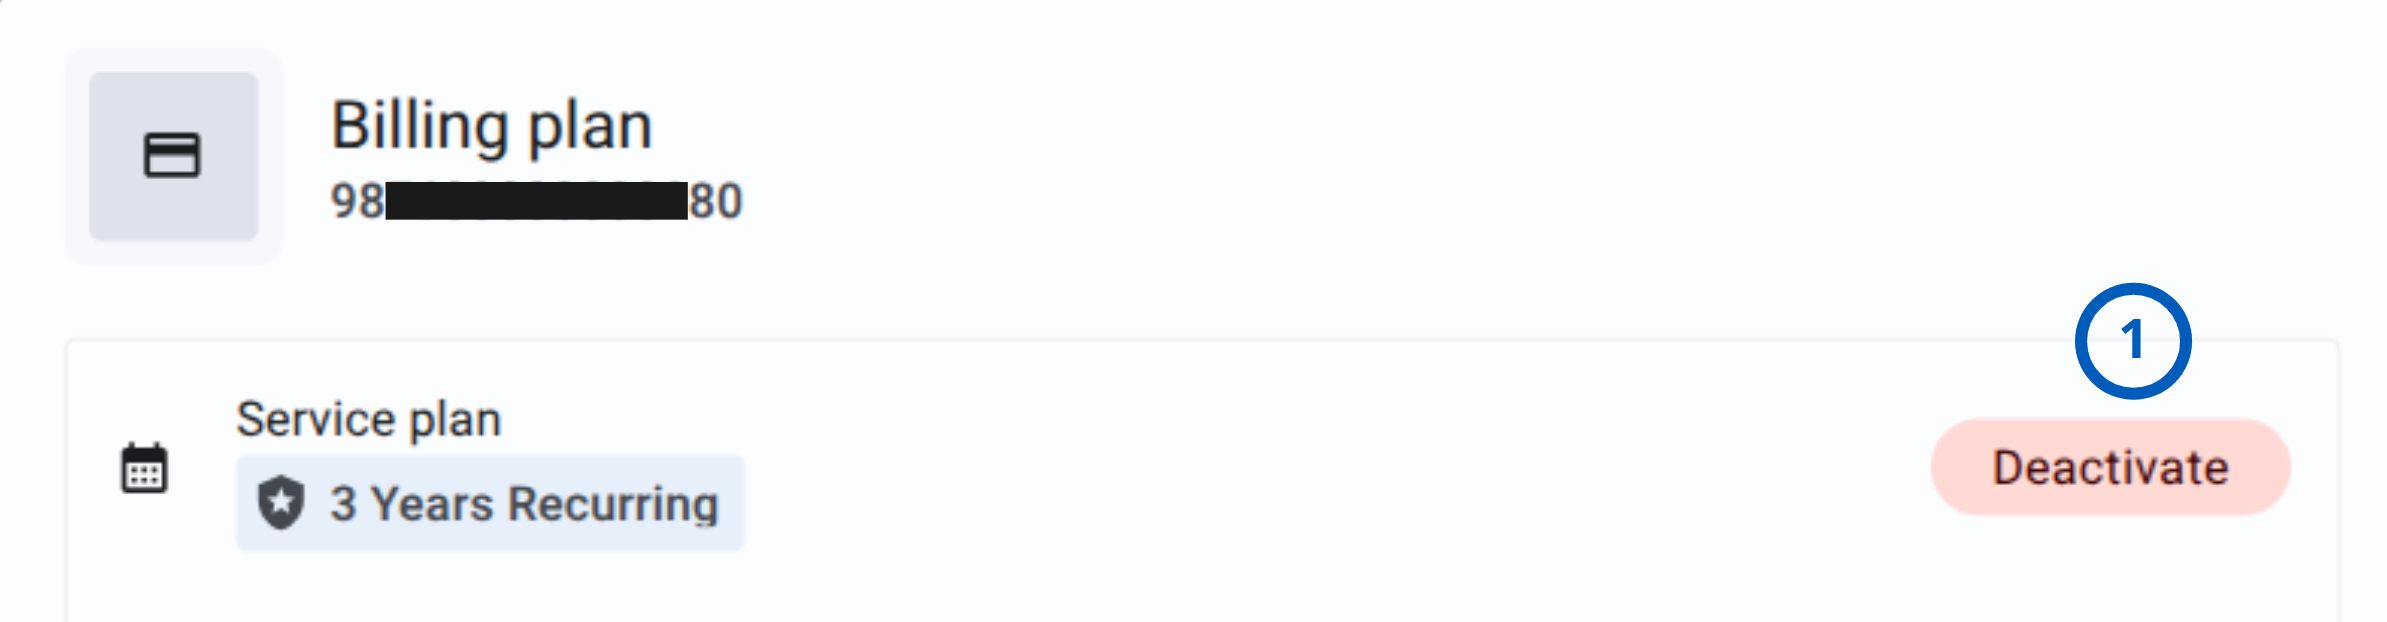
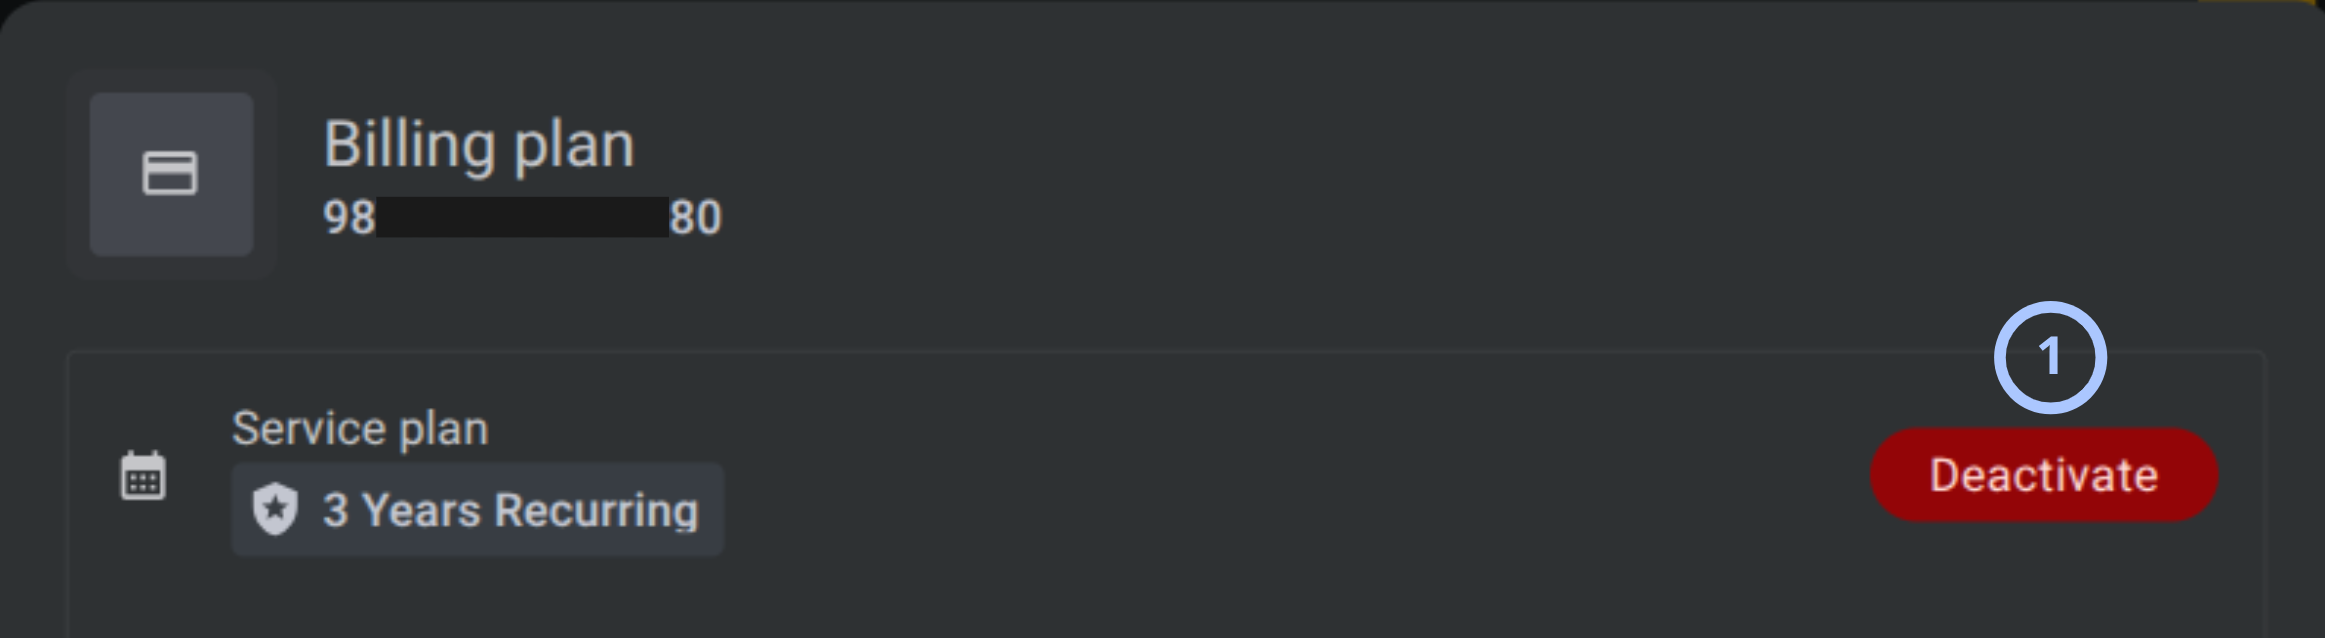
| Callout | UI element | Description | When to use |
|---|---|---|---|
| 1 | Deactivate | Requests deactivation of the panel billing plan in PowerManage. | Use before terminating the billing plan for an IQ or Neo 5 panel in Dealer Portal. |
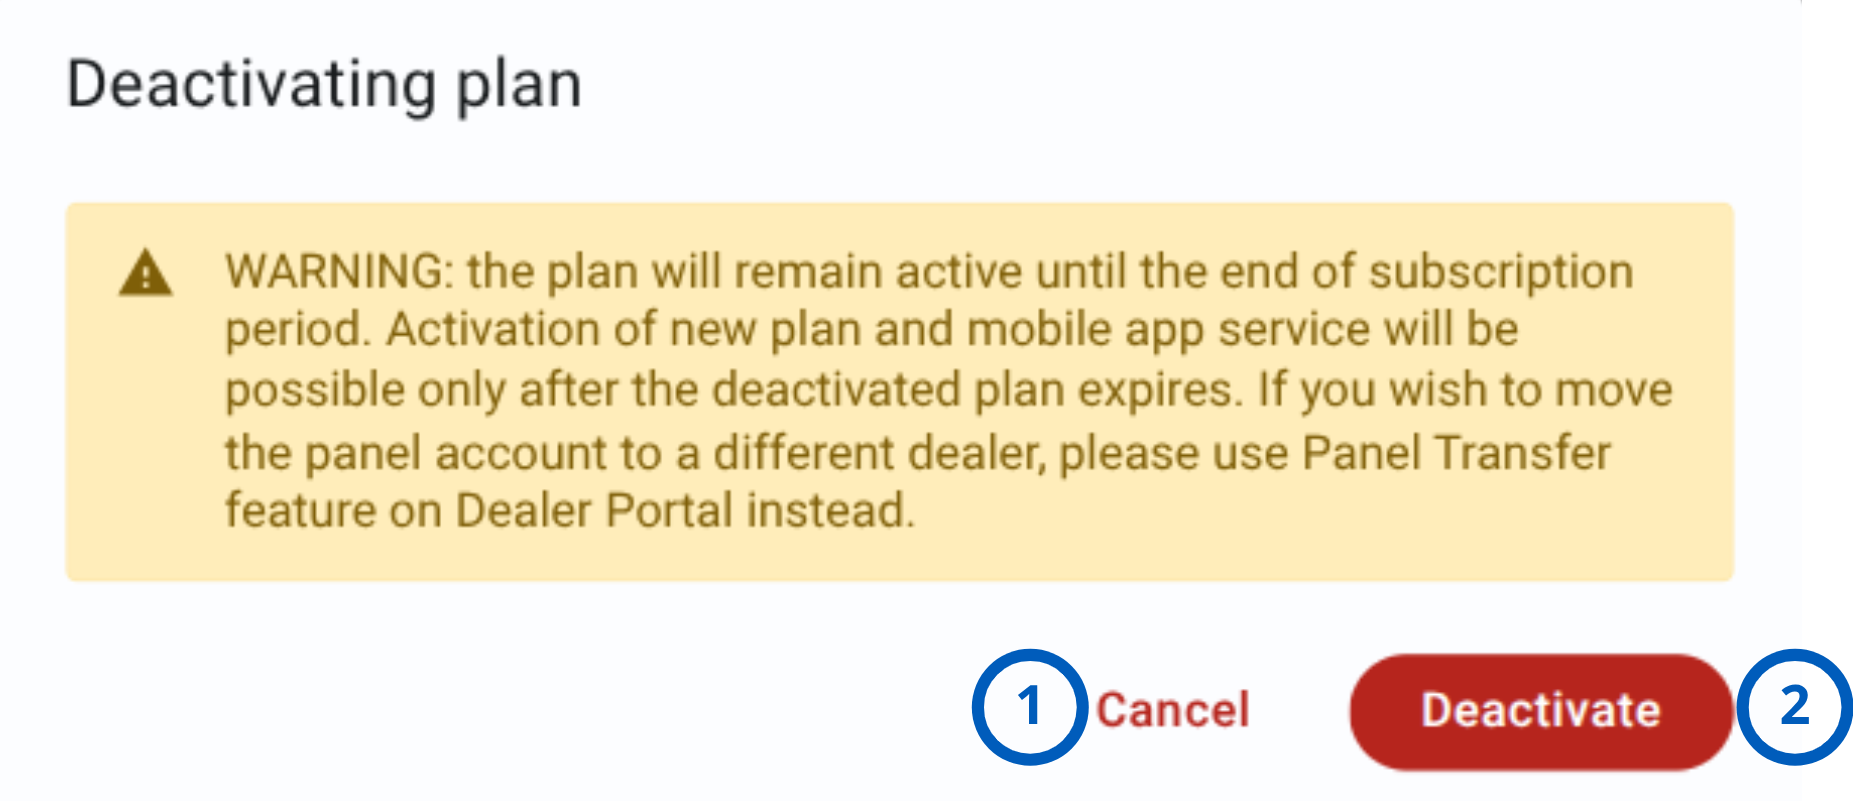
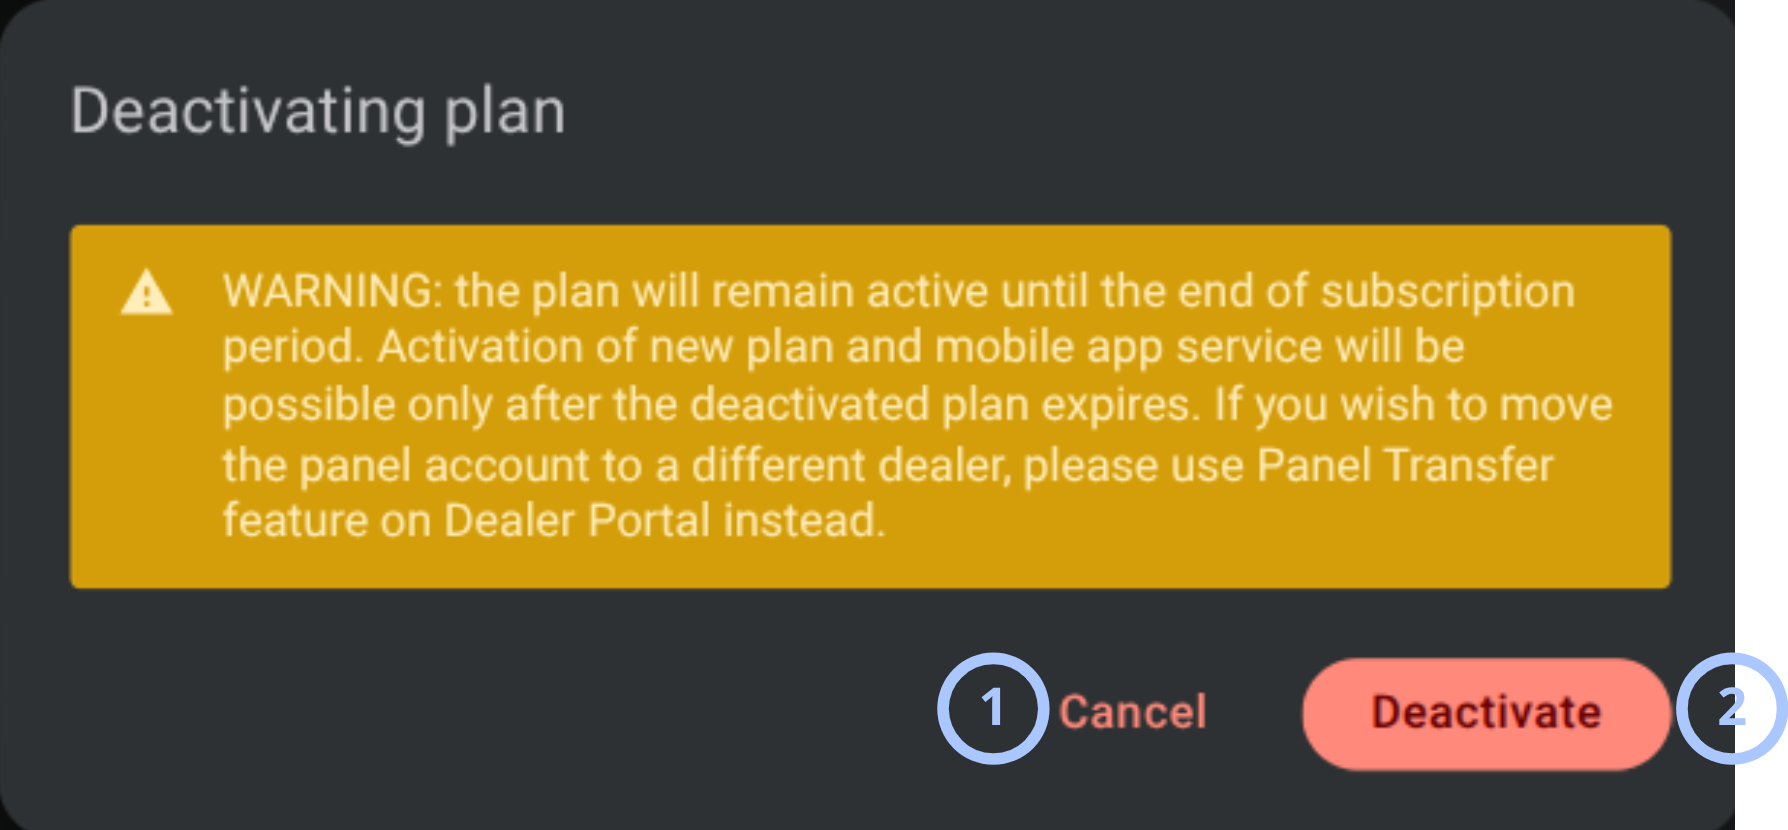
The Deactivating plan dialog explains when the plan will expire and how deactivation affects activation of a new plan and mobile app service. Review the warning, and then confirm or cancel the deactivation request.
- Review the warning about the plan deactivation.
- Select Deactivate to confirm the request.
| Callout | UI element | Description | When to use |
|---|---|---|---|
| 1 | Cancel | Closes the dialog without submitting the plan deactivation request. | Use when you want to keep the current billing plan active without requesting deactivation. |
| 2 | Deactivate | Confirms and submits the billing plan deactivation request. The plan remains active until the end of the current subscription period. | Use after reviewing the warning and deciding to proceed with plan deactivation. |


After you request billing plan deactivation in PowerManage, open the Service Accounts in Dealer Portal. The service details provide options to terminate the current billing plan or transfer the panel to another dealer.
- In Dealer Portal, open Service Accounts, find the panel, and go to Service Details.
- Select Terminate.
| Callout | UI element | Description | When to use |
|---|---|---|---|
| 1 | Terminate | Starts the process of terminating the panel billing plan. | Use after you request billing plan deactivation in PowerManage and want to terminate the plan in Dealer Portal. |
| 2 | Transfer | Starts the process of transferring the panel and its service to another dealer. | Use when you want to transfer the panel to another dealer instead of terminating the billing plan. |
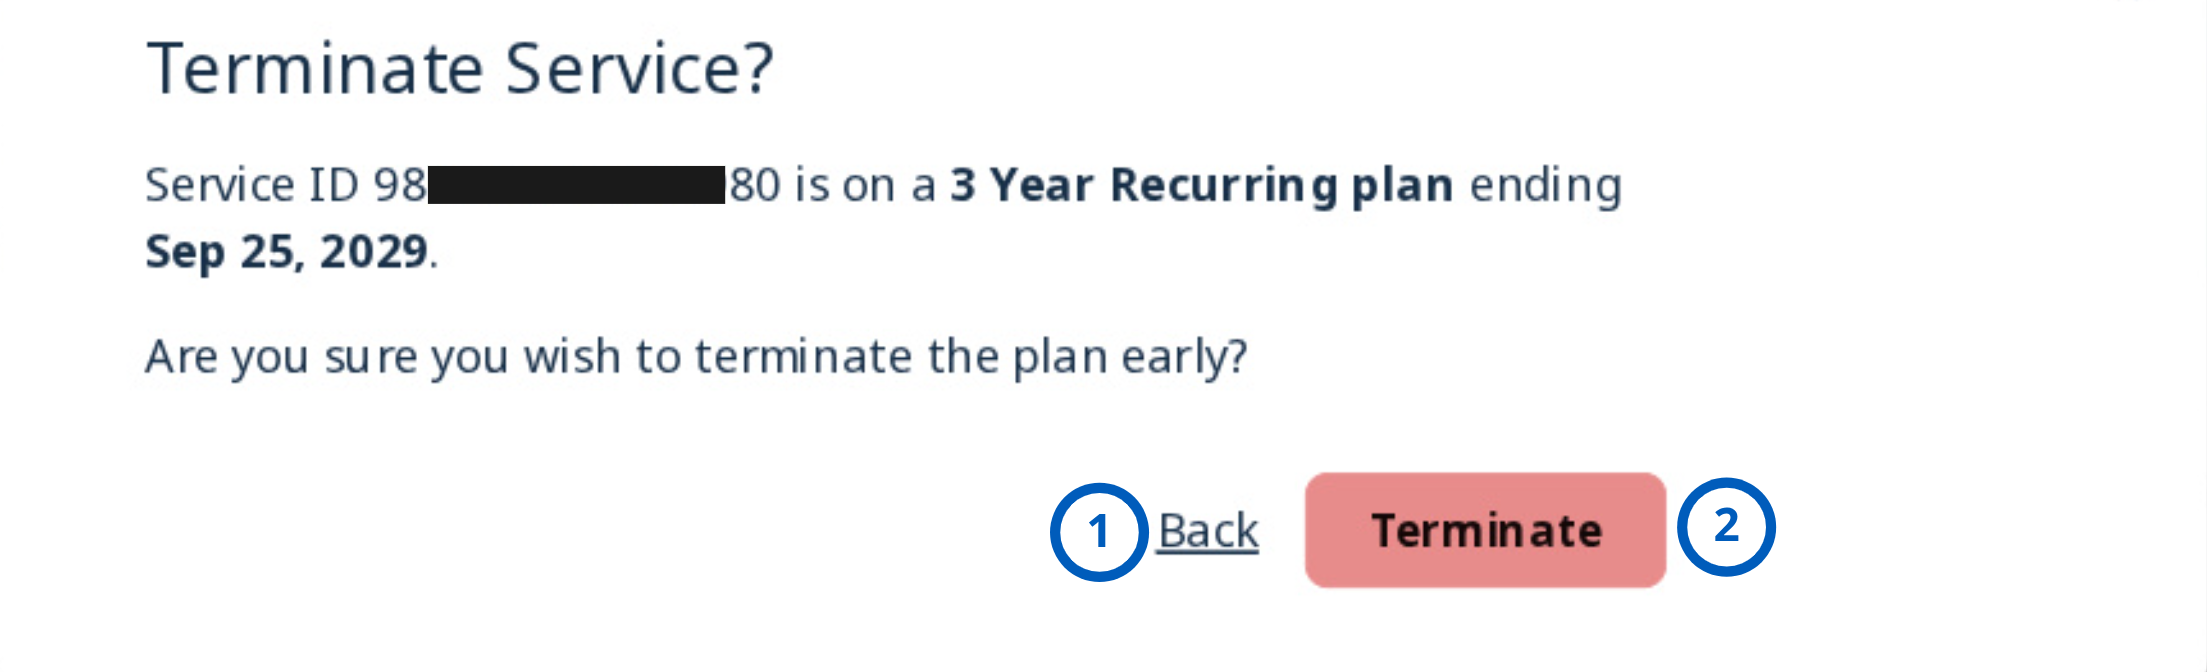
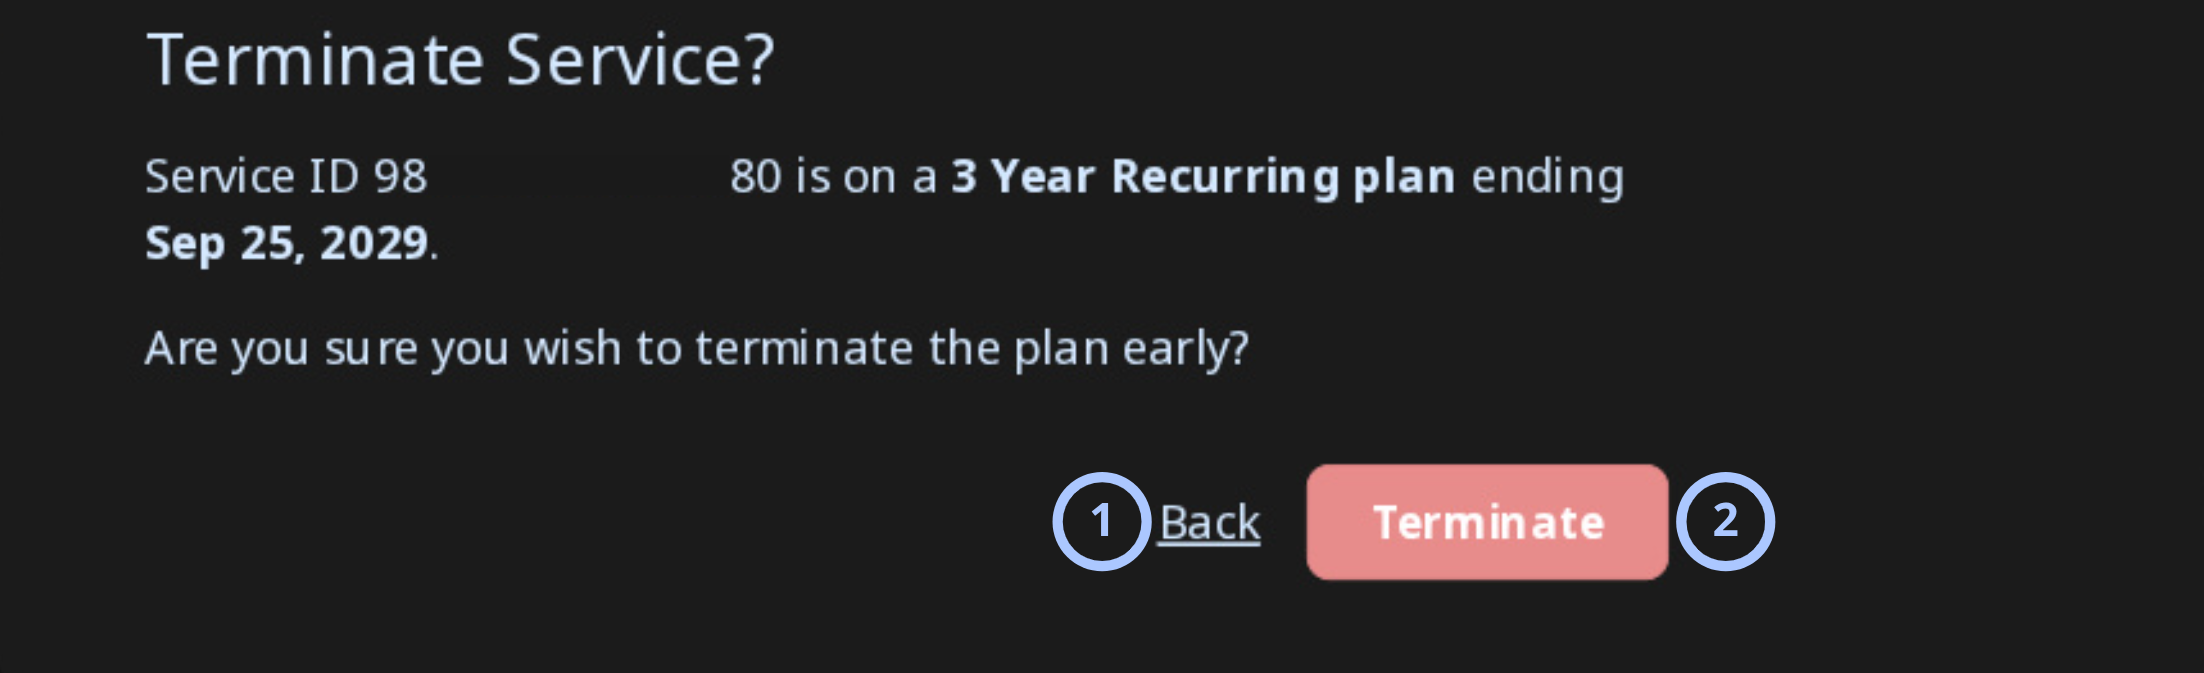
The Terminate Service dialog displays the service ID, current billing plan, and plan end date. Review the service details, and then confirm or cancel the early termination.
- Verify that the service ID and billing plan details are correct.
- Select Terminate to terminate the billing plan early.
| Callout | UI element | Description | When to use |
|---|---|---|---|
| 1 | Close | Closes the confirmation dialog without terminating the billing plan. | Use when you want to cancel the operation and return to the service details. |
| 2 | Back | Returns to the previous service details view without terminating the billing plan. | Use when you want to review the service details before proceeding. |
| 3 | Terminate | Confirms the early termination of the billing plan. | Use after you verify the service ID, billing plan, and plan end date and decide to terminate the plan early. |
After you terminate the billing plan in Dealer Portal, return to PowerManage and locate the panel. The No plan status confirms that the billing plan is no longer assigned to the panel.


Verify that the panel displays the No plan status. This confirms that the billing plan termination was completed successfully.
Panel transfer
To transfer a panel to another dealer, choose one of the following methods:
- Transfer the panel and preserve the existing plan
- Transfer the panel via plan termination
Submit a transfer request directly through the Dealer Portal, then have the target dealer approve it from their account.
- Ensure the panel does not already exist on the target server before initiating the transfer.
- Ensure the panel is connected to the original server.
- Transfer
- Select panel
- Select dealer
- Confirm
The Service Accounts page allows you to start the transfer process.
- Sign in to Dealer Portal using the account of the dealer that currently manages the panel.
- Select Service Accounts.
- Open the panel service details, and then select Transfer.


| Callout | UI element | Description | When to use |
|---|---|---|---|
| 1 | Service Accounts | Opens the list of service accounts associated with the current dealer. | Use when you need to find the panel that you want to transfer to another dealer. |
| 2 | Transfer | Starts the process of transferring the selected panel to another dealer. | Use after you locate the panel and verify that the panel is not present on the target server. |
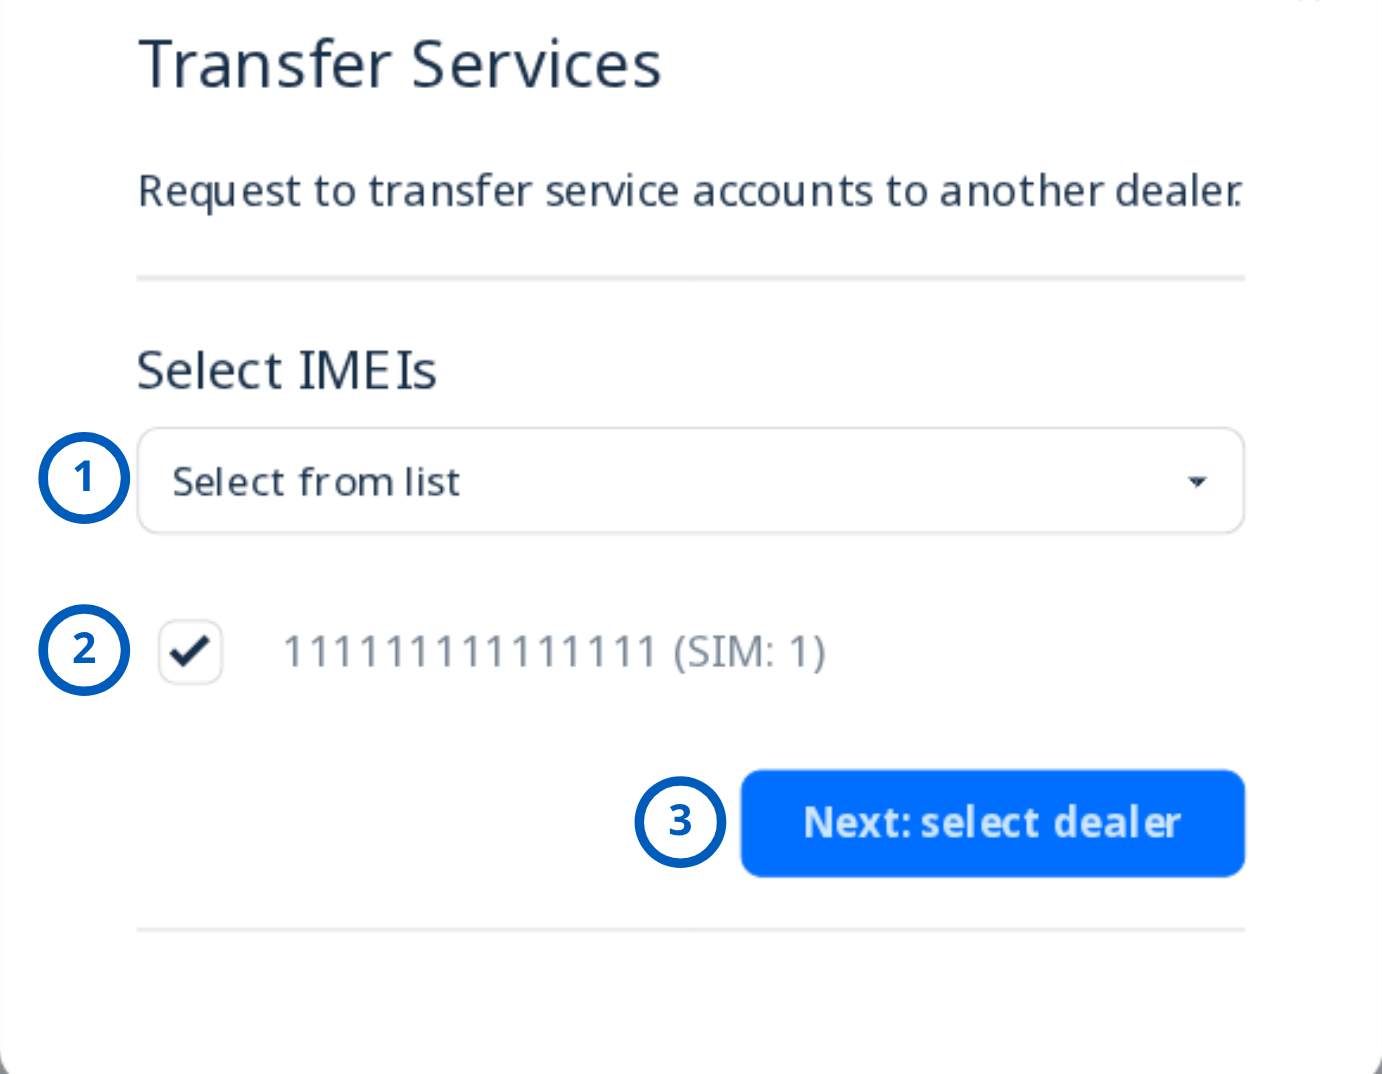
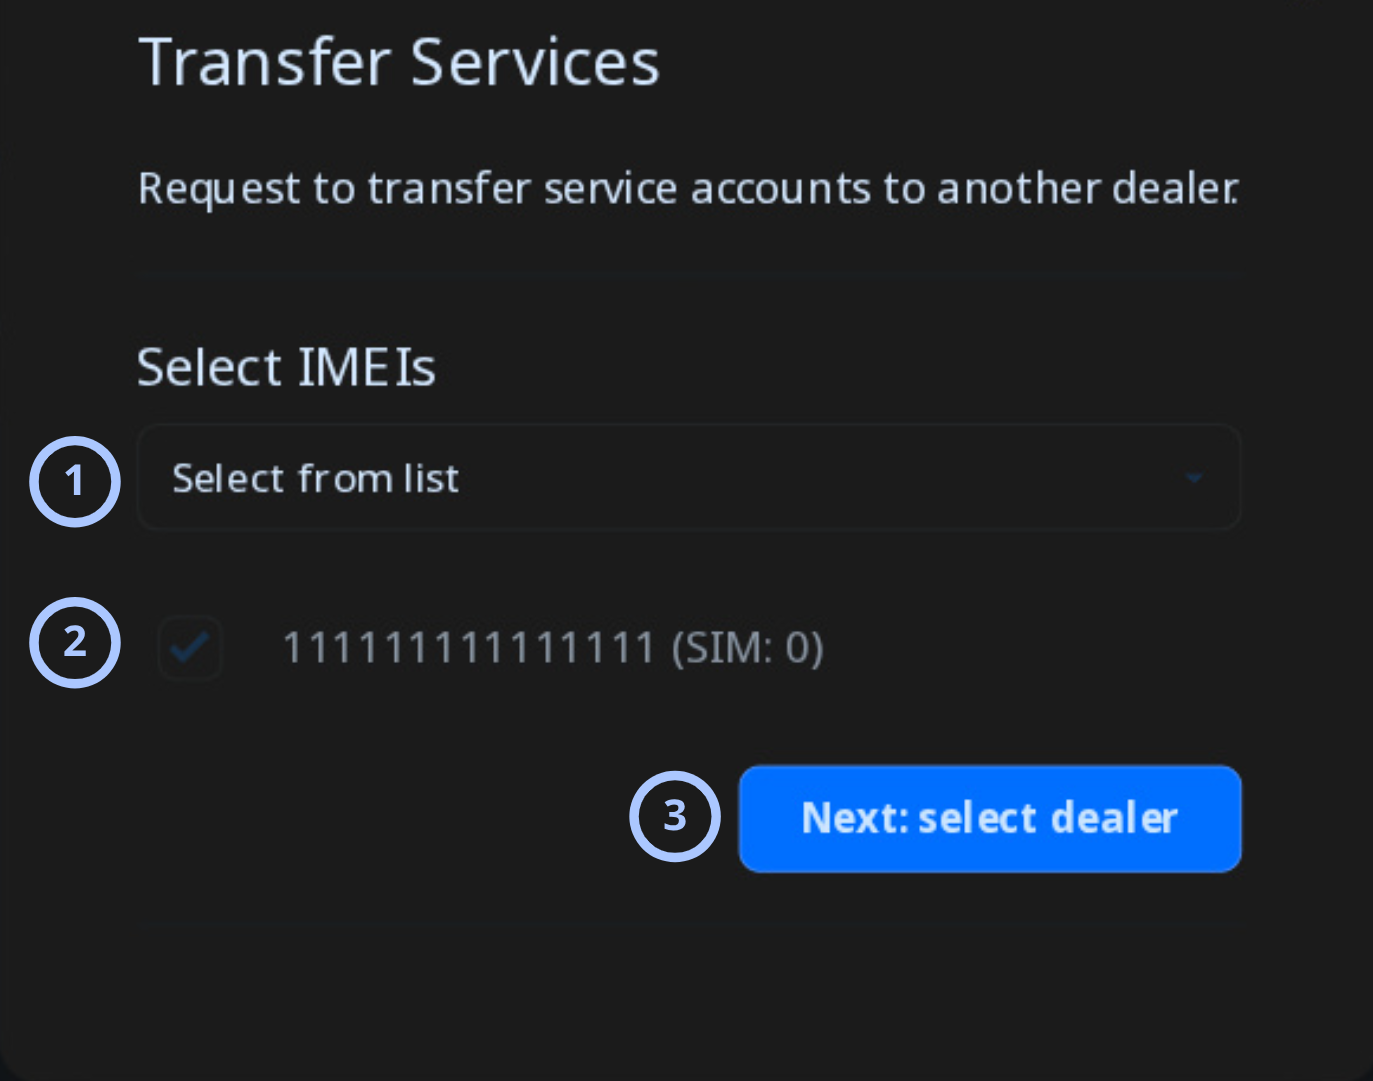
The Transfer Services page allows you to find and select the panel that you want to transfer to another dealer.
- Open the Select IMEIs list and find the panel by its IMEI or SIM number.
- Select the checkbox next to the panel.
- Select Next: select dealer.
| Callout | UI element | Description | When to use |
|---|---|---|---|
| 1 | Select IMEIs | Displays a list of panels available for transfer. | Use when you need to find the panel by its IMEI or SIM number. |
| 2 | Panel selection | Selects the panel that you want to transfer to another dealer. | Use after you verify that the displayed IMEI and SIM number belong to the correct panel. |
| 3 | Next: select dealer | Opens the next step, where you can select the dealer that will receive the panel. | Use after you select the panel that you want to transfer. |
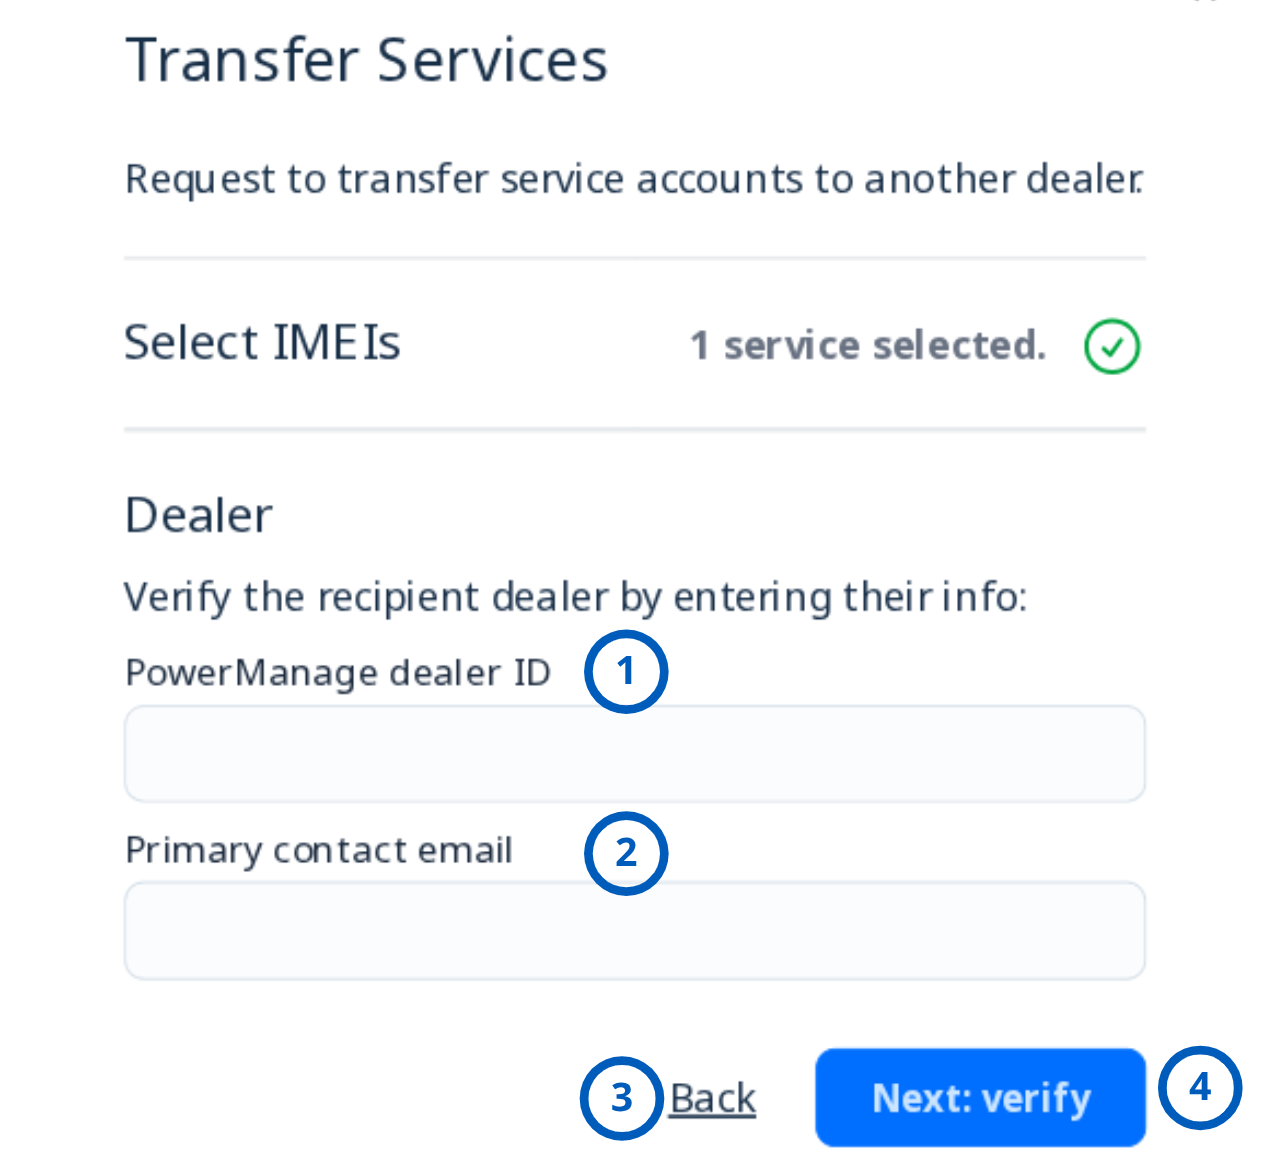
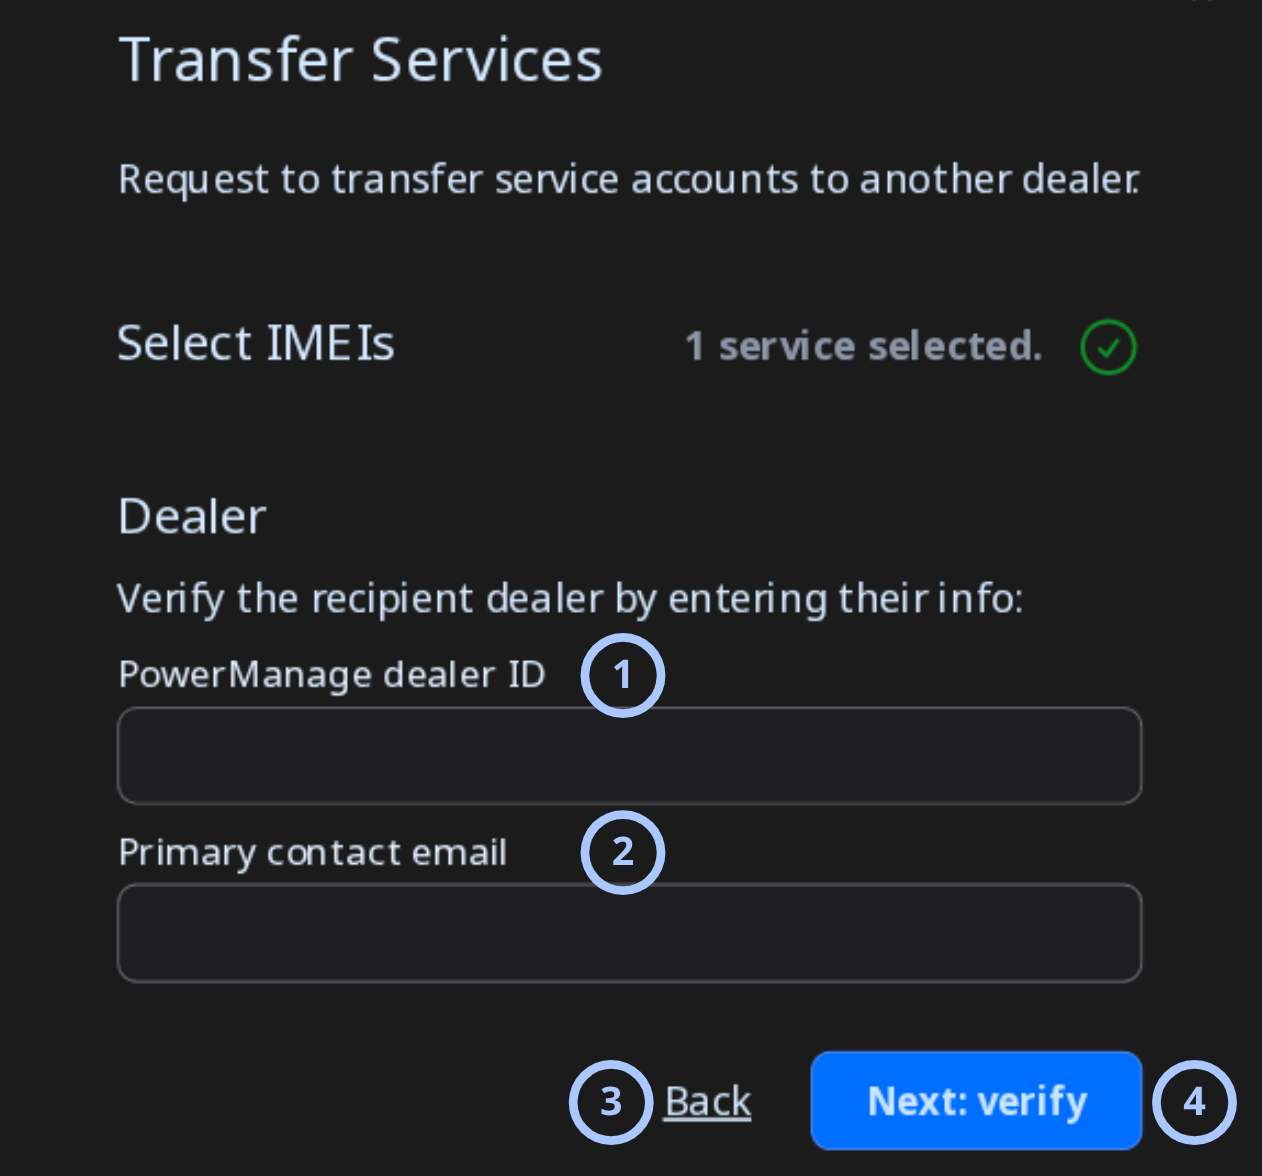
The Dealer section allows you to identify and verify the dealer that will receive the selected panel.
- Enter the recipient dealer's PowerManage dealer ID.
- Enter the recipient dealer's Primary contact email.
- Select Next: verify.
| Callout | UI element | Description | When to use |
|---|---|---|---|
| 1 | PowerManage dealer ID | Specifies the PowerManage dealer ID of the dealer that will receive the panel. | Use to identify the recipient dealer. |
| 2 | Primary contact email | Specifies the primary contact email associated with the recipient dealer account. | Use to verify that the panel will be transferred to the correct dealer account. |
| 3 | Back | Returns to the previous step without discarding the transfer request. | Use when you need to review or change the selected panel. |
| 4 | Next: verify | Verifies the entered dealer information and opens the next step of the transfer process. | Use after you enter the recipient dealer's PowerManage dealer ID and primary contact email. |
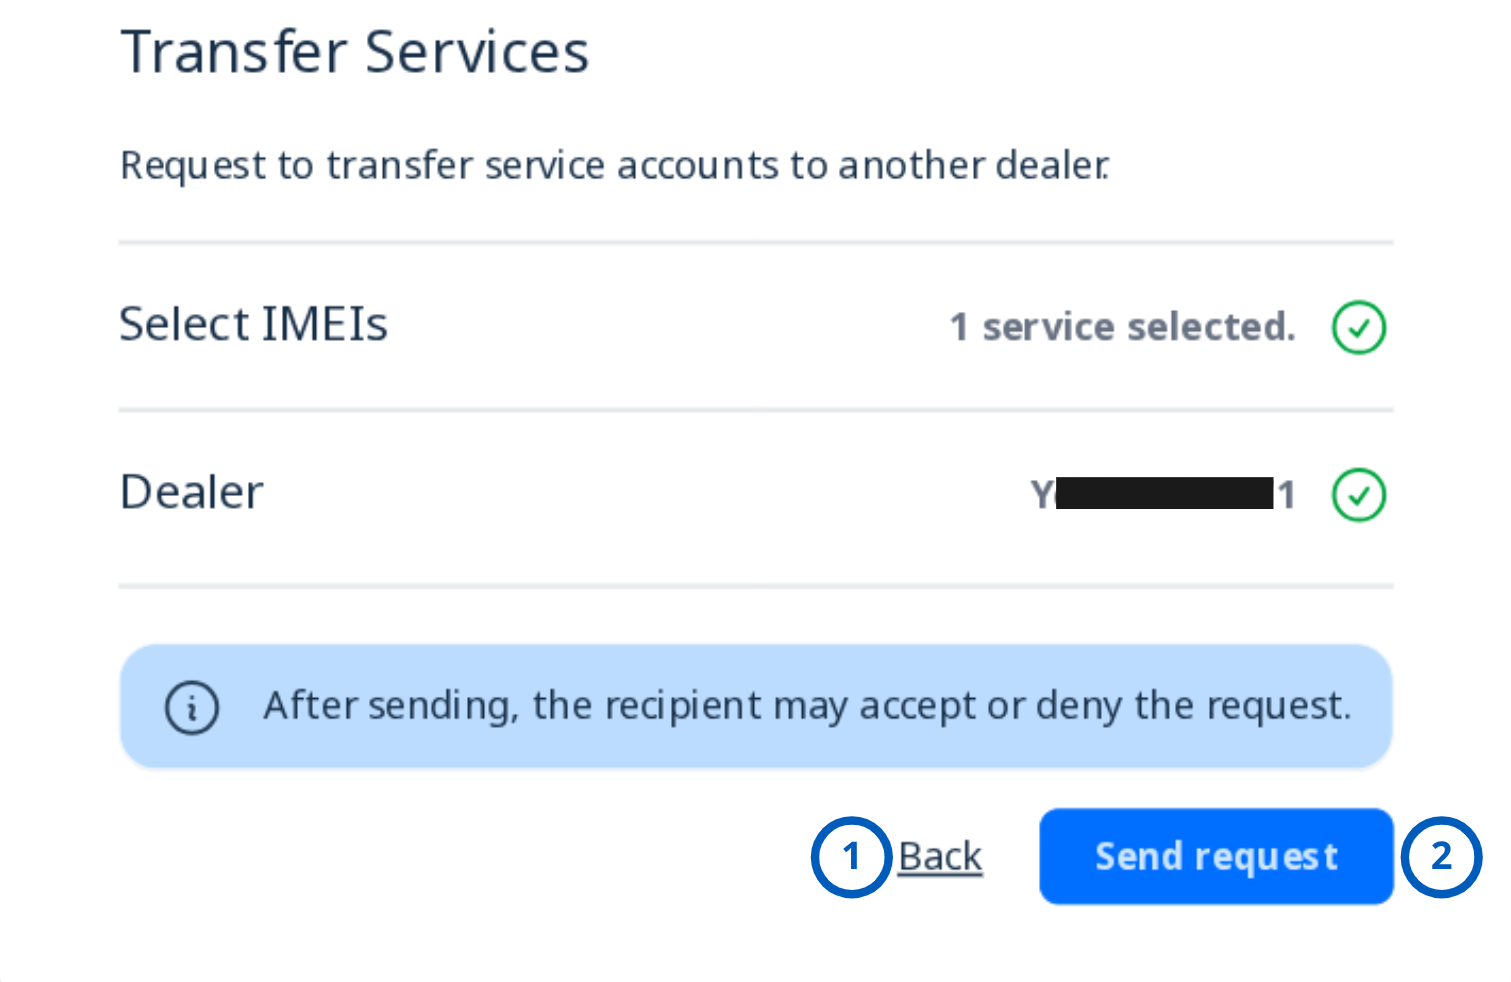
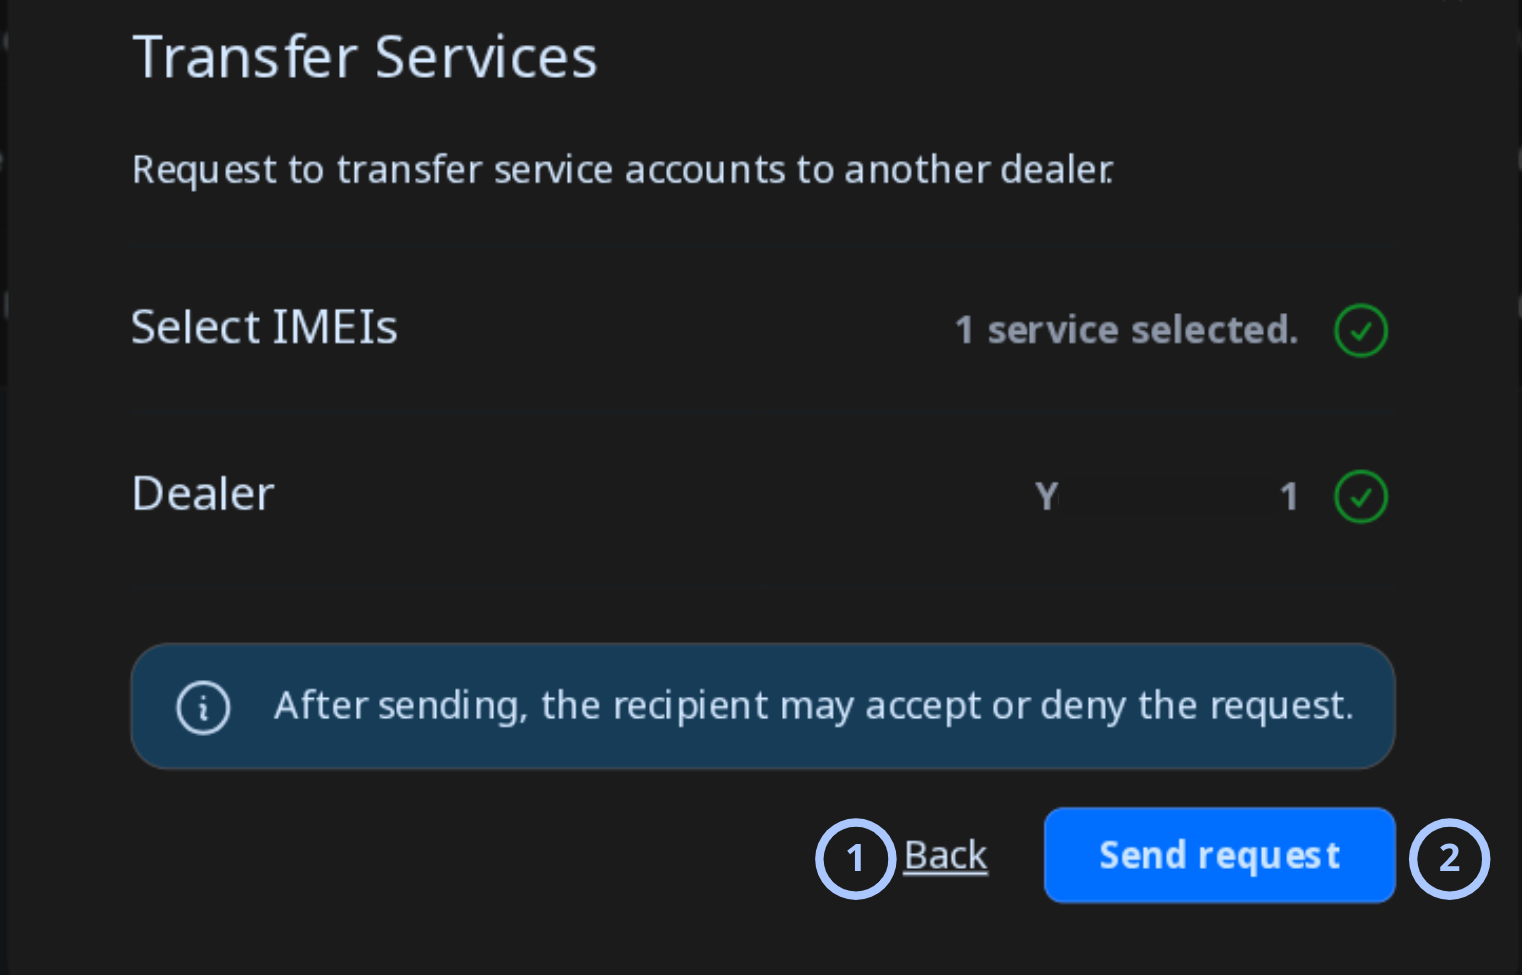
The confirmation step displays the selected service and recipient dealer. Review the transfer details, and then send the transfer request. After you send the request, the recipient dealer can accept or deny it.
- Verify that the selected service and recipient dealer are correct.
- Select Send request to submit the transfer request.
| Callout | UI element | Description | When to use |
|---|---|---|---|
| 1 | Back | Returns to the previous step without sending the transfer request. | Use when you need to review or change the recipient dealer information. |
| 2 | Send request | Sends the panel transfer request to the selected dealer. | Use after you verify the selected service and recipient dealer. |
After you send the transfer request, the recipient dealer must sign in to Dealer Portal and accept the request. After the recipient dealer accepts the request, the panel is transferred to the recipient dealer account.
- Request plan deactivation in PowerManage.
- In the Dealer Portal, select the panel and terminate the active plan.
- Move the panel to the target server and assign it to the new dealer.
- Request a new service plan for the panel.
For more information, see Deactivate and Terminate billing plan.
Tips
- Confirm Billing Enabled in Version & License before troubleshooting missing billing actions. Select the PowerManage logo, then open the License Info section.
- Check the billing label in the Equipment column before opening the billing dialog.
- Review plan descriptions before selecting Choose plan.
- Confirm the country before changing or reactivating a plan.
- Use Deactivate only when the current plan should be stopped.
Troubleshooting
Billing plan dialog does not open
Possible causes
- Billing is not enabled.
What to do
- Confirm Billing Enabled in Version & License. Select the PowerManage logo, then open the License Info section.
- Contact an administrator if the billing action should be available.
Billing request was rejected
Possible causes
- The selected country is incorrect.
- The plan is not available for the selected panel or country.
- Backend billing configuration rejected the request.
What to do
- Open the Billing plan dialog.
- Review Country.
- Select a supported plan.
- Submit the request again.
- Contact an administrator if the request is rejected again.
Plan does not renew as expected
Possible causes
- The plan is not recurring.
- The plan was deactivated.
- Billing is not enabled.
- Backend billing processing did not complete.
What to do
- Review Service plan and Active until.
- Confirm that the plan shows Recurring.
- Confirm Billing Enabled in Version & License.
- Reactivate or choose a plan if required.