Equipment
Overview
The Equipment page lists panels that are available to you in PowerManage. Use this page to add panels, review panel identity and status, control application access, and start panel management actions.
Use the Equipment page to:
- Review panel identity, ownership, model, group, connection, first connection, events, troubles, and state.
- Open Equipment hub for a selected panel.
- Add a panel and record owner information and remarks.
- Start configuration, discovery, diagnostic, service, fault, report, and remote inspection actions.
- Enable or disable installer and customer application access.
- Remove a panel from PowerManage.
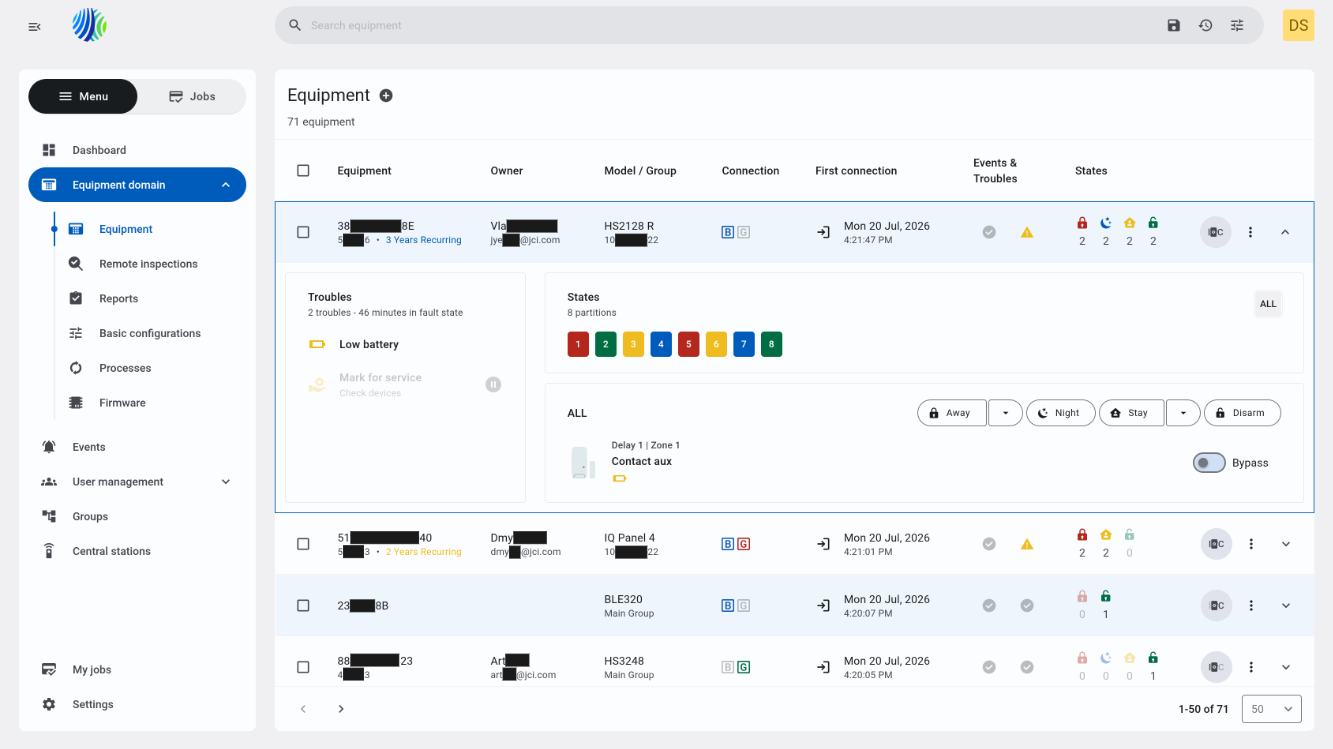
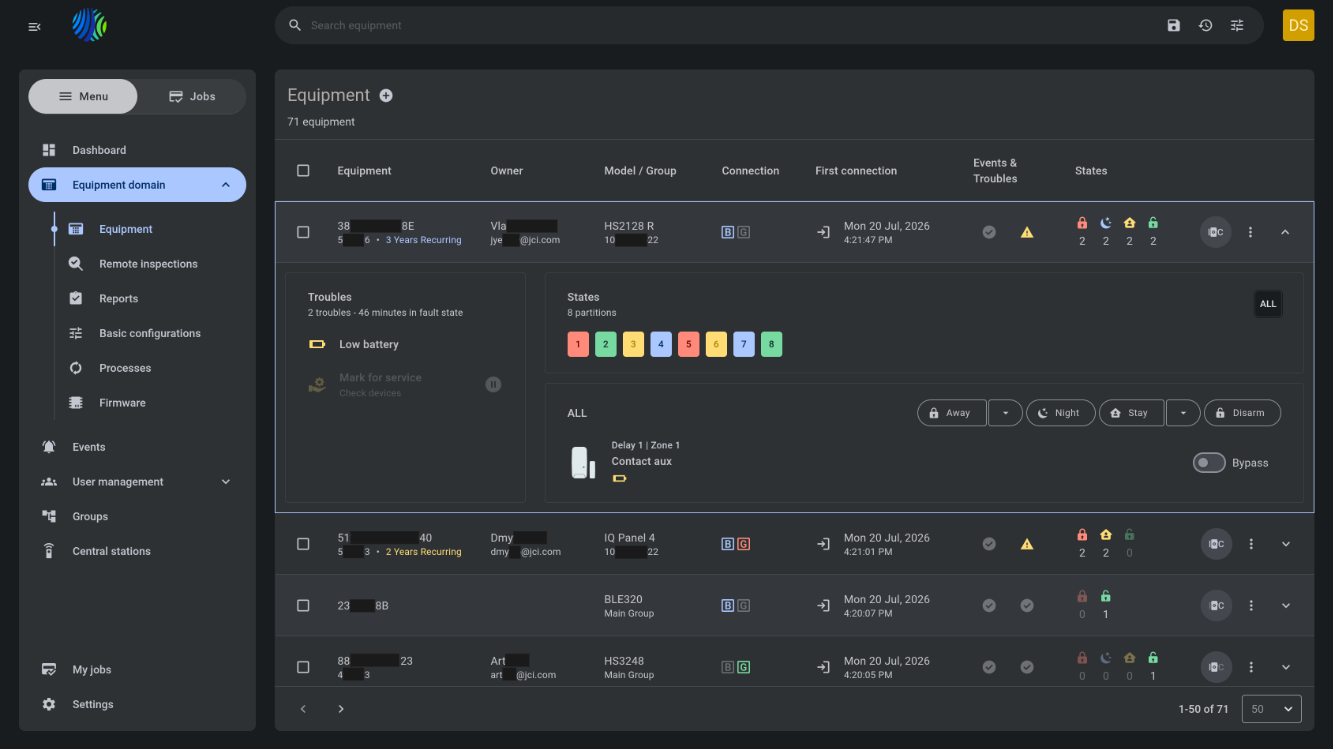
Available data, actions, and menu items depend on panel type, panel state, server license, group assignment, and your role permissions.
Before you begin
Required permissions
Required permissions depend on the action that you want to complete.
- You must have permission to view the Equipment page and listed panels.
- You must have permission to add, edit, or remove panels to use the related actions.
- You must have permission to run configuration, discovery, diagnostic, service, fault, report, and remote inspection actions.
- You must have permission to control installer and customer application access.
Access to equipment and panel management actions is controlled by permissions in the Equipment permission group.
Preconditions
- Required panel identity, account, SIM, and group information must be available before you add a panel.
- A panel must be selected before you run selection-based actions.
- The panel must be reachable for actions that communicate with the panel.
Dependencies
- Panel types in the Type dropdown depend on the server license.
- Connection, state, event, trouble, and first connection data depend on information received from the panel.
- Available menu actions depend on panel state, existing faults, service assignment, and role permissions.
- Basic configurations depend on configurations that are compatible with the selected panel.
- Report and remote inspection actions depend on the related PowerManage features and permissions.
Important limitations
- Removing a panel removes it from the PowerManage server. Review the selected panel before you confirm removal.
- Configuration, discovery, diagnostic, and state actions can fail when the panel is offline or does not connect before the selected timeout.
- A menu item can be hidden when the action is not supported or your role does not include the required permission.
Page layout
Page header


The page header shows the equipment count and page-level actions.
| Callout | UI element | Description | When to use |
|---|---|---|---|
| 1 | Page title and equipment count | Shows the page title and the total equipment count, for example, 71 equipment. | Use to confirm that you are on the Equipment page and review the number of listed panels. |
| 2 | Add panel button | Opens the Add panel modal window. | Use to add a panel to PowerManage. |
| 3 | More actions button | Opens the More actions menu. | Use to run an available action for selected equipment. |
Add panel modal window
The Add panel modal window organizes panel details into three tabs. Complete the fields that apply to the panel, and then select Save.
- Panel information
- Owner information
- Remarks
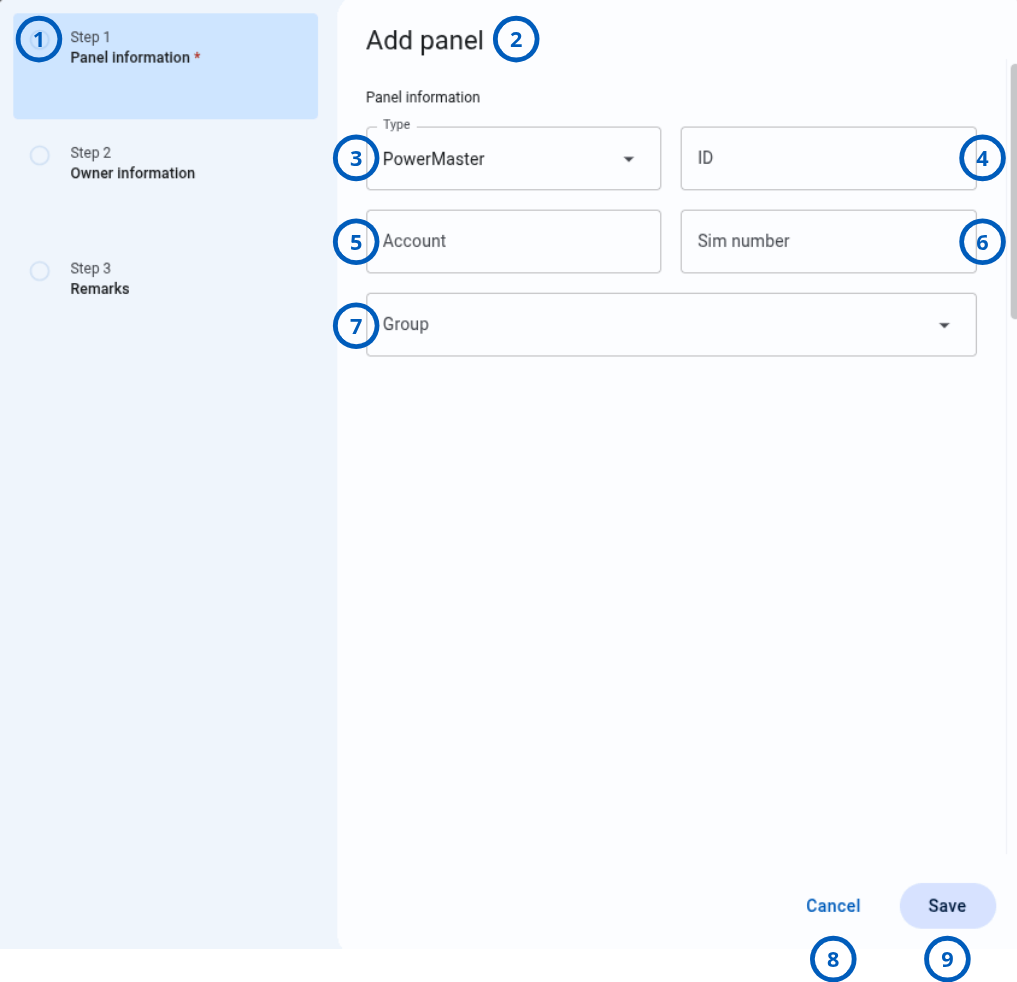
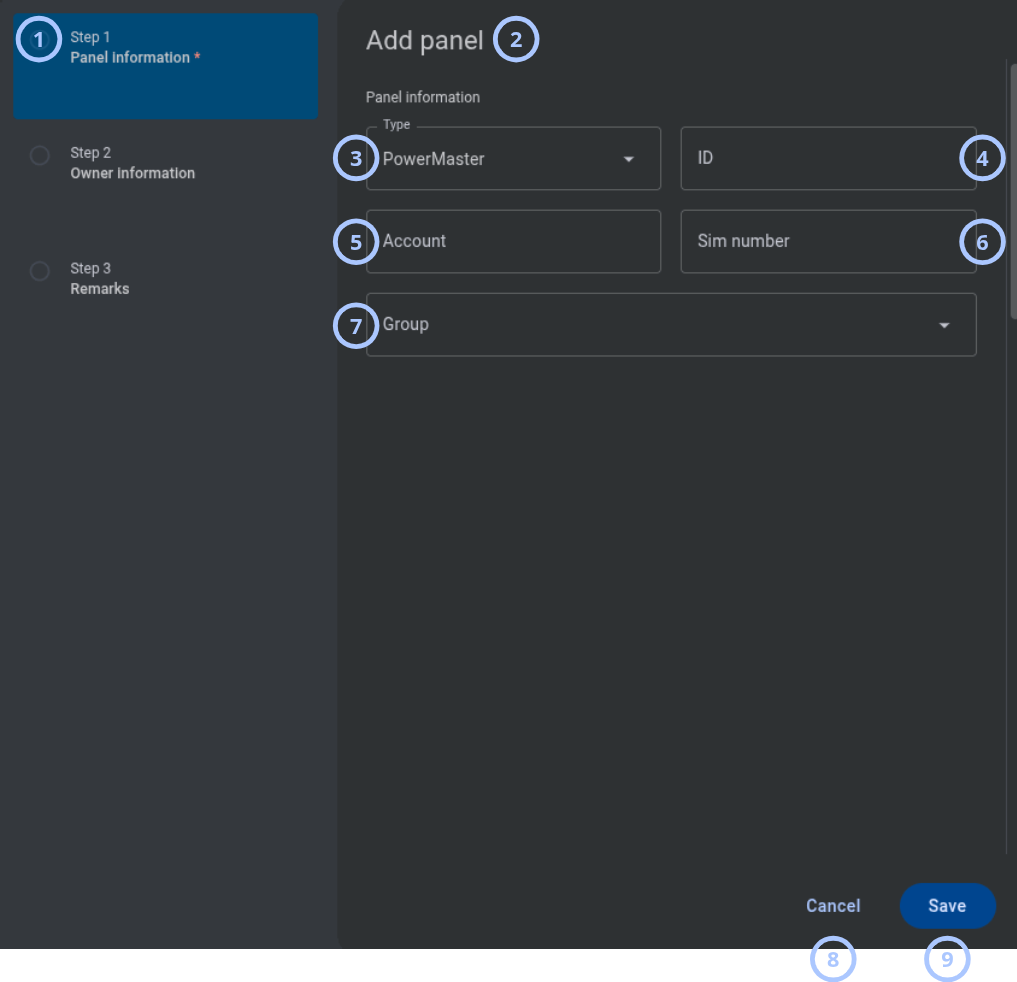
| Callout | UI element | Description | When to use |
|---|---|---|---|
| 1 | Current step | Shows the current step of the add-panel process. | Use to track progress through the modal window. |
| 2 | Modal title | Shows Add panel. | Use to confirm the current task. |
| 3 | Type dropdown | Shows panel types available under the server license. | Use to select the panel type. |
| 4 | ID field | Accepts the panel ID. | Use to enter the unique panel identifier. |
| 5 | Account field | Accepts the panel account code. | Use to enter the account code associated with the panel. |
| 6 | SIM number field | Accepts the panel SIM number. | Use when the panel uses a SIM and the value is required. |
| 7 | Group dropdown | Shows groups available for panel assignment. | Use to assign the panel to a group. |
| 8 | Cancel button | Closes the modal window without saving. | Use to stop adding the panel. |
| 9 | Save button | Adds the panel when all required values are valid. | Use after entering valid panel information. |
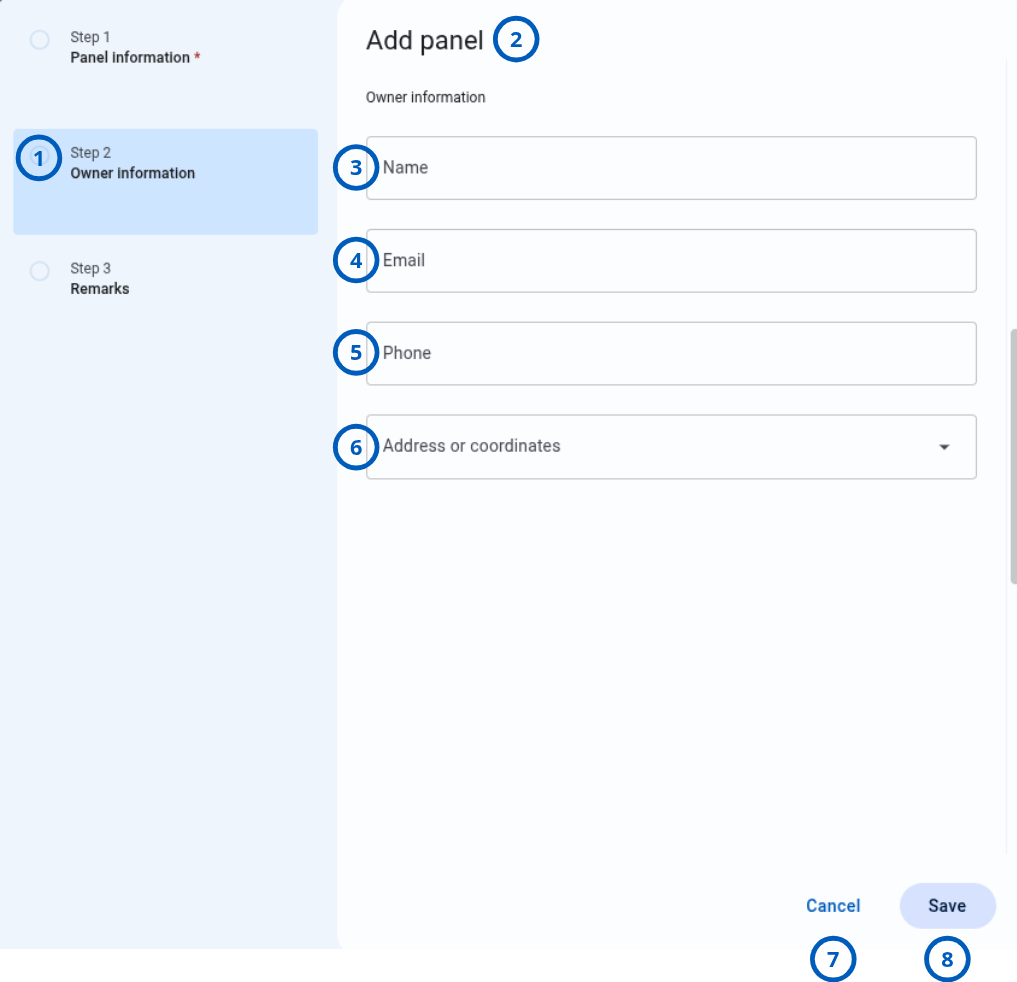
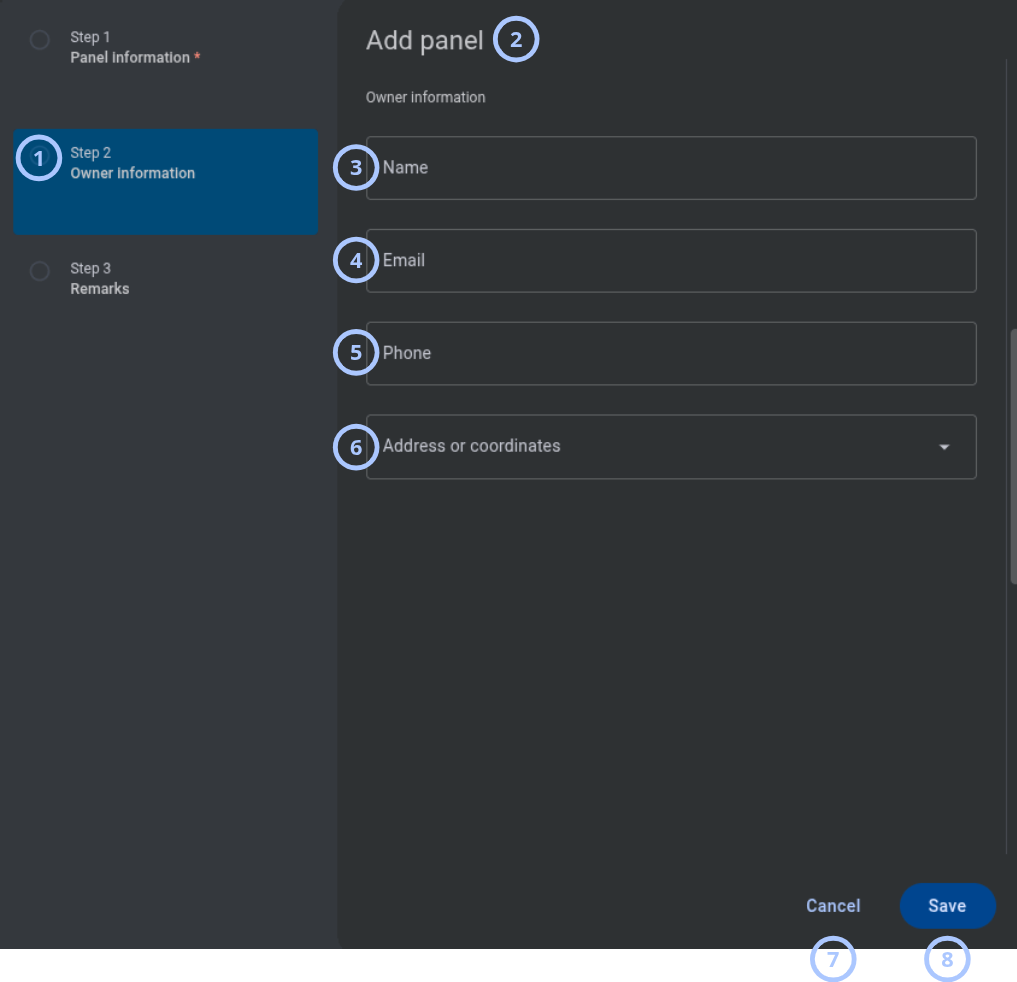
| Callout | UI element | Description | When to use |
|---|---|---|---|
| 1 | Current step | Shows the current step of the add-panel process. | Use to track progress through the modal window. |
| 2 | Modal title | Shows Add panel. | Use to confirm the current task. |
| 3 | Name field | Accepts the panel owner name. | Use to record the owner name. |
| 4 | Email field | Accepts the panel owner email address. | Use to record the owner email. |
| 5 | Phone field | Accepts the panel owner phone number. | Use to record the owner phone number. |
| 6 | Address or coordinates field | Accepts the panel owner address or geographic coordinates. | Use to record the panel location. |
| 7 | Cancel button | Closes the modal window without saving. | Use to stop adding the panel. |
| 8 | Save button | Adds the panel when all required values are valid. | Use after entering valid owner information. |
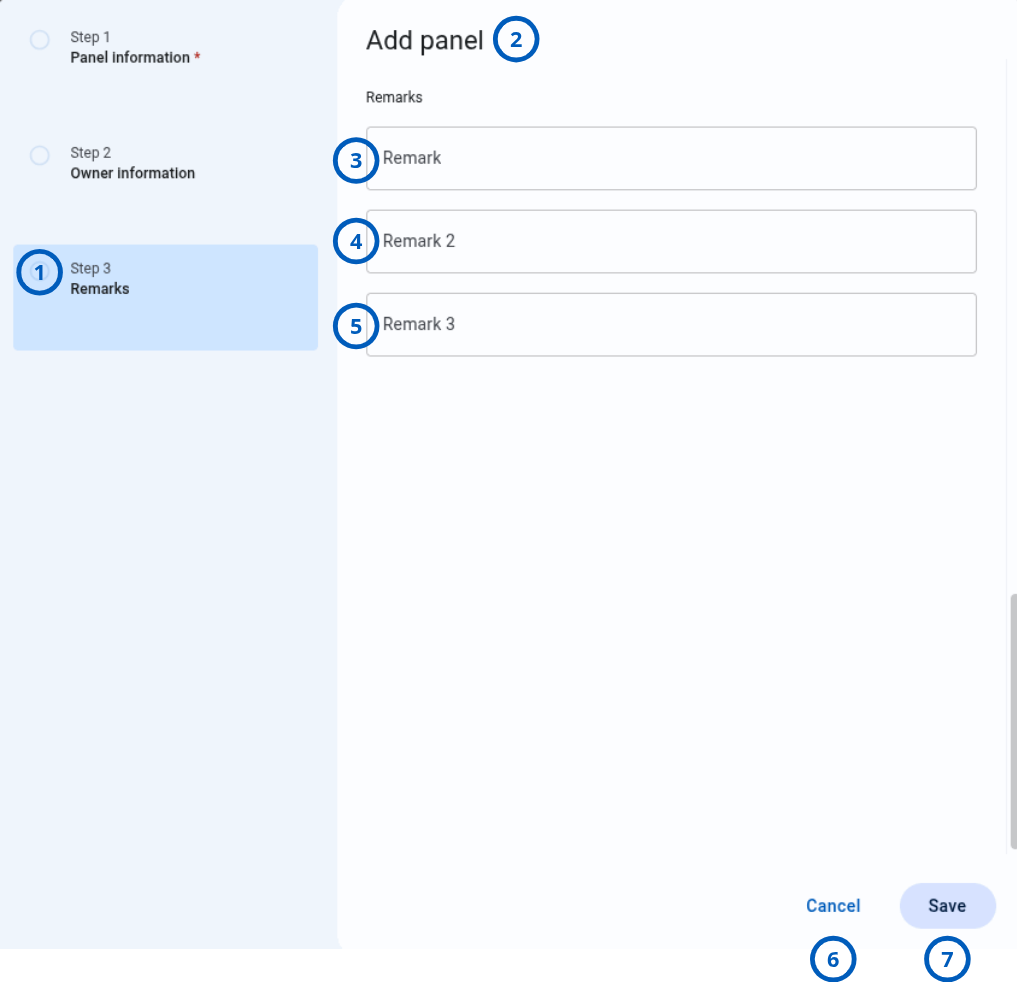
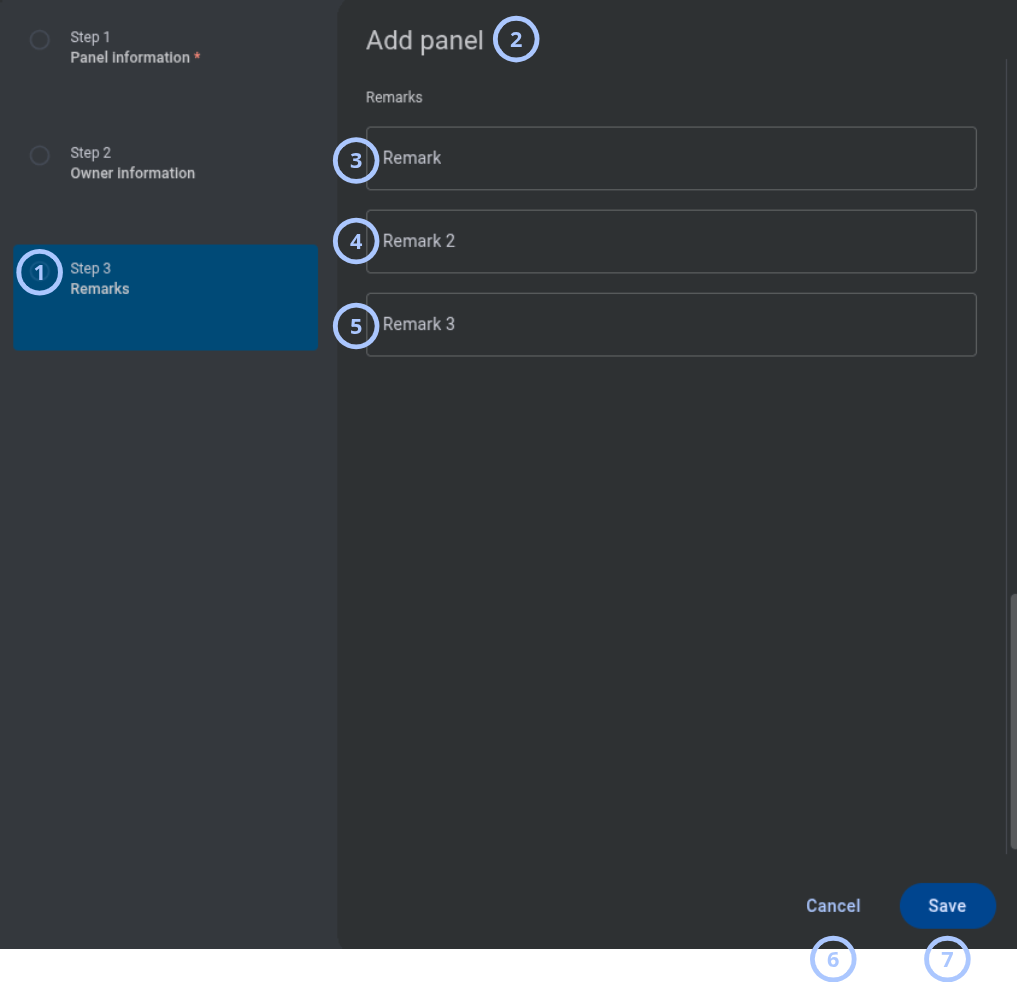
| Callout | UI element | Description | When to use |
|---|---|---|---|
| 1 | Current step | Shows the current step of the add-panel process. | Use to track progress through the modal window. |
| 2 | Modal title | Shows Add panel. | Use to confirm the current task. |
| 3 | Remark field | Accepts the first panel remark. | Use to record operational or customer information. |
| 4 | Remark 2 field | Accepts the second panel remark. | Use to record additional information. |
| 5 | Remark 3 field | Accepts the third panel remark. | Use to record additional information. |
| 6 | Cancel button | Closes the modal window without saving. | Use to stop adding the panel. |
| 7 | Save button | Adds the panel when all required values are valid. | Use after entering valid remarks. |
The panel types shown in the Type dropdown depend on the server license.
Equipment grid
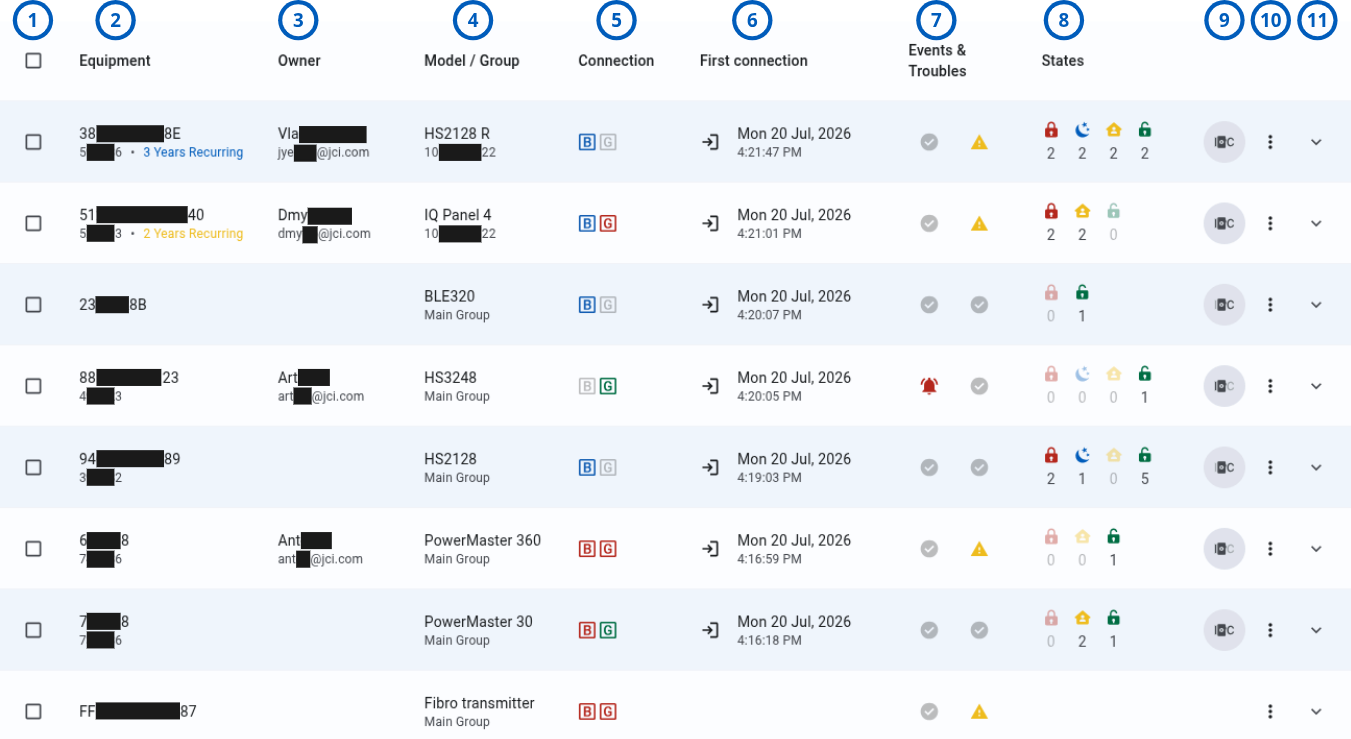
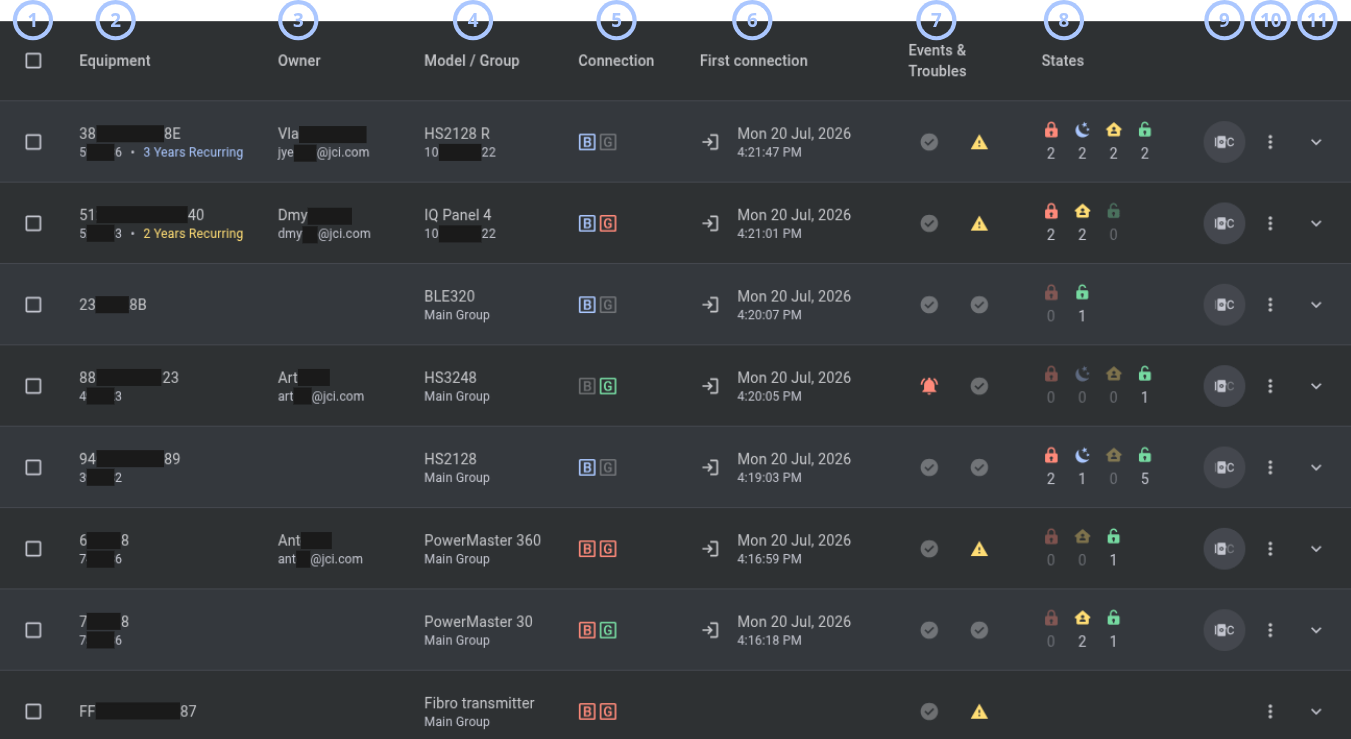
The Equipment grid shows panel information, current status, and available controls.
| Callout | UI element | Description | When to use |
|---|---|---|---|
| 1 | Checkbox | Selects a panel in the grid. | Use to select equipment before running an applicable action. |
| 2 | Equipment | Shows the panel ID and account code. | Use to identify the panel. |
| 3 | Owner | Shows the owner name and email address when owner information is set. | Use to identify or contact the panel owner. |
| 4 | Model / Group | Shows the panel model and assigned group. | Use to review panel type and group assignment. |
| 5 | Connection | Shows panel connection status icons. | Use to review panel connectivity and available communication channels. |
| 6 | First connection | Shows the panel first connection date and time, for example, Mon 20 Jul, 2026 4:21:47 PM. | Use to review when the panel first connected to PowerManage. |
| 7 | Events & Troubles | Shows a red bell icon when the panel has unhandled events. Shows a trouble icon when the panel has active trouble. When neither condition exists, a neutral indicator is shown. | Use to identify panels that need attention. |
| 8 | States | Shows panel states by state type and partition. | Use to review the current state of panel partitions. |
| 9 | App toggles | Enables or disables Installer app and Customer app access for the panel. | Use to control access through AlarmInstall and ConnectAlarm. |
| 10 | More menu | Opens the More actions menu for the panel. | Use to run panel-specific actions. |
| 11 | State management and troubles widget arrow | Opens the State management and troubles widget. | Use to review panel states, troubles, troubled devices, and bypass controls. |
More actions menu
The More actions menu groups panel actions by purpose. Available groups and actions depend on the selected panel, current panel state, and your permissions.
- Create
- Remote inspection
- Configuration
- Management
- Service assignment
- Faults
- Remove
| Callout | UI element | Description | When to use |
|---|---|---|---|
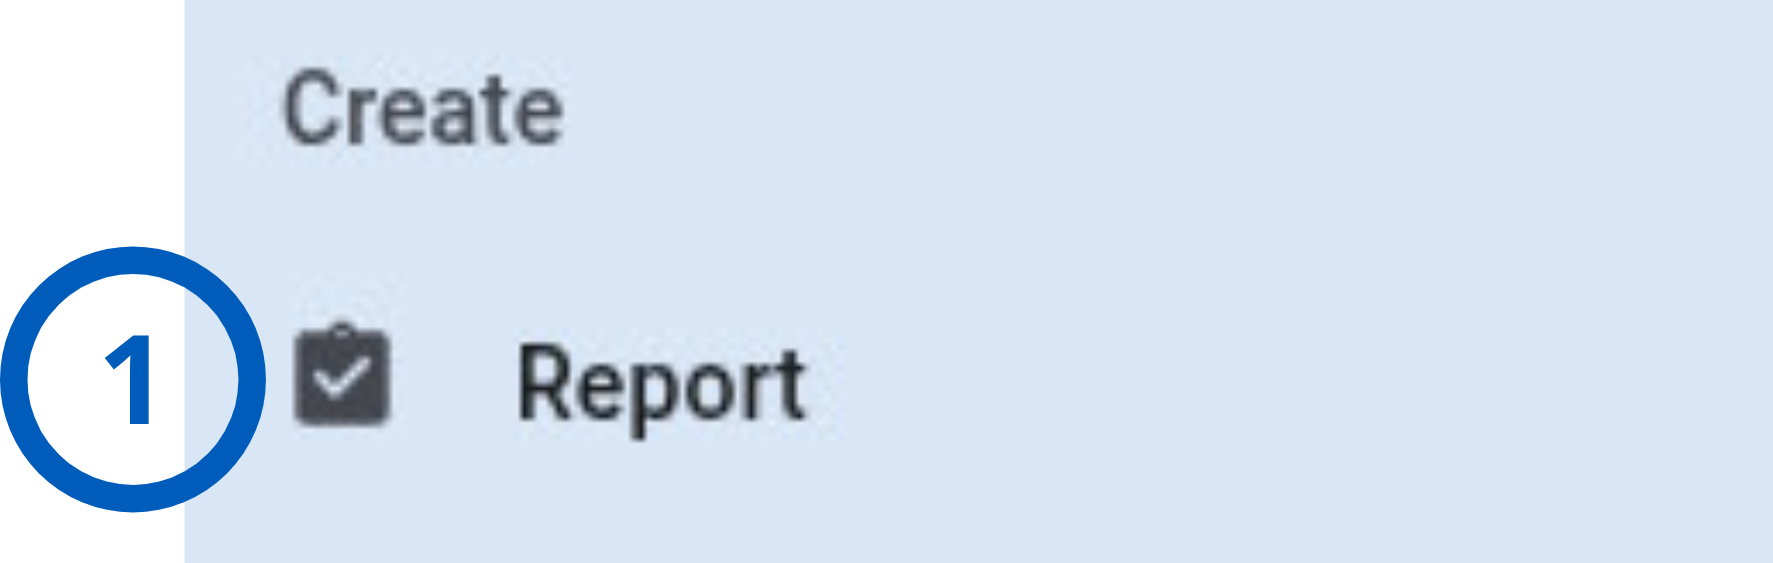
| 1 | Report | Opens the Create new report modal window. | Use to create a report for the selected panel. See the Reports page for details. |
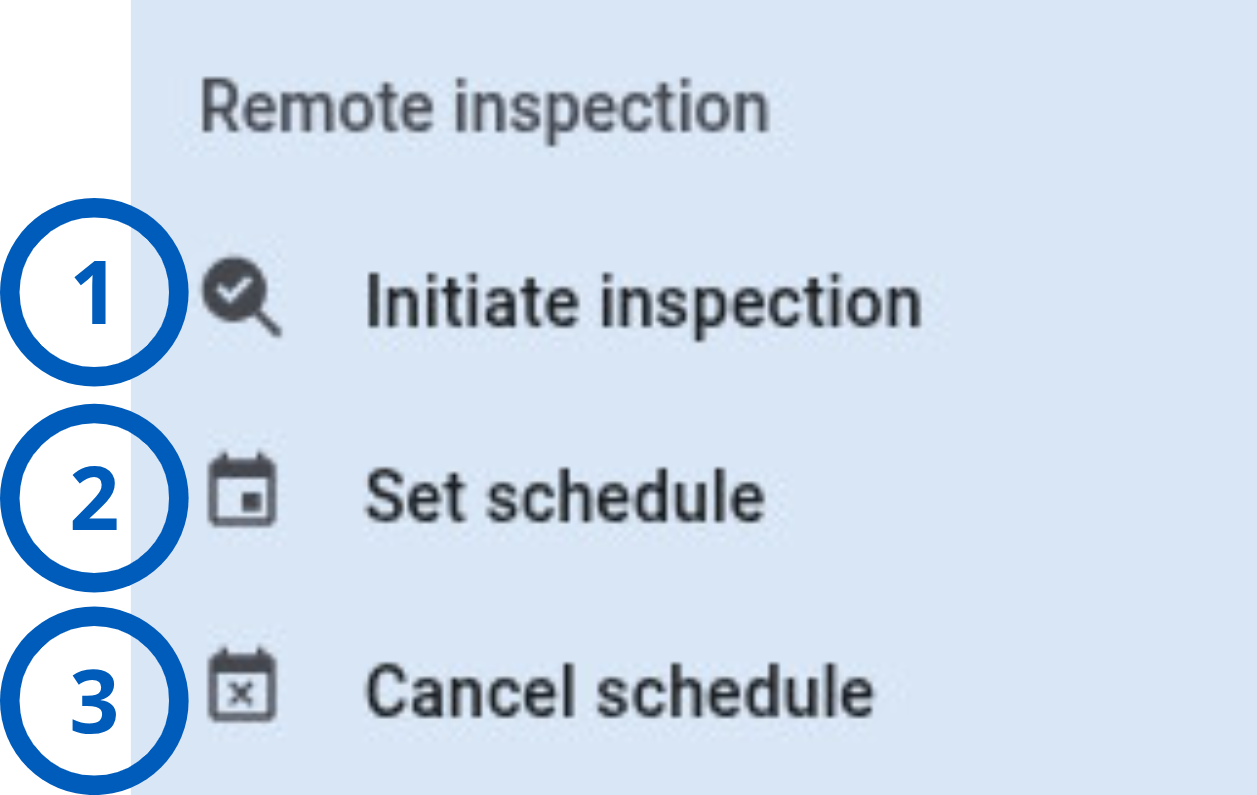
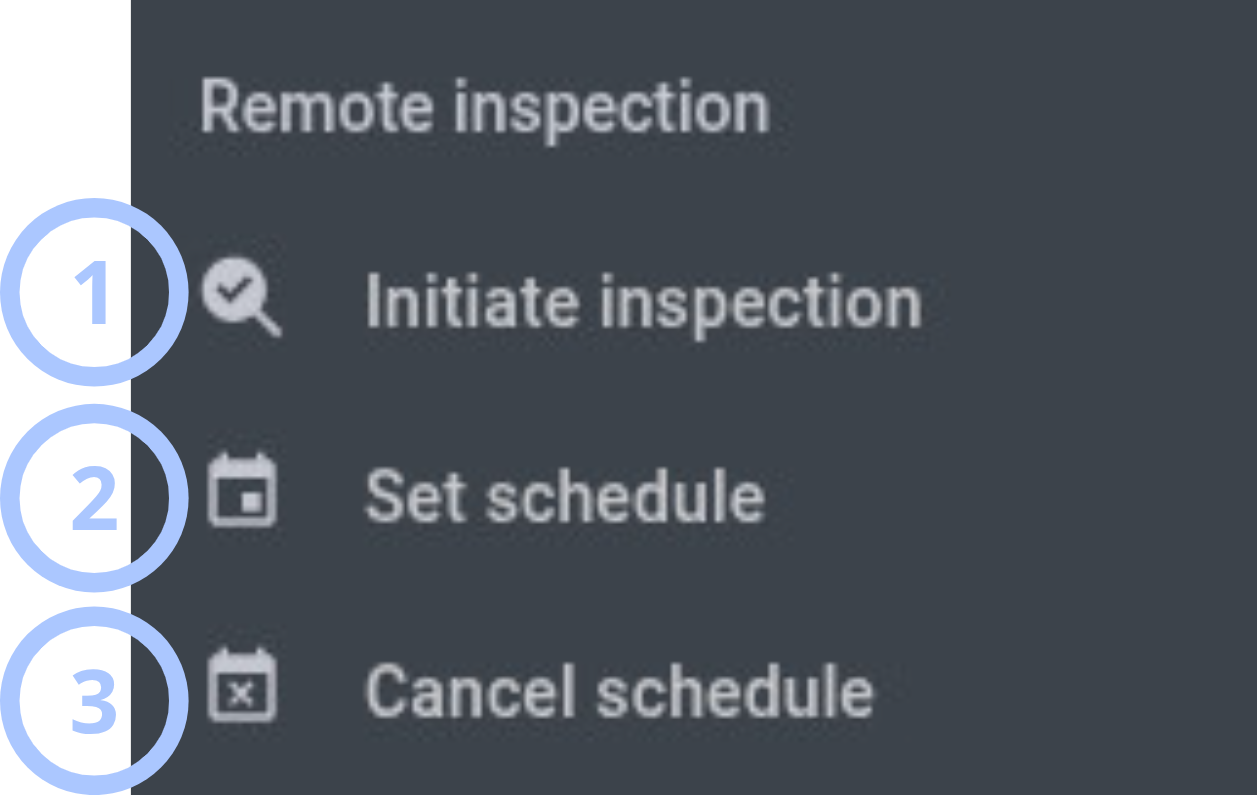
| Callout | UI element | Description | When to use |
|---|---|---|---|
| 1 | Initiate inspection | Opens the Initiate inspection modal window. | Use to start a remote inspection. |
| 2 | Set schedule | Opens the Schedule remote inspection modal window. | Use to schedule recurring remote inspections. |
| 3 | Cancel schedule | Opens the Schedule cancellation modal window. | Use to cancel a remote inspection schedule. |
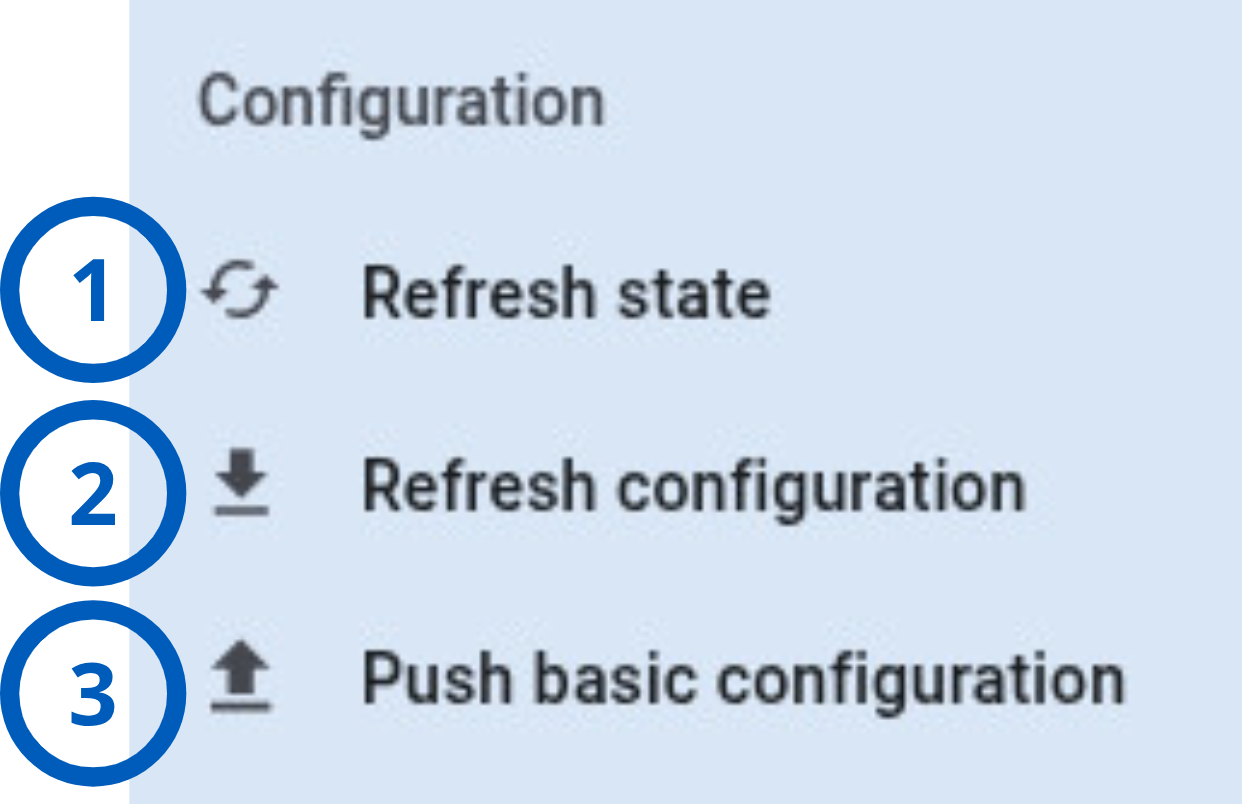
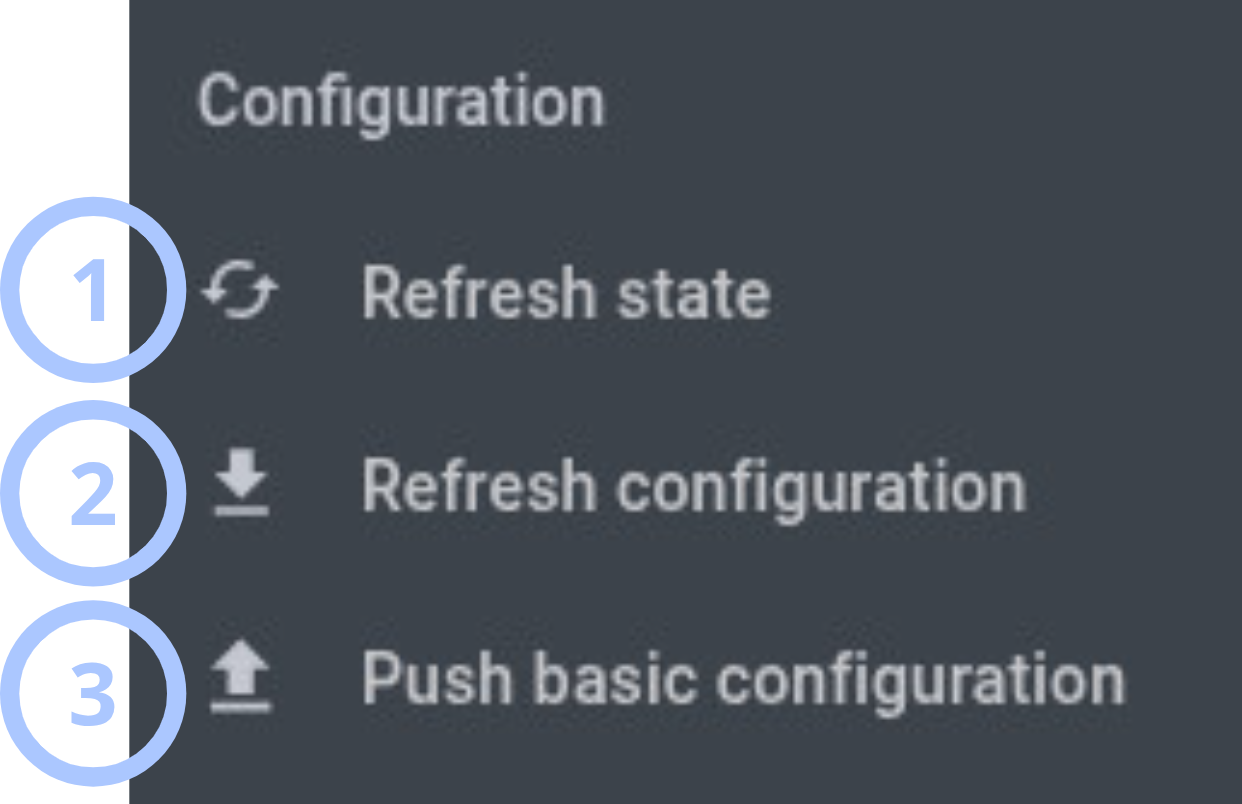
| Callout | UI element | Description | When to use |
|---|---|---|---|
| 1 | Refresh state | Starts the Refresh state process for the panel. | Use to retrieve the current panel state. |
| 2 | Refresh configuration | Starts the Download configuration process for the panel. | Use to download the current panel configuration. |
| 3 | Push basic configuration | Opens the Push Basic Config modal window. | Use to upload an acceptable basic configuration to the panel. |
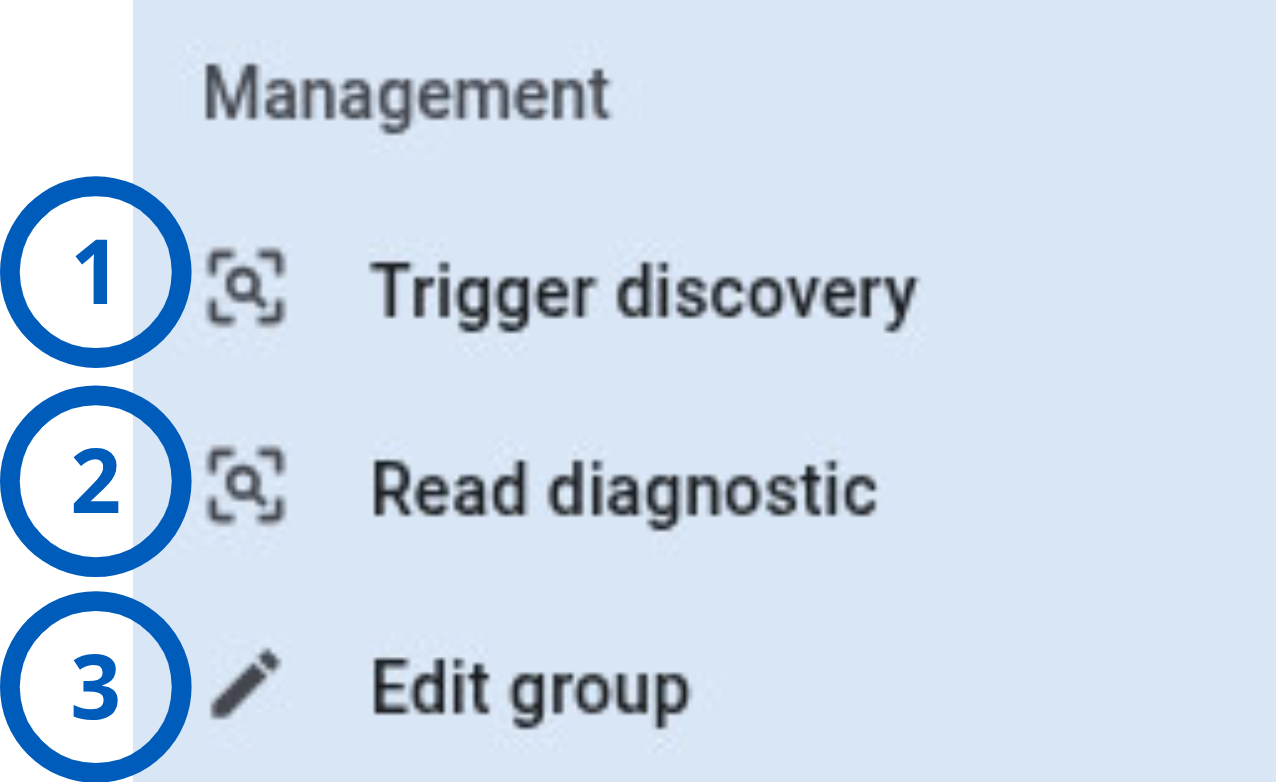
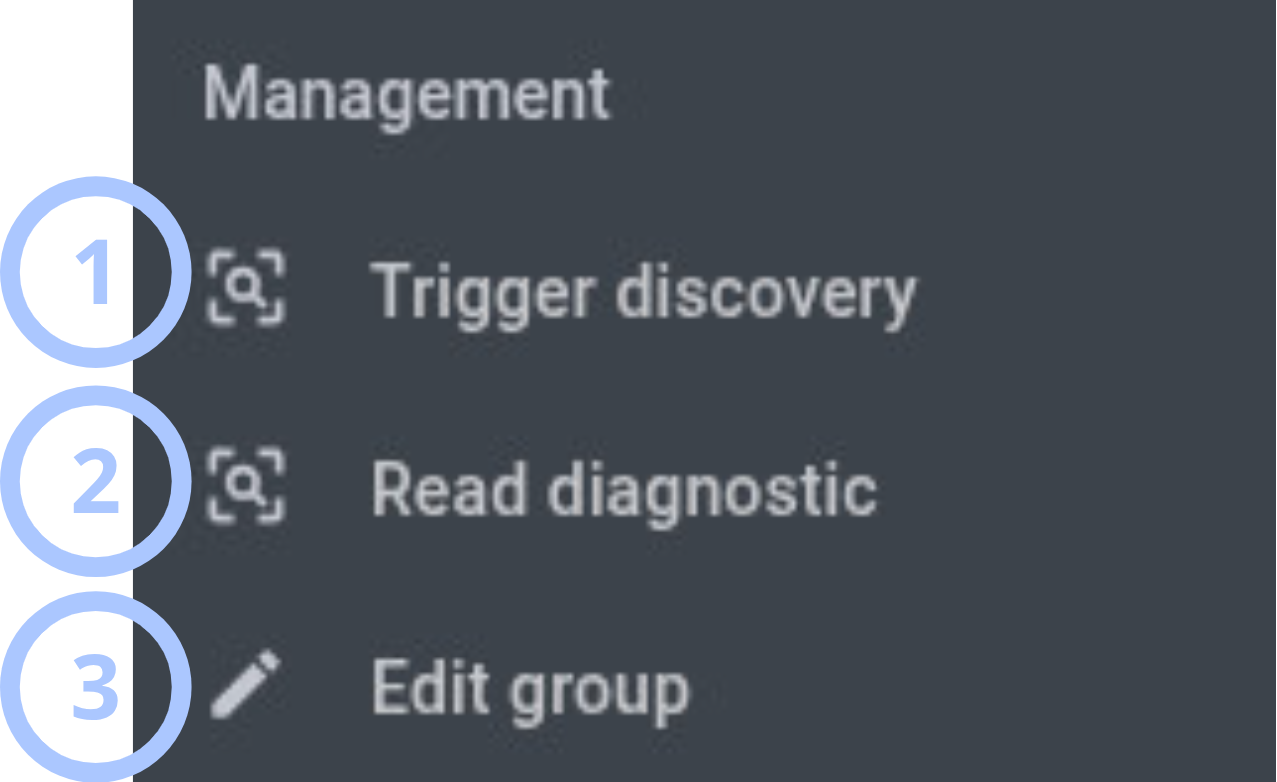
| Callout | UI element | Description | When to use |
|---|---|---|---|
| 1 | Trigger discovery | Opens the Trigger discovery modal window. | Use to start panel discovery. |
| 2 | Read diagnostic | Starts the Read diagnostic info process for the panel. | Use to retrieve diagnostic information. |
| 3 | Edit | Opens the Edit panel modal window. | Use to edit panel information. See the Info tab page for details. |
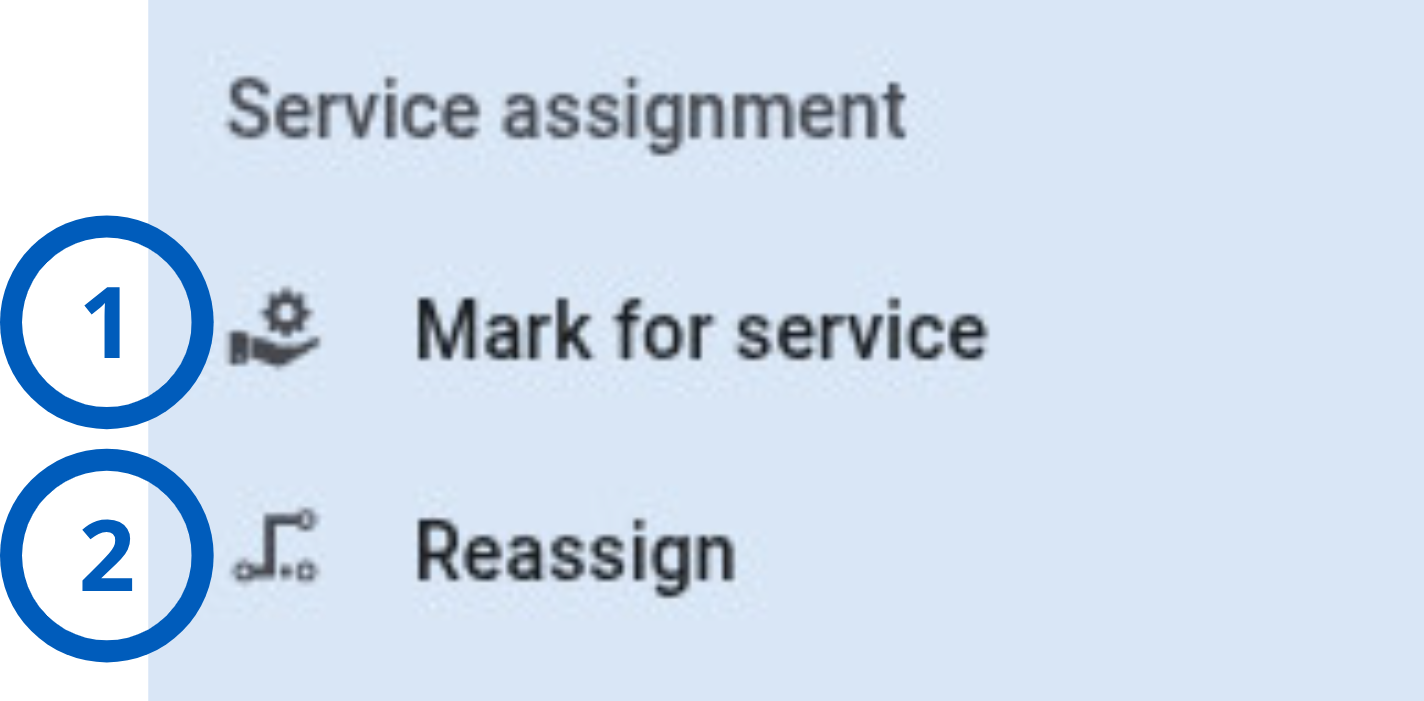
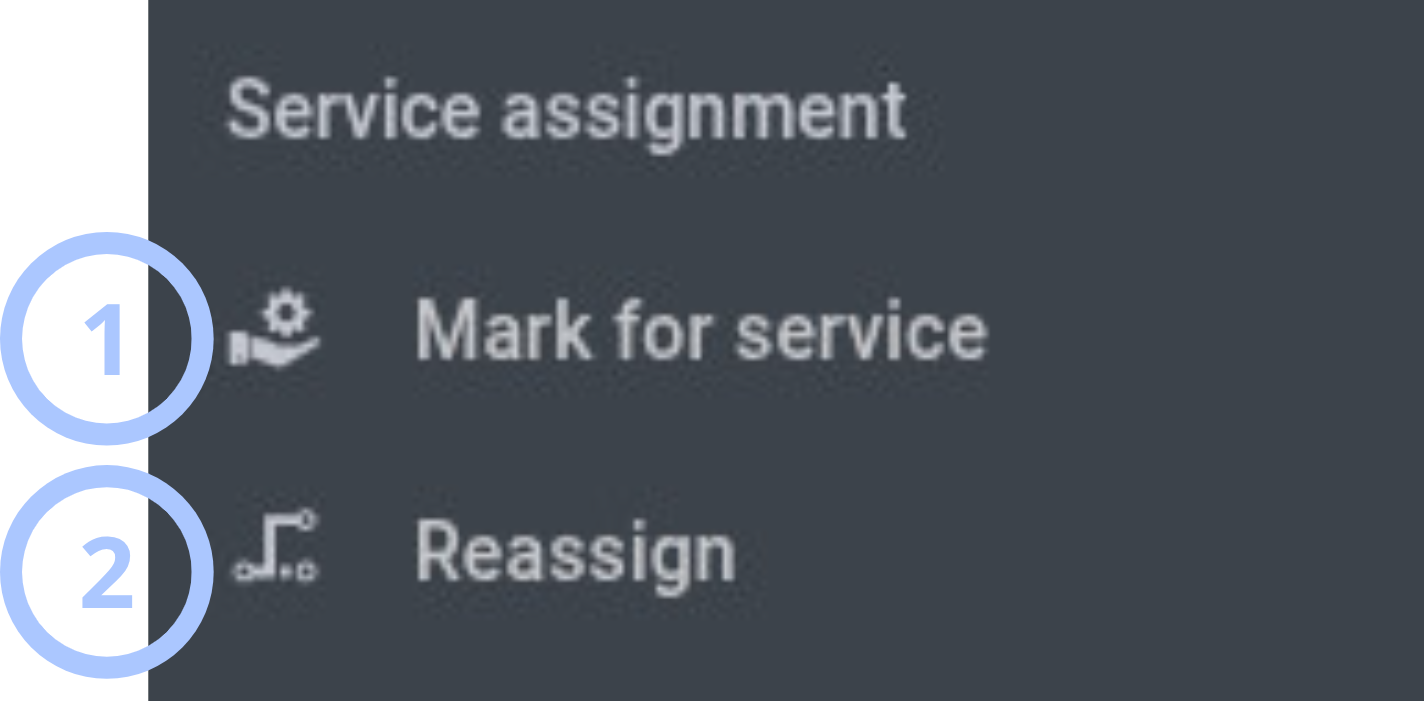
| Callout | UI element | Description | When to use |
|---|---|---|---|
| 1 | Mark for service | Opens the Mark panel for service modal window. | Use to assign a panel to the Task Pool or an employee for service. |
| 2 | Reassign | Opens the Reassign panel for service modal window. | Use to change the service assignment. |
| Callout | UI element | Description | When to use |
|---|---|---|---|
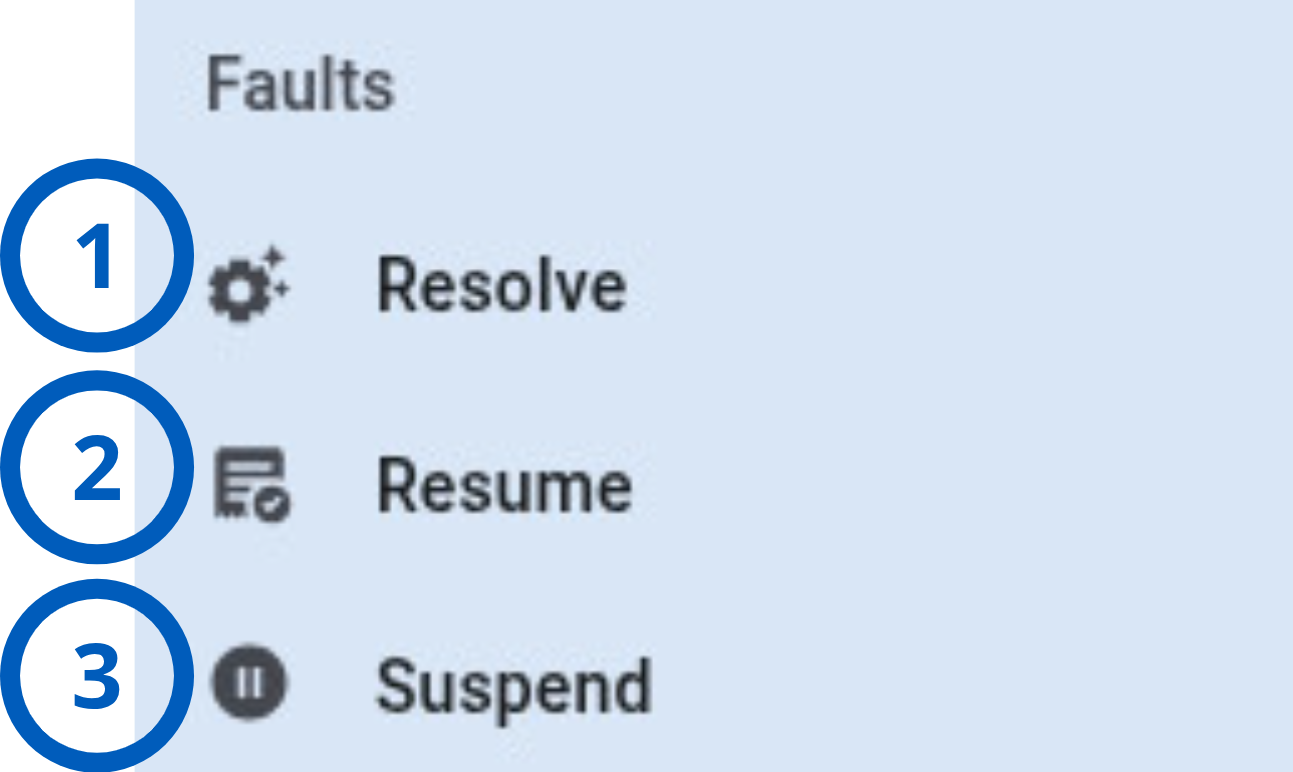
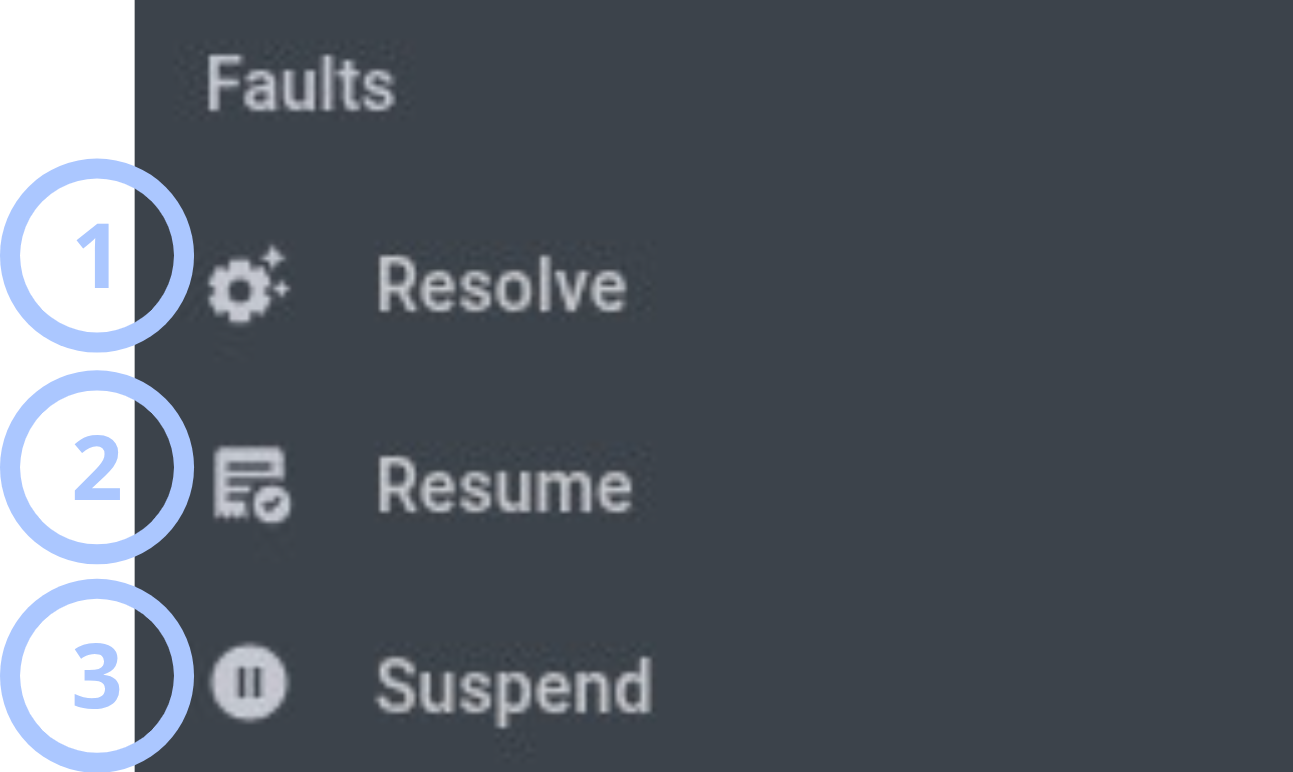
| 1 | Resolve | Opens the Resolve faults modal window when the panel is marked for service. | Use to resolve selected panel faults. |
| 2 | Resume | Opens the Resume faults modal window when the panel has suspended faults. | Use to return suspended faults to active status. |
| 3 | Suspend | Opens the Suspend faults modal window when the panel has active faults. | Use to suspend selected active faults. |


| Callout | UI element | Description | When to use |
|---|---|---|---|
| 1 | Remove | Opens the Remove panel modal window. | Use to remove the panel from PowerManage. |
Push Basic Config modal window
| Callout | UI element | Description | When to use |
|---|---|---|---|
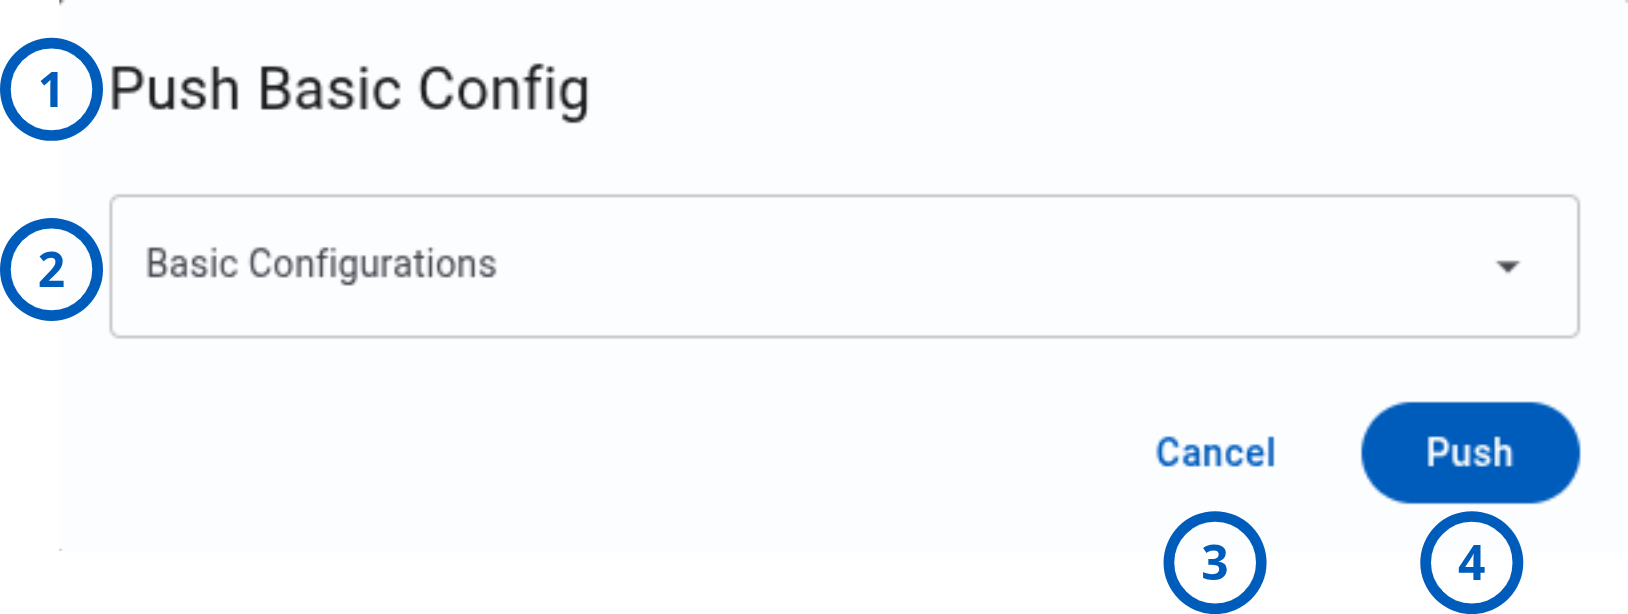
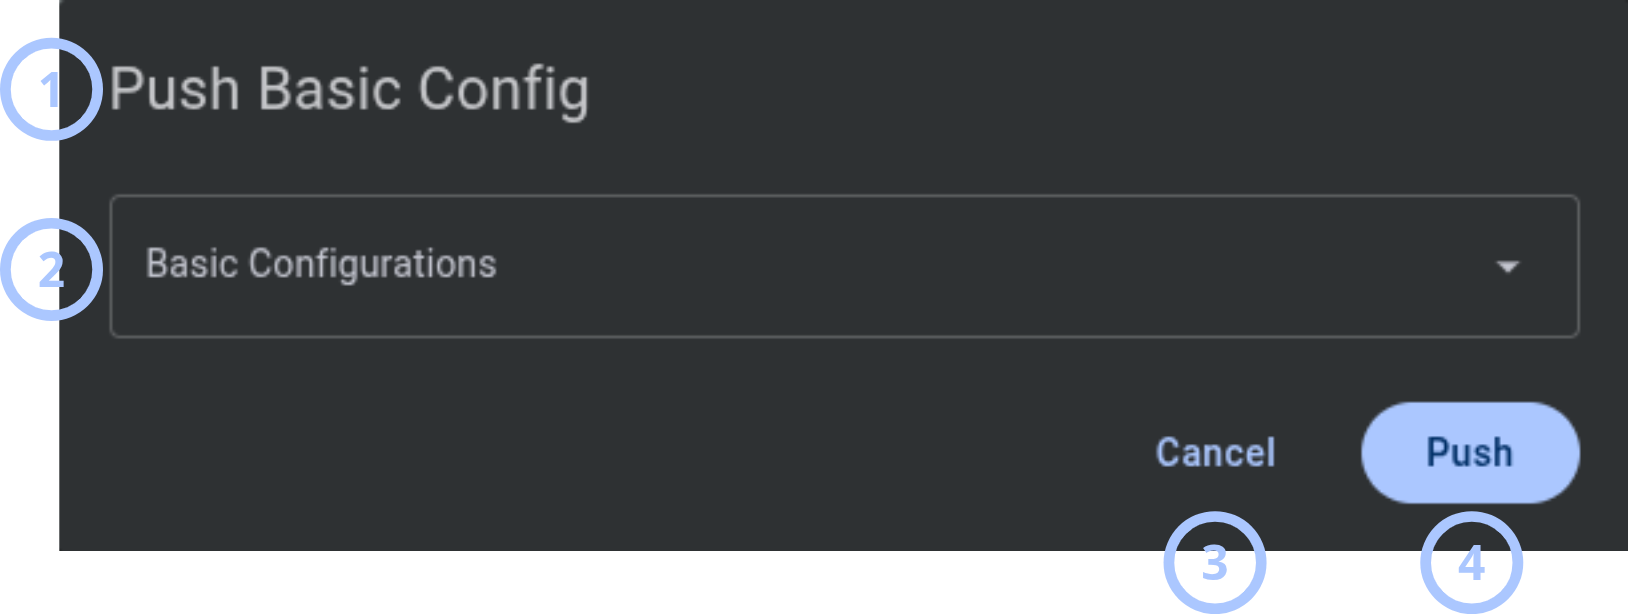
| 1 | Modal title | Shows Push Basic Config. | Use to confirm the current action. |
| 2 | Basic Configurations dropdown | Shows only basic configurations that are acceptable for the selected panel. | Use to select a basic configuration. |
| 3 | Cancel button | Closes the modal window without action. | Use to stop the operation. |
| 4 | Push button | Starts the Upload configuration process with the selected basic configuration. | Use to upload the selected configuration to the panel. |
Trigger discovery modal window
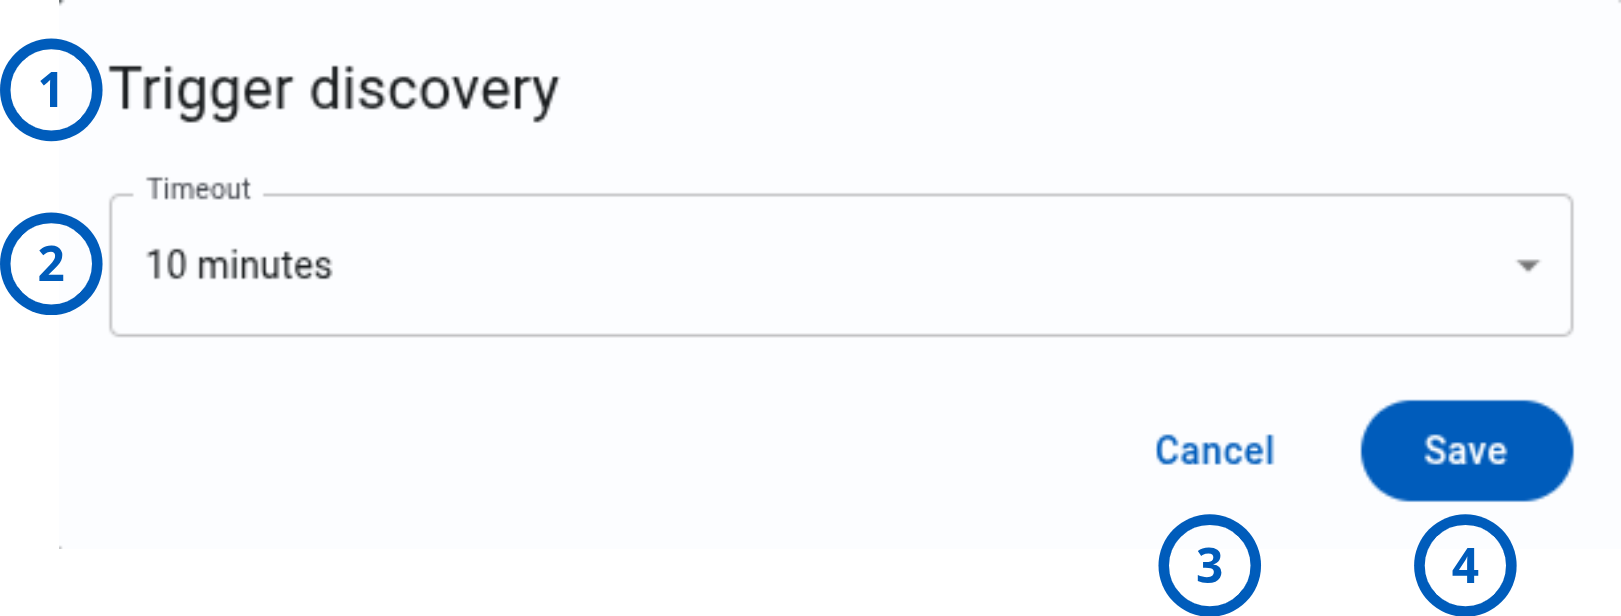
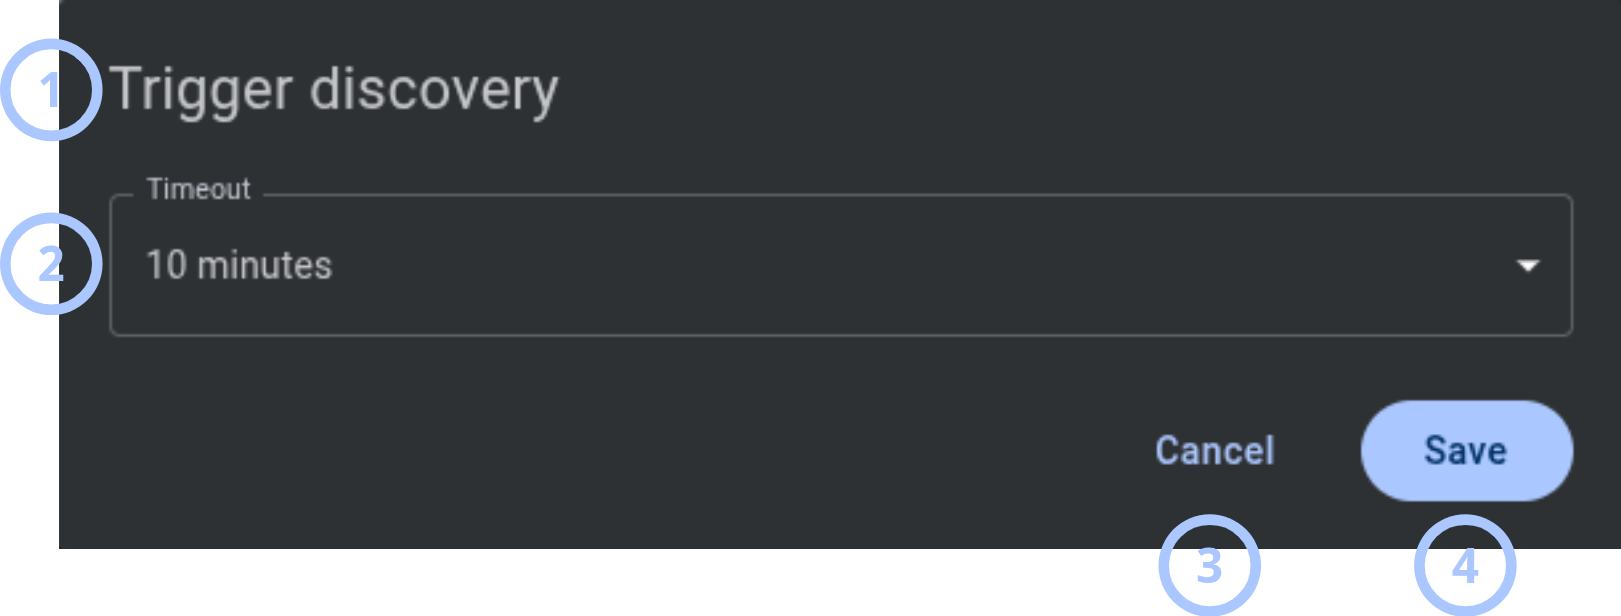
| Callout | UI element | Description | When to use |
|---|---|---|---|
| 1 | Modal title | Shows Trigger discovery. | Use to confirm the current action. |
| 2 | Timeout dropdown | Sets when discovery fails if the panel does not connect to the server. Values are Infinite, 10 minutes, 1 hour, 12 hours, 1 day, and 1 week. | Use to define how long PowerManage waits for the panel. |
| 3 | Cancel button | Closes the modal window without action. | Use to stop the operation. |
| 4 | Save button | Starts the Discovery process for the panel. | Use to start discovery. |
Mark panel for service modal window
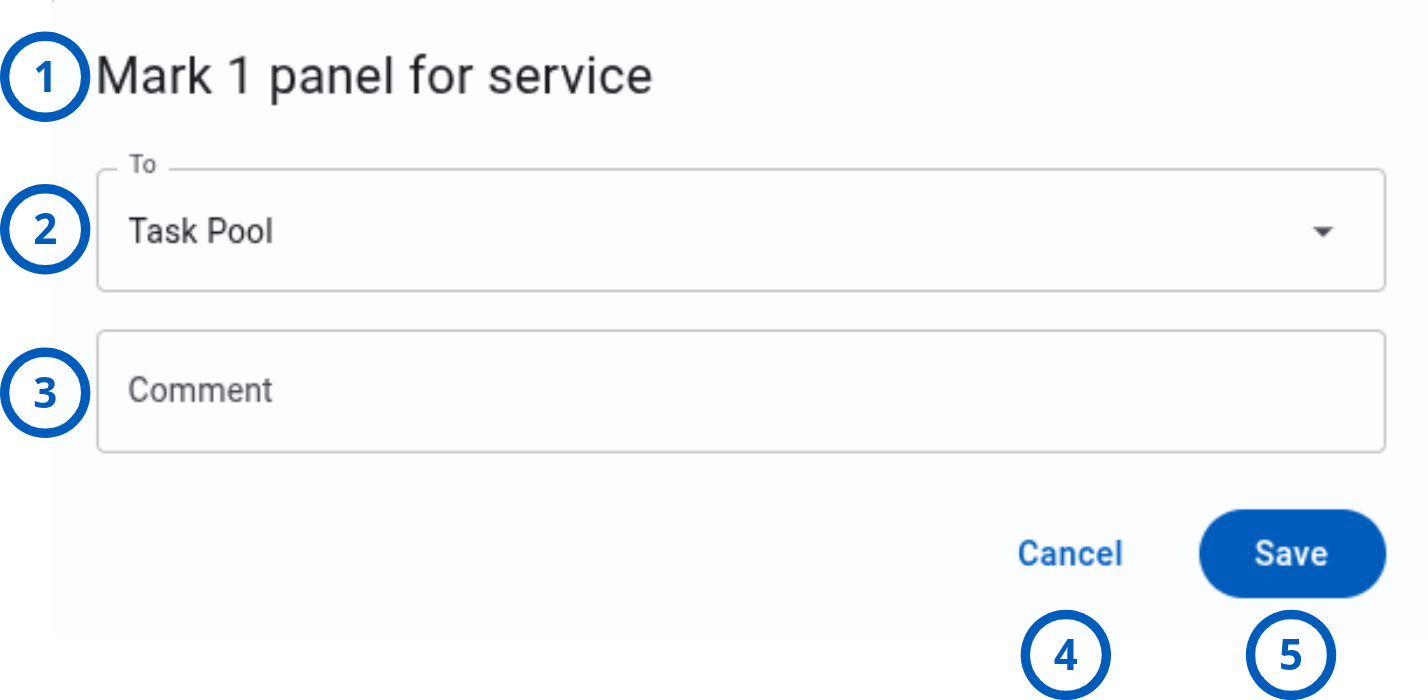
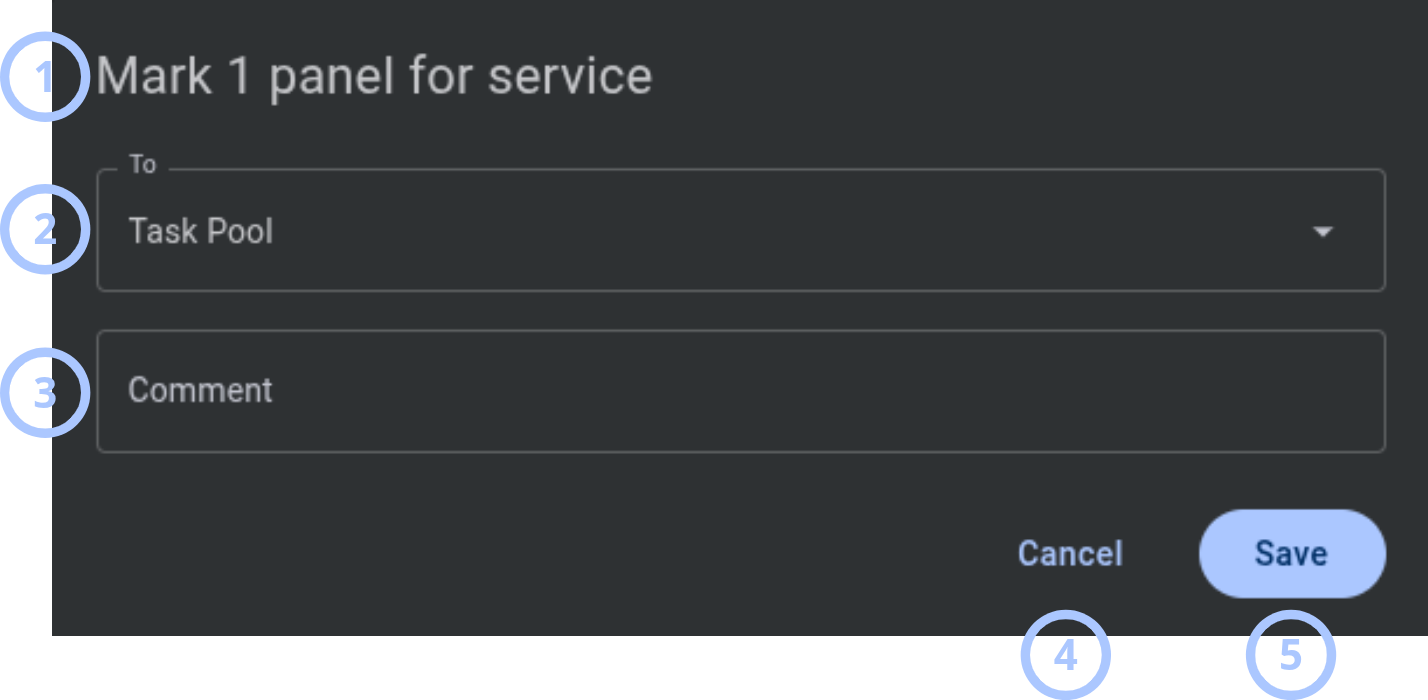
| Callout | UI element | Description | When to use |
|---|---|---|---|
| 1 | Modal title | Shows Mark panel for service. | Use to confirm the current action. |
| 2 | To dropdown | Shows the Task Pool and available employees. | Use to assign the service task. |
| 3 | Comment field | Accepts a service comment. | Use to record service details. |
| 4 | Cancel button | Closes the modal window without action. | Use to stop the operation. |
| 5 | Save button | Marks the panel for service. A related Mark for service trouble appears with the comment. | Use to save the service assignment. |
Reassign panel for service modal window
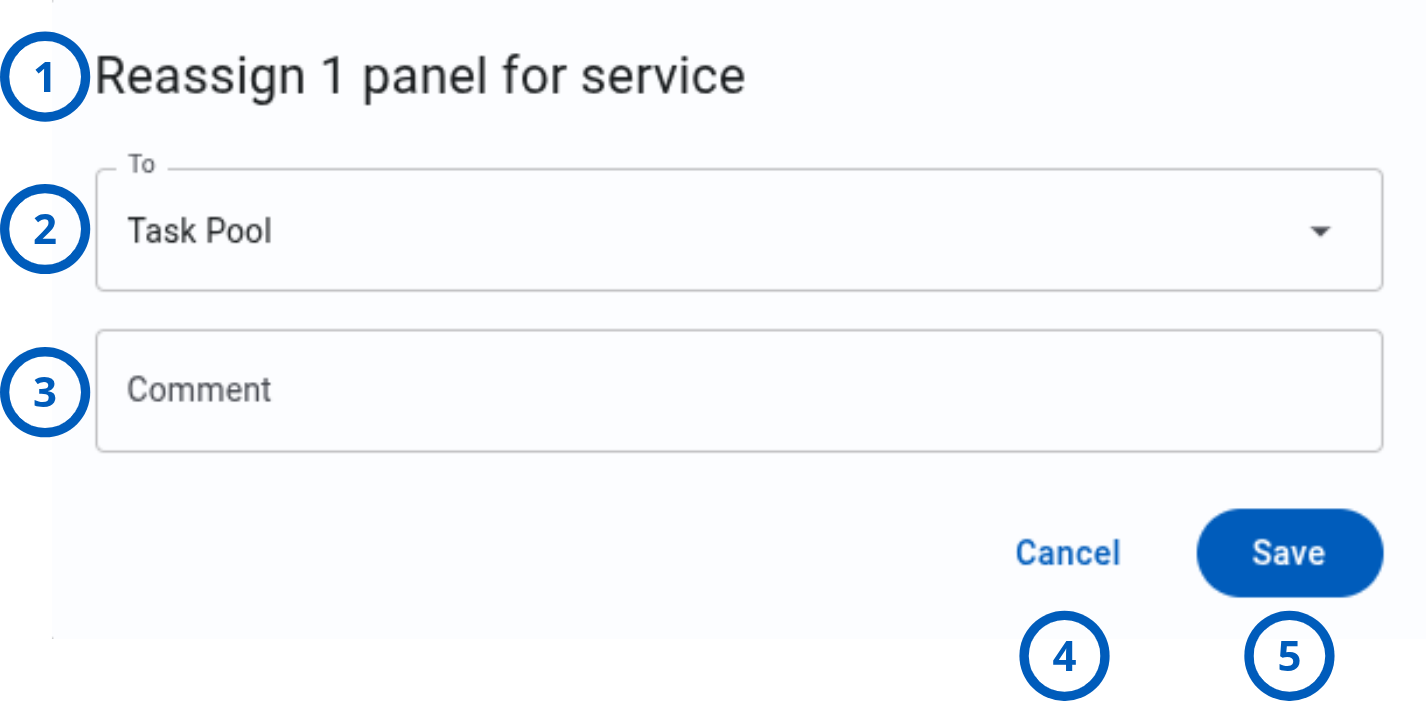
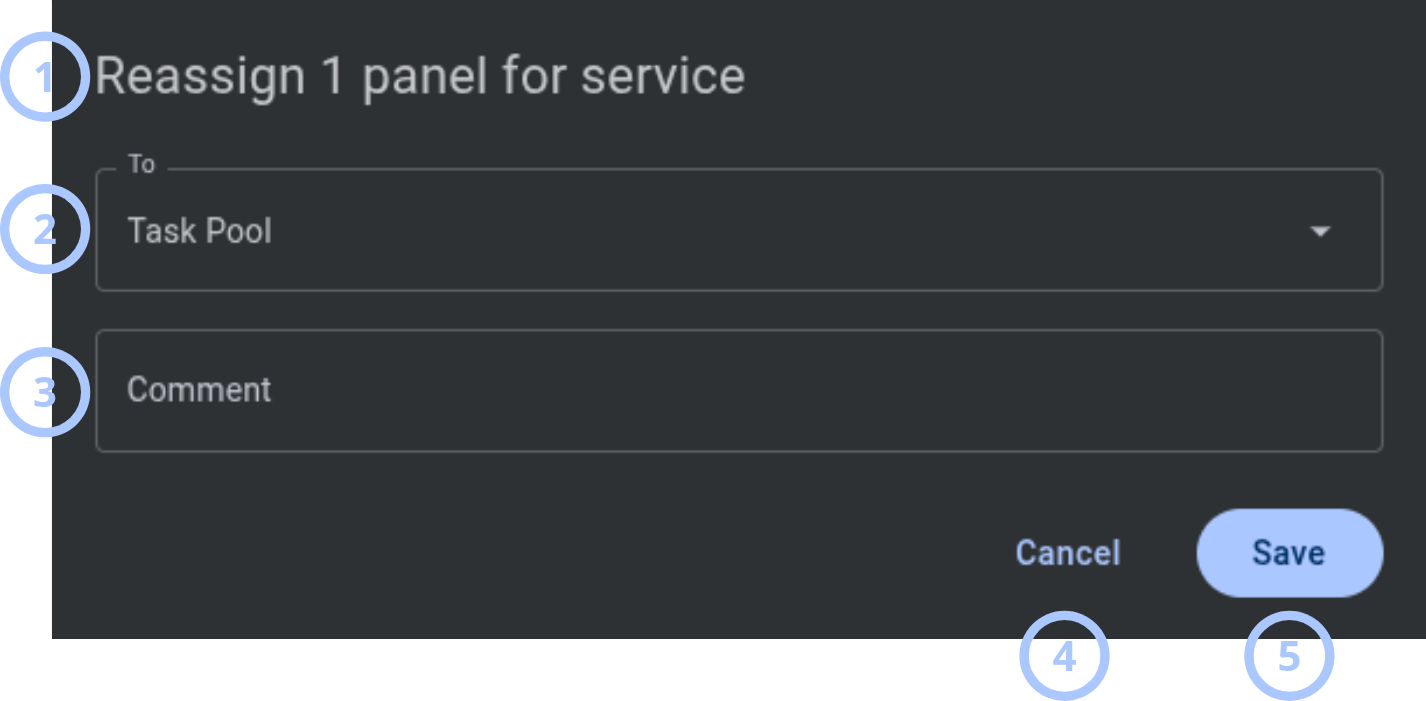
| Callout | UI element | Description | When to use |
|---|---|---|---|
| 1 | Modal title | Shows Reassign panel for service. | Use to confirm the current action. |
| 2 | To dropdown | Shows the Task Pool and available employees. | Use to select the new service assignment. |
| 3 | Comment field | Accepts a service comment. | Use to record reassignment details. |
| 4 | Cancel button | Closes the modal window without action. | Use to stop the operation. |
| 5 | Save button | Reassigns the panel for service and updates the related Mark for service trouble and comment. | Use to save the new assignment. |
Resolve faults modal window
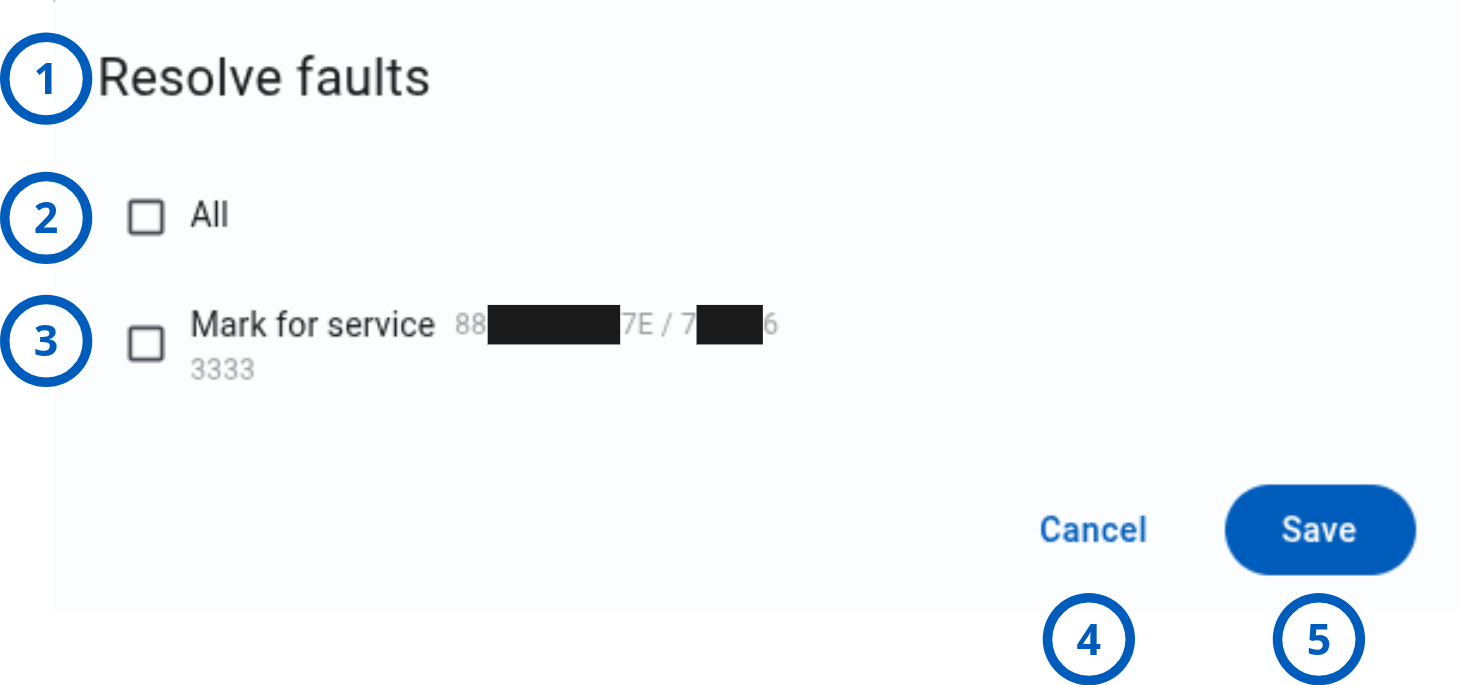
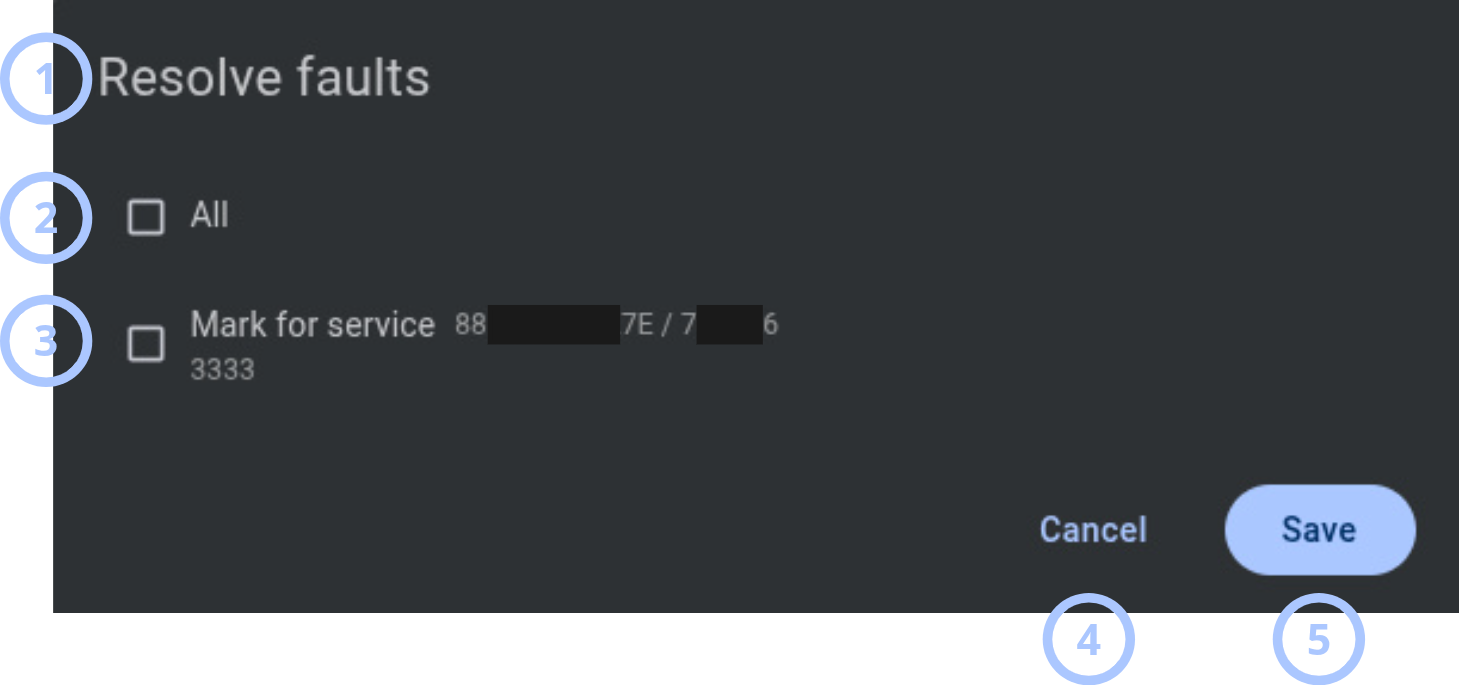
| Callout | UI element | Description | When to use |
|---|---|---|---|
| 1 | Modal title | Shows Resolve faults. | Use to confirm the current action. |
| 2 | All checkbox | Selects all listed faults. | Use to resolve every listed fault. |
| 3 | Fault | Shows a selection checkbox, fault name, and comment. | Use to select individual faults. |
| 4 | Cancel button | Closes the modal window without action. | Use to stop the operation. |
| 5 | Save button | Resolves selected faults. Resolved faults disappear from the panel. | Use to complete fault resolution. |
Resume faults modal window
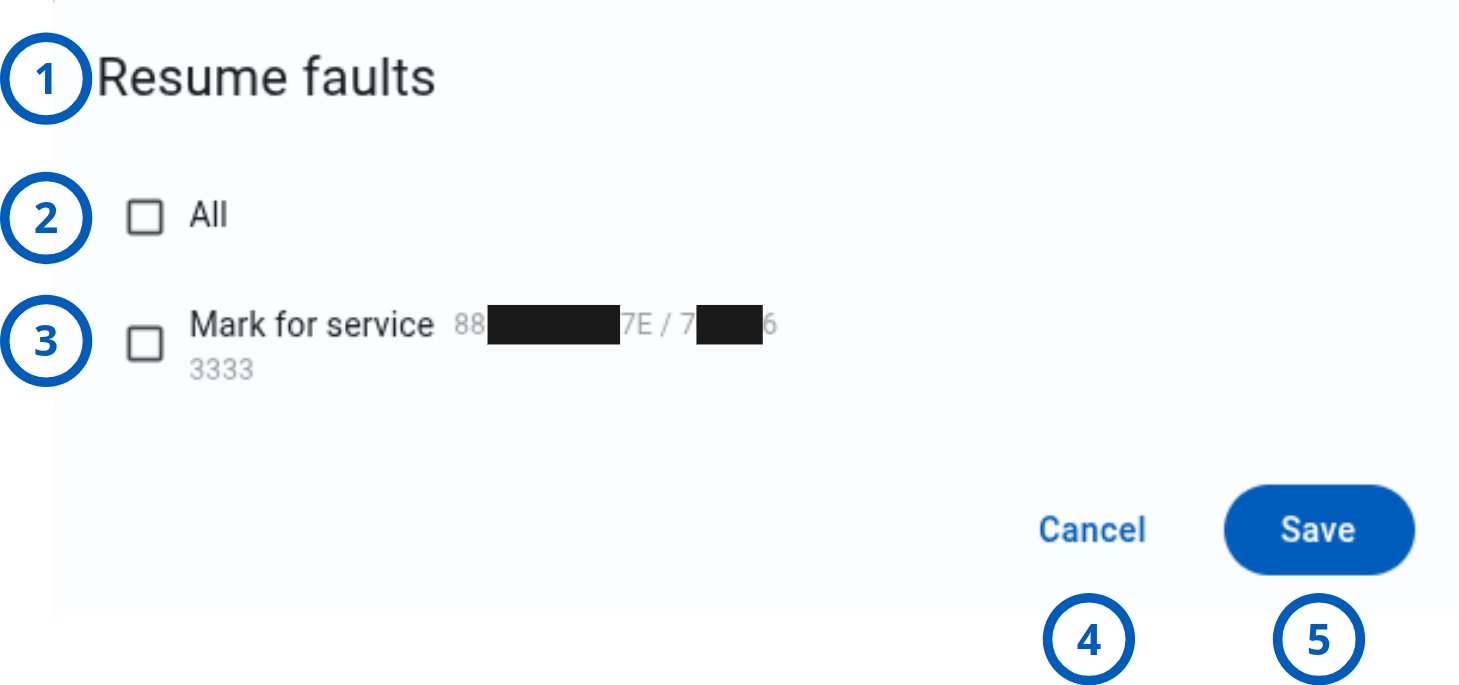
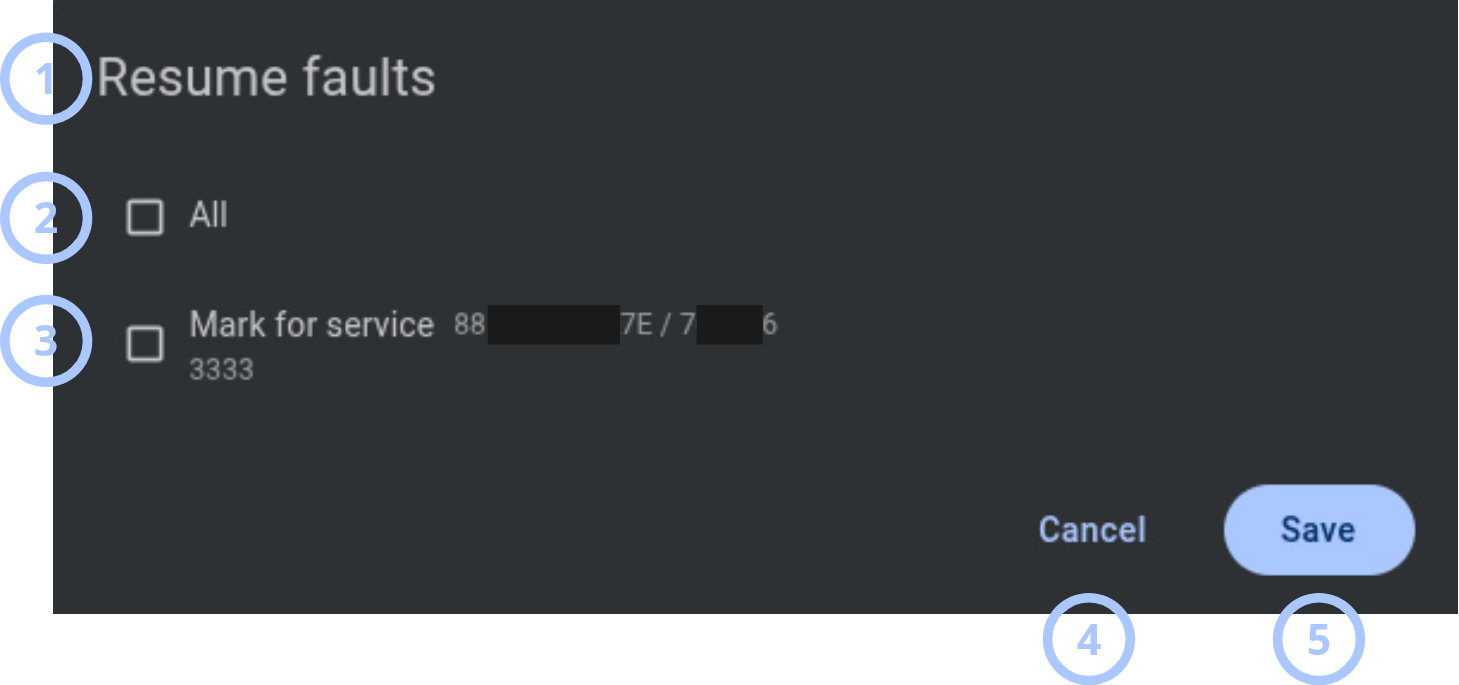
| Callout | UI element | Description | When to use |
|---|---|---|---|
| 1 | Modal title | Shows Resume faults. | Use to confirm the current action. |
| 2 | All checkbox | Selects all listed faults. | Use to resume every listed fault. |
| 3 | Fault | Shows a selection checkbox, fault name, and comment. | Use to select individual suspended faults. |
| 4 | Cancel button | Closes the modal window without action. | Use to stop the operation. |
| 5 | Save button | Resumes selected suspended faults. The faults appear as active again. | Use to return faults to active status. |
Suspend faults modal window
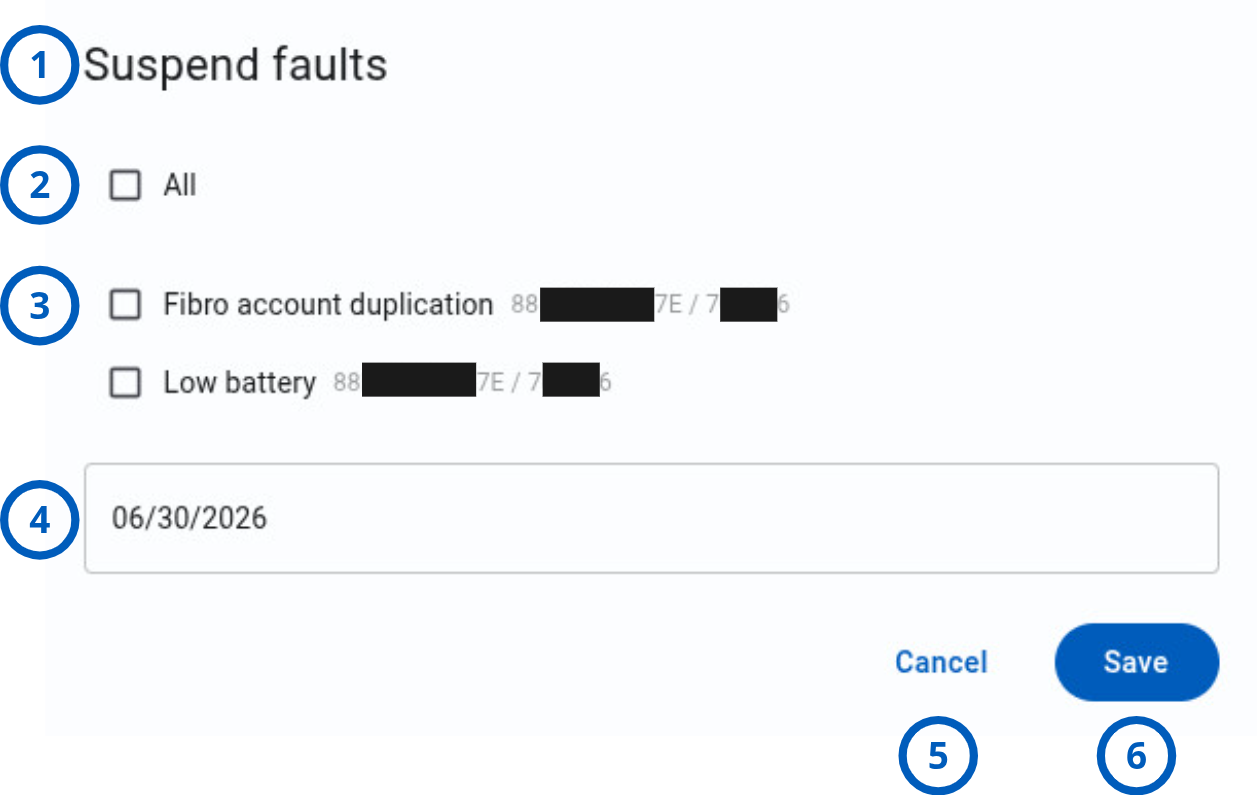
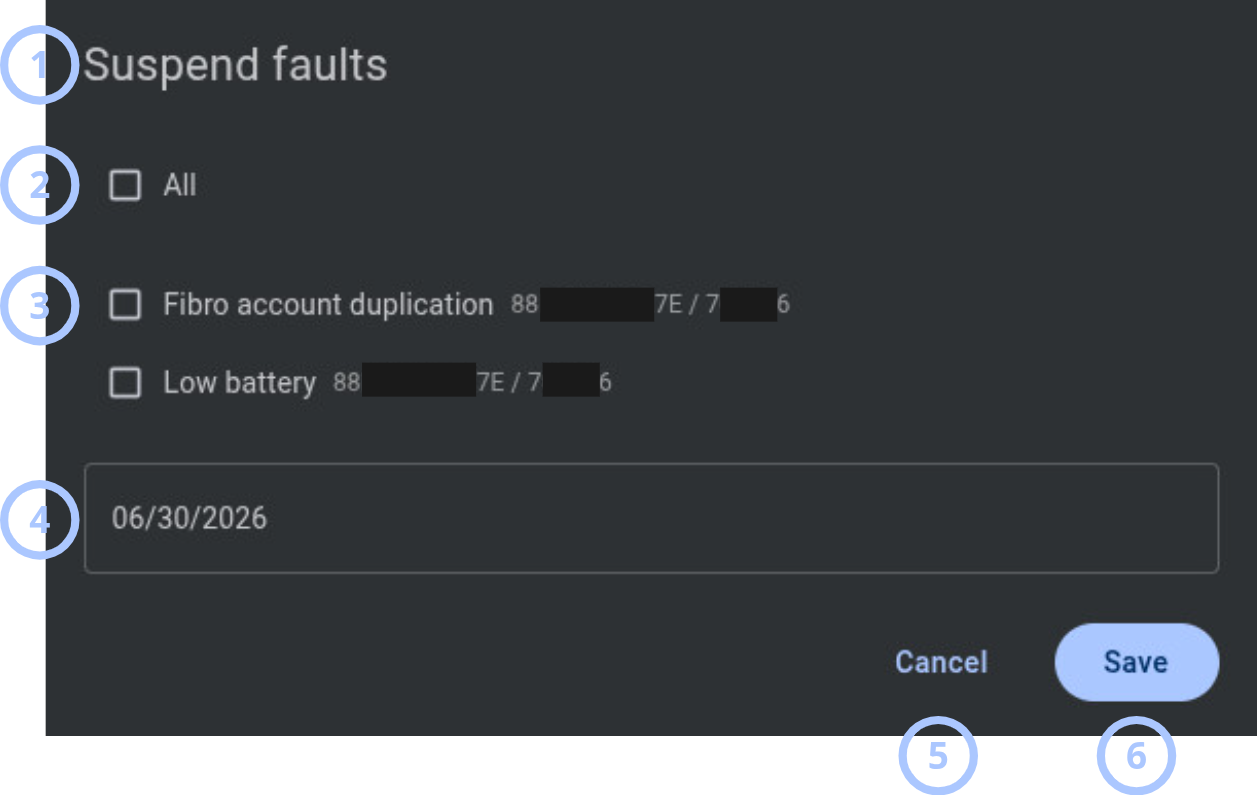
| Callout | UI element | Description | When to use |
|---|---|---|---|
| 1 | Modal title | Shows Suspend faults. | Use to confirm the current action. |
| 2 | All checkbox | Selects all listed faults. | Use to suspend every listed fault. |
| 3 | Fault | Shows a selection checkbox, fault name, and comment. | Use to select individual active faults. |
| 4 | Cancel button | Closes the modal window without action. | Use to stop the operation. |
| 5 | Save button | Suspends selected active faults. The faults then appear as suspended. | Use to suspend active faults. |
Remove panel modal window
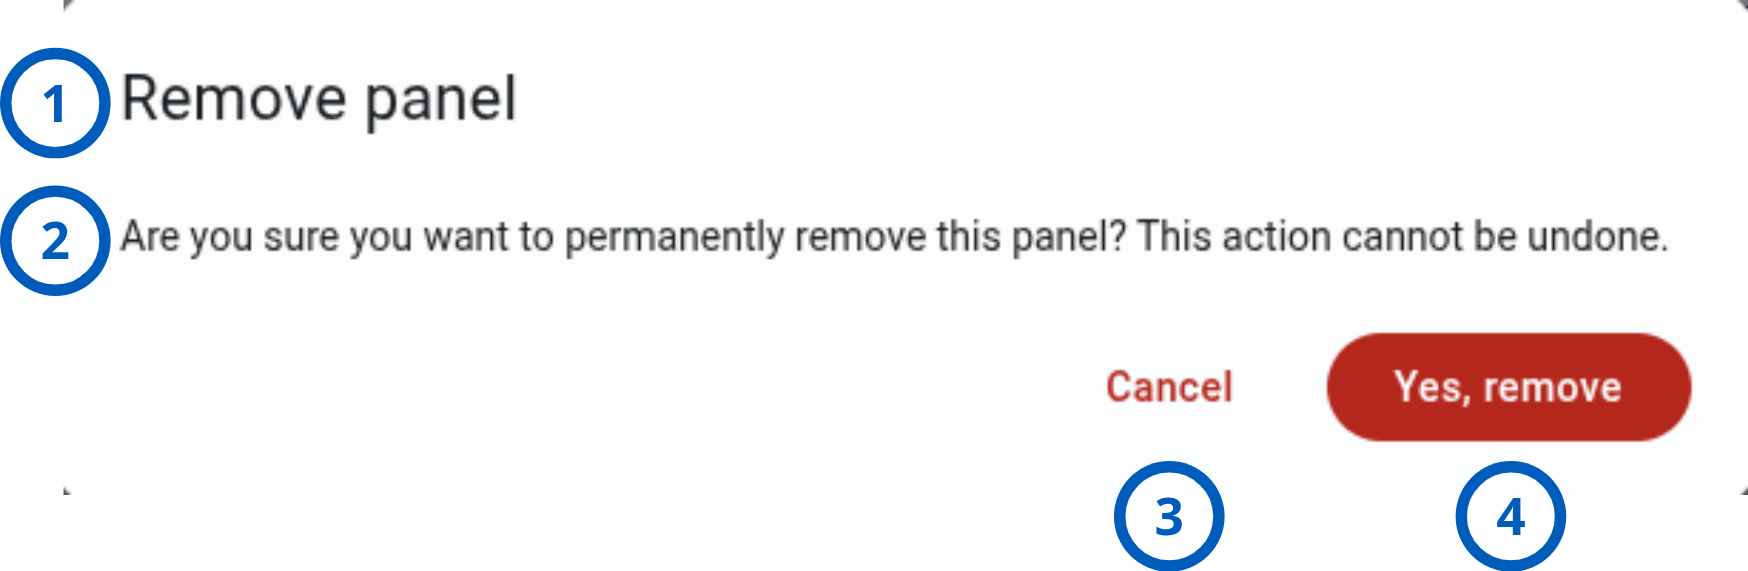
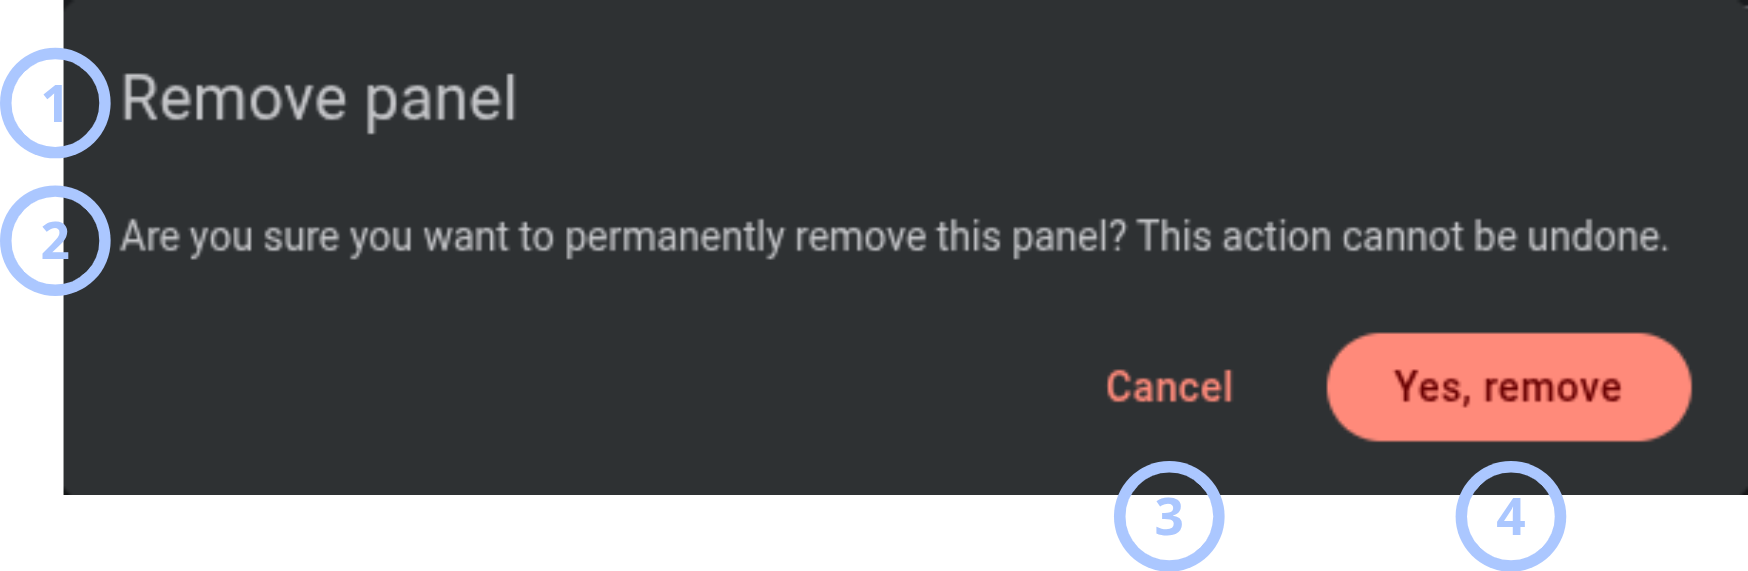
| Callout | UI element | Description | When to use |
|---|---|---|---|
| 1 | Modal title | Shows the modal name: Remove panel. | Use to confirm that you are removing a panel. |
| 2 | Warning message | Shows the message: Are you sure you want to permanently remove this panel? This action cannot be undone.. | Review before removal. |
| 3 | Cancel button | Closes the modal without removing the panel. | Use when you do not want to remove the panel. |
| 4 | Yes, remove button | Permanently removes the panel from the equipment grid. | Use only when the panel is no longer needed. |
State management and troubles widget
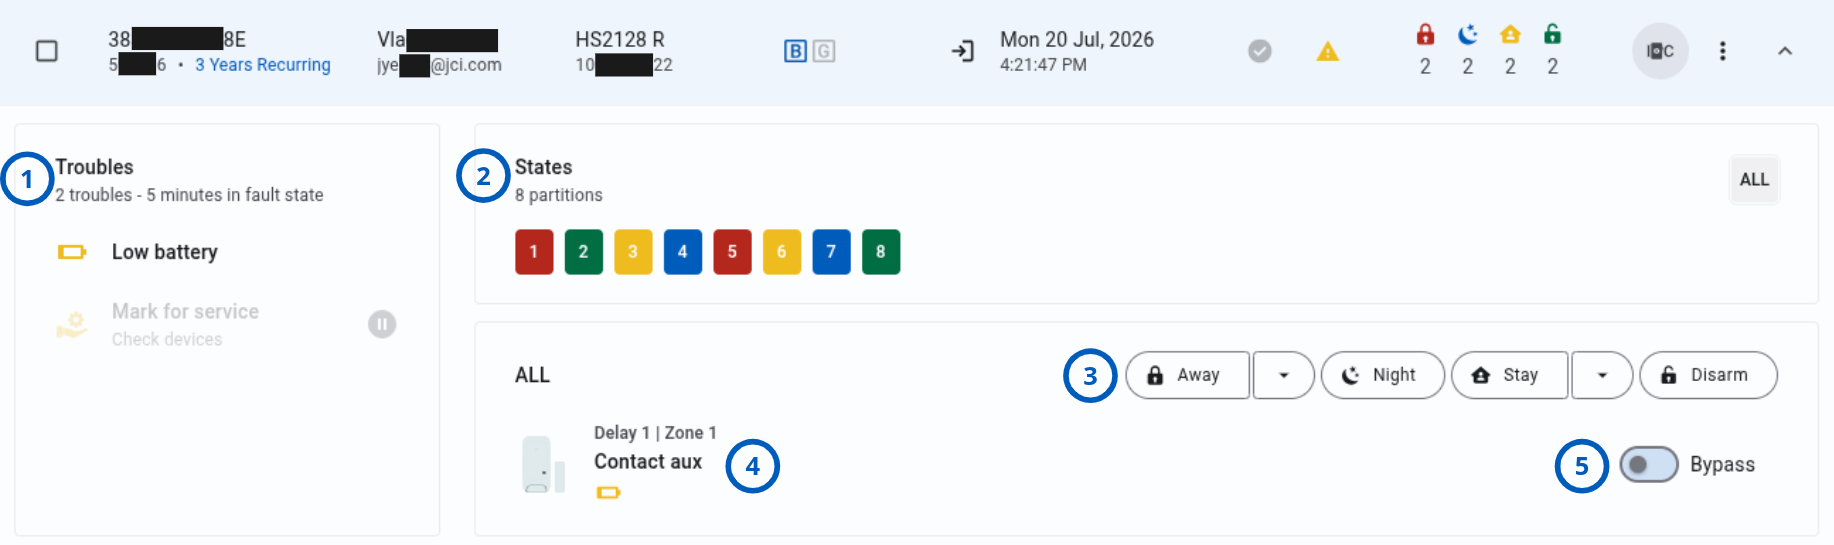
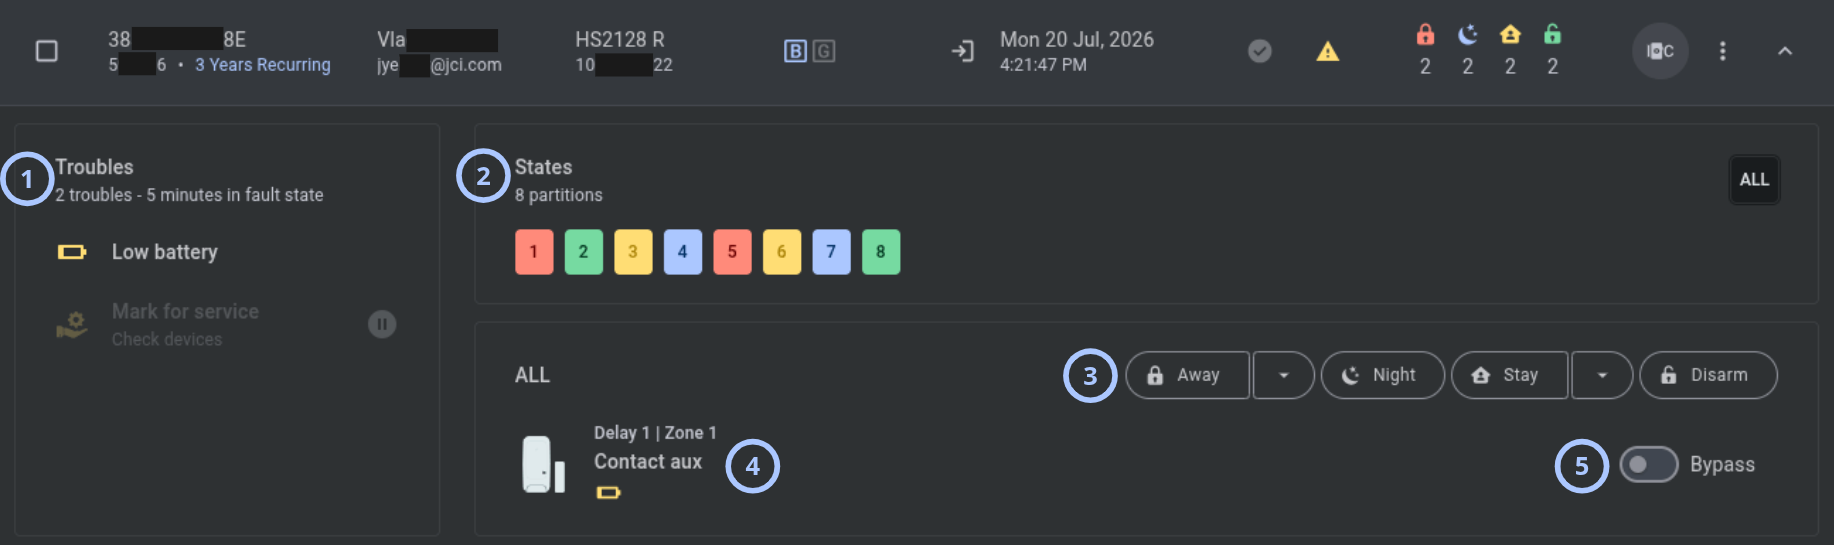
The State management and troubles widget shows panel states, active troubles, troubled devices, and supported controls.
| Callout | UI element | Description | When to use |
|---|---|---|---|
| 1 | Troubles | Shows trouble count, panel time in fault state, and trouble details for the selected partition. When ALL is selected, troubles are shown for all partitions. | Use to review current panel troubles. |
| 2 | States | Shows partitions, colored partition state icons, and an ALL button. Green means disarmed, red means armed away, yellow means armed home, and blue means armed night. | Use to select a partition or all partitions. |
| 3 | State control | Shows state change buttons such as Away, Night, Stay, and Disarm for the selected partition. | Use to apply a new state to a partition. |
| 4 | Troubled devices | Shows only troubled devices with device icon, zone type, zone number, zone name, and trouble icons. | Use to review devices that require attention. |
| 5 | Bypass toggle | Shows next to each bypassable troubled device. | Use to bypass a troubled device when supported. |
- Suspended faults are shown greyed out. If a fault has a comment, the comment is shown near the fault.
- The States area is not supported for Fibro transmitters or manually enrolled panels with unfinished first discovery.
- The Bypass section shows only troubled devices. Devices without troubles and non-bypassable devices are not shown.
- Additional arming parameters depend on the panel type.
App toggles
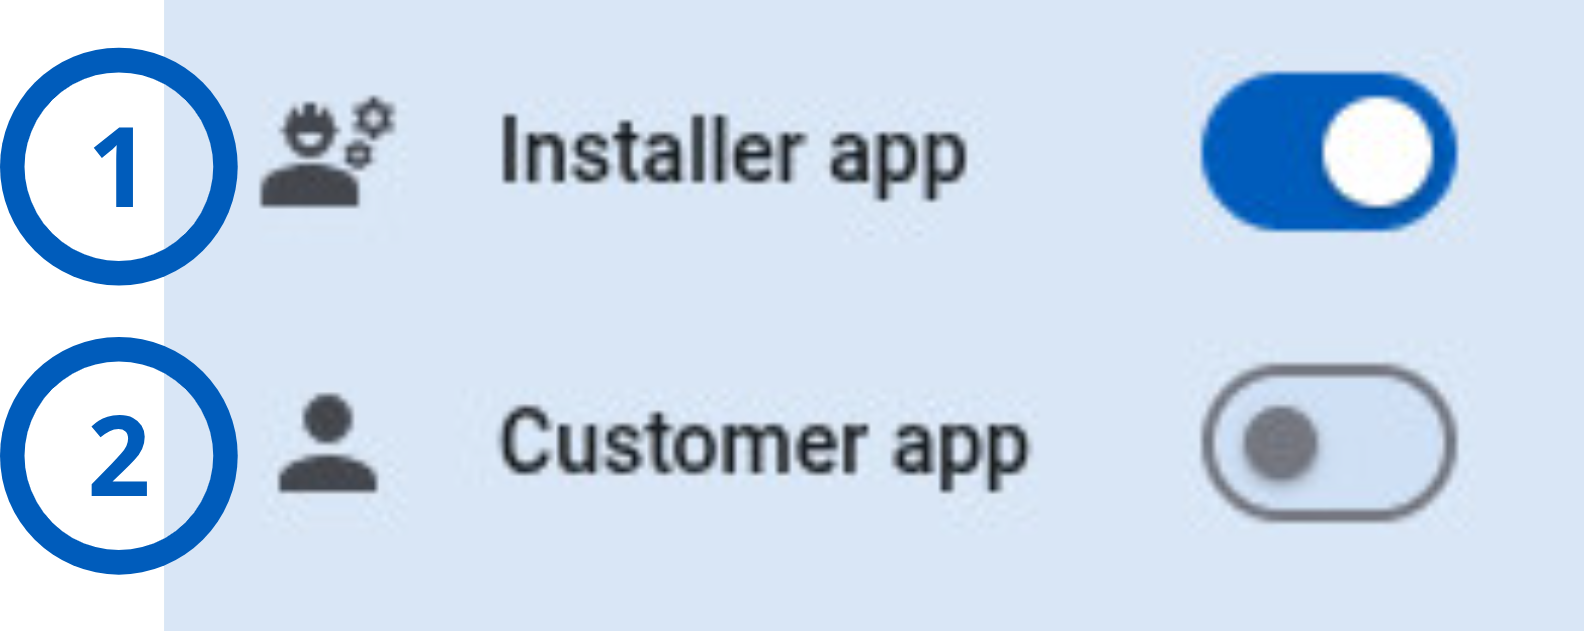
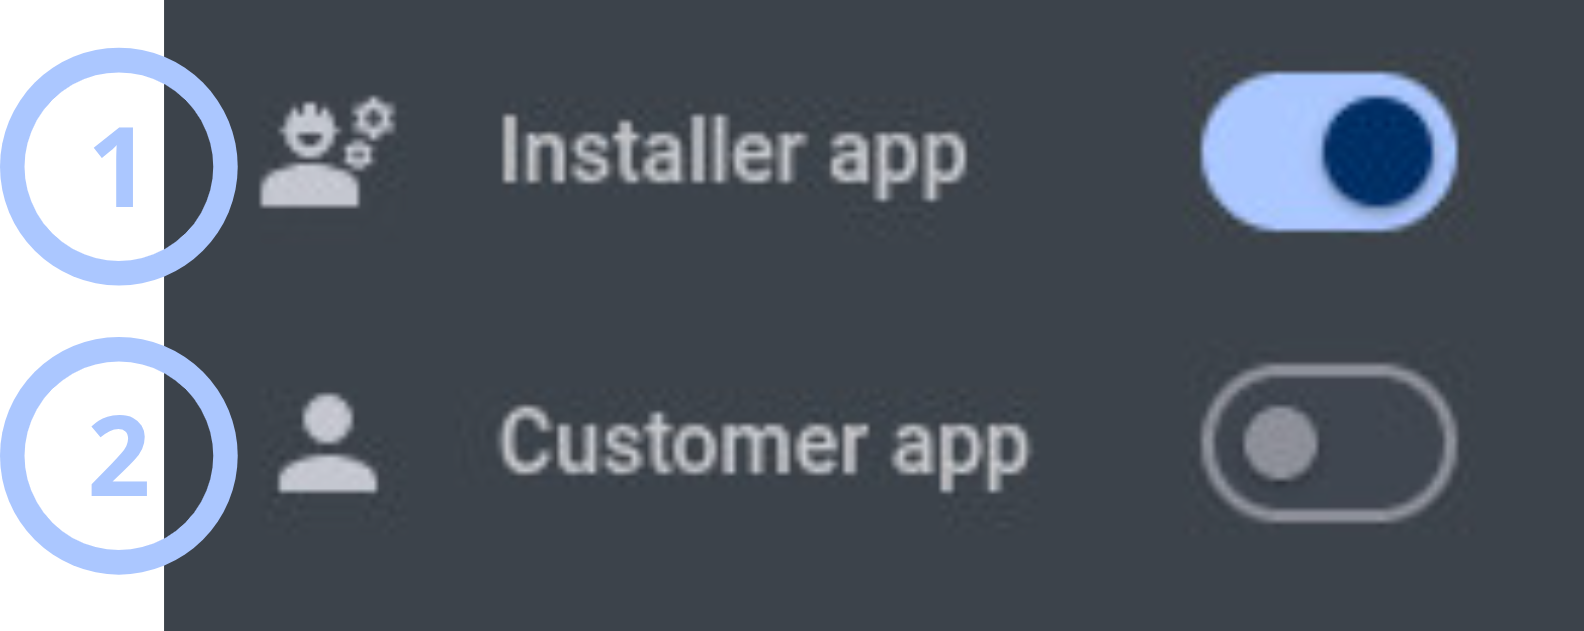
The app toggles control access to the selected panel through the installer and customer applications.
| Callout | UI element | Description | When to use |
|---|---|---|---|
| 1 | Installer app toggle | Allows installers to sign in to the panel through the AlarmInstall app when enabled. When disabled, installers cannot sign in to the panel through AlarmInstall. | Use to allow or prevent installer application access for the panel. |
| 2 | Customer app toggle | Allows customers to sign in to the panel through the ConnectAlarm app when enabled. When disabled, customers cannot sign in to the panel through ConnectAlarm. | Use to allow or prevent customer application access for the panel. |
Pagination controls


Pagination controls let you move through equipment pages and adjust the number of records shown.
| Callout | UI element | Description | When to use |
|---|---|---|---|
| 1 | Previous and next arrows | Moves between equipment pages. | Use when the equipment list spans multiple pages. |
| 2 | Range indicator | Shows the current visible range and total equipment count. | Use to understand which records are displayed. |
| 3 | Equipment per page selector | Changes how many equipment records appear on one page. | Use to adjust the grid page size. |
How to use this page
Add a panel
Goal:
- Add a panel to PowerManage and record available owner information and remarks.
Steps:
- On the Equipment page, select Add panel.
- On the Panel information tab, select the panel type.
- Enter the panel ID, account code, and SIM number when required.
- Select a group.
- On the Owner information tab, enter the available owner details.
- On the Remarks tab, enter any relevant panel remarks.
- Select Save.
Expected result:
- PowerManage adds the panel when all required values are valid.
- The panel appears in the Equipment grid.
Open Equipment hub
Goal:
- Open detailed information and management tools for a panel.
Steps:
- Find the panel in the Equipment grid.
- Select the panel row.
Expected result:
- Equipment hub opens for the selected panel.
- Available tabs and actions depend on the panel type, discovery state, and your permissions.
Set a panel state
Goal:
- Arm, disarm, or change the state of a panel partition.
Steps:
- Locate the required panel in the Equipment grid.
- Select the State management and troubles widget arrow.
- Select the required partition.
- Select the desired state:
- Away
- Stay
- Night
- Disarm
- Confirm the action if prompted.
Expected result:
- The selected partition changes to the requested state.
- The state indicator updates in the Equipment grid.
Review active panel troubles
Goal:
- Identify active troubles affecting a panel.
Steps:
- Open the State management and troubles widget.
- Review the Troubles section.
- Select a trouble to view additional details and comments.
Expected result:
- Active troubles are displayed with their current status and comments.
Bypass a troubled device
Goal:
- Temporarily bypass a device that prevents arming.
Steps:
- Open the State management and troubles widget.
- Select the required partition.
- Locate the device in the Troubled devices list.
- Enable the Bypass toggle.
Expected result:
- The selected device is bypassed.
- The panel can be armed according to panel capabilities.
Review panel status
Goal:
- Check panel connectivity, state, events, and troubles.
Steps:
- Find the panel in the Equipment grid.
- Review Connection.
- Review Events & Troubles.
- Review States.
- If more detail is needed, select the State management and troubles widget arrow.
Expected result:
- The grid shows the current information received from the panel.
- The widget shows available state, trouble, and troubled-device details.
Refresh panel state
Goal:
- Request the current state from a panel.
Steps:
- Open the panel More actions menu.
- Select Configuration.
- Select Refresh state.
Expected result:
- PowerManage starts the Refresh state process for the panel.
Download panel configuration
Goal:
- Request the current configuration from a panel.
Steps:
- Open the panel More actions menu.
- Select Configuration.
- Select Refresh configuration.
Expected result:
- PowerManage starts the Download configuration process for the panel.
Push a basic configuration
Goal:
- Upload a compatible basic configuration to a panel.
Steps:
- Open the panel More actions menu.
- Select Configuration.
- Select Push basic configuration.
- In Basic Configurations, select a configuration.
- Select Push.
Expected result:
- PowerManage starts the Upload configuration process with the selected basic configuration.
Trigger panel discovery
Goal:
- Start discovery for a panel.
Steps:
- Open the panel More actions menu.
- Select Management.
- Select Trigger discovery.
- Select a timeout.
- Select Save.
Expected result:
- PowerManage starts the Discovery process.
- The process fails after the selected timeout if the panel does not connect to the server.
Read diagnostic information
Goal:
- Request diagnostic information from a panel.
Steps:
- Open the panel More actions menu.
- Select Management.
- Select Read diagnostic.
Expected result:
- PowerManage starts the Read diagnostic info process.
Mark a panel for service
Goal:
- Assign a panel to the Task Pool or an employee for service.
Steps:
- Open the panel More actions menu.
- Select Service assignment.
- Select Mark for service.
- In To, select the Task Pool or an employee.
- Enter a comment when needed.
- Select Save.
Expected result:
- The panel is marked for service.
- A related Mark for service trouble appears with the comment.
Reassign a panel for service
Goal:
- Change the service assignment for a panel.
Steps:
- Open the panel More actions menu.
- Select Service assignment.
- Select Reassign.
- Select the new Task Pool or employee assignment.
- Enter a comment when needed.
- Select Save.
Expected result:
- PowerManage updates the service assignment and related comment.
Resolve panel faults
Goal:
- Resolve selected faults for a panel marked for service.
Steps:
- Open the panel More actions menu.
- Select Faults.
- Select Resolve.
- Select individual faults, or select All.
- Select Save.
Expected result:
- Selected faults are resolved and no longer appear on the panel.
Suspend or resume panel faults
Goal:
- Change selected faults between active and suspended states.
Steps:
- Open the panel More actions menu.
- Select Faults.
- Select Suspend for active faults or Resume for suspended faults.
- Select individual faults, or select All.
- Select Save.
Expected result:
- Suspended faults appear as suspended.
- Resumed faults appear as active.
Control application access
Goal:
- Allow or prevent installer or customer application access to a panel.
Steps:
- Find the panel in the Equipment grid.
- Set the Installer app toggle to the required state.
- Set the Customer app toggle to the required state.
Expected result:
- When enabled, the related application can access the panel.
- When disabled, the related application cannot access the panel.
Change the number of equipment records per page
Goal:
- Adjust the number of equipment records shown in the grid.
Steps:
- Go to the pagination controls.
- Open the equipment-per-page selector.
- Select the required page size.
Expected result:
- The Equipment grid updates to show the selected number of records per page.
Remove a panel
Goal:
- Permanently remove a panel from PowerManage.
Steps:
- Confirm that the correct panel is selected.
- Open the panel More actions menu.
- Select Remove.
- Review the warning message.
- Select Yes, remove.
Expected result:
- PowerManage permanently removes the panel from the Equipment grid.
Removing a panel cannot be undone. Confirm the panel ID and account code before you remove the panel.
Field and option reference
Panel connection status
The communication channel icons show which channel is used by the panel.
| Icon | Description |
|---|---|
  | Indicates that the panel is communicating with the server via a cellular connection (GPRS). |
  | Indicates that the panel is communicating with the server via a Wi-Fi connection. |
  | Indicates that the panel is communicating with the server via an Ethernet (broadband) connection. |
  | Indicates that the panel is communicating with the server via a cellular connection through an Ethernet board. |
The communication channel icon color shows the channel status.
| Icon | Status | Description |
|---|---|---|
  | Installed | Indicates that the communication module is physically installed in the panel, but no communication channel is present or configured or if the communication channel is configured, but keepalive messages are disabled in the panel's group settings, or the channel is configured but currently disconnected. |
  | Online | Indicates that the panel has an active communication channel and the server is receiving keepalive messages from the panel. |
  | Connected | Indicates that there is an open active connection (session) between the panel and the server. |
  | Offline | Indicates that the panel has a communication channel configured, but the server is no longer receiving keepalive messages from the panel. |
Panel state colors
| Color | State | Description |
|---|---|---|
| Green | Disarmed | The partition is disarmed. |
| Red | Armed away | The partition is armed in Away mode. |
| Yellow | Armed home | The partition is armed in Home or Stay mode. |
| Blue | Armed night | The partition is armed in Night mode. |
Application access toggles
| Option | Enabled behavior | Disabled behavior |
|---|---|---|
| Installer app | Installers can sign in to the panel through AlarmInstall. | Installers cannot sign in to the panel through AlarmInstall. |
| Customer app | Customers can sign in to the panel through ConnectAlarm. | Customers cannot sign in to the panel through ConnectAlarm. |
Tips
- Confirm the panel ID and account code before you run a panel action.
- Review Connection before you start an action that communicates with the panel.
- Use the State management and troubles widget to review partition states and affected devices before changing panel state.
- Add a service comment that explains the issue and expected action when you mark or reassign a panel for service.
- Select a discovery timeout that gives the panel enough time to connect to the server.
- Use Refresh state before acting on panel state information that might be outdated.
- Review application access toggles when an installer or customer cannot access the panel through the related app.
Troubleshooting
Add panel cannot be saved
Possible causes
- A required field is empty or invalid.
- The selected panel type is not available under the server license.
- The panel ID, account code, SIM number, or group value is incorrect.
- Your role does not allow adding panels.
What to do
- Review all fields on the Panel information tab.
- Confirm that the selected panel type is covered by the server license.
- Confirm the panel ID, account code, SIM number, and group.
- Confirm that your role allows adding panels.
- Select Save again.
Expected action is not shown
Possible causes
- The action is not supported for the selected panel.
- The panel is not in the required state.
- The required fault or service condition is not present.
- Your role does not include the required permission.
What to do
- Confirm that the correct panel is selected.
- Review panel state, faults, and service assignment.
- Confirm that the panel supports the action.
- Confirm your role permissions.
Panel action fails or times out
Possible causes
- The panel is offline.
- The panel did not connect before the process timeout.
- Communication was interrupted.
What to do
- Review the panel Connection status.
- Wait for the panel to reconnect.
- Start the action again.
- Review the related process for failure details.
Basic configuration is not listed
Possible causes
- No compatible basic configuration exists.
- The configuration is not acceptable for the selected panel.
- Your role does not allow access to the configuration.
What to do
- Confirm the selected panel type.
- Confirm that a compatible basic configuration exists.
- Confirm your permissions.
- Open Push Basic Config again.
State controls are not available
Possible causes
- The panel type does not support the state controls.
- The panel is a Fibro transmitter.
- The panel was enrolled manually and first discovery is unfinished.
- Your role does not allow state changes.
What to do
- Confirm the panel type.
- Confirm that first discovery completed.
- Confirm your role permissions.
- Refresh the panel state.
Troubled device cannot be bypassed
Possible causes
- The device is not bypassable.
- The device does not have an active trouble.
- Your role does not allow the action.
What to do
- Confirm that the device appears in Troubled devices.
- Confirm that a Bypass toggle is shown for the device.
- Confirm your role permissions.
Installer or customer cannot access the panel
Possible causes
- The related application toggle is disabled.
- The panel is offline or unavailable.
- The account or installer does not have access to the panel.
What to do
- Review the Installer app or Customer app toggle.
- Enable the required toggle if access is allowed.
- Review panel connection status.
- Confirm the related account or installer assignment.
Pagination controls do not show another page
Possible causes
- The current page contains all available equipment records.
- The selected page size is greater than or equal to the total equipment count.
What to do
- Review the range indicator and total equipment count.
- Select a smaller equipment-per-page value if needed.
- Use the next-page arrow when another page is available.