Resolve tab
Navigating the resolve page
To access the RESOLVE page:
- Click Settings.
- Click the RESOLVE tab in the ribbon menu.
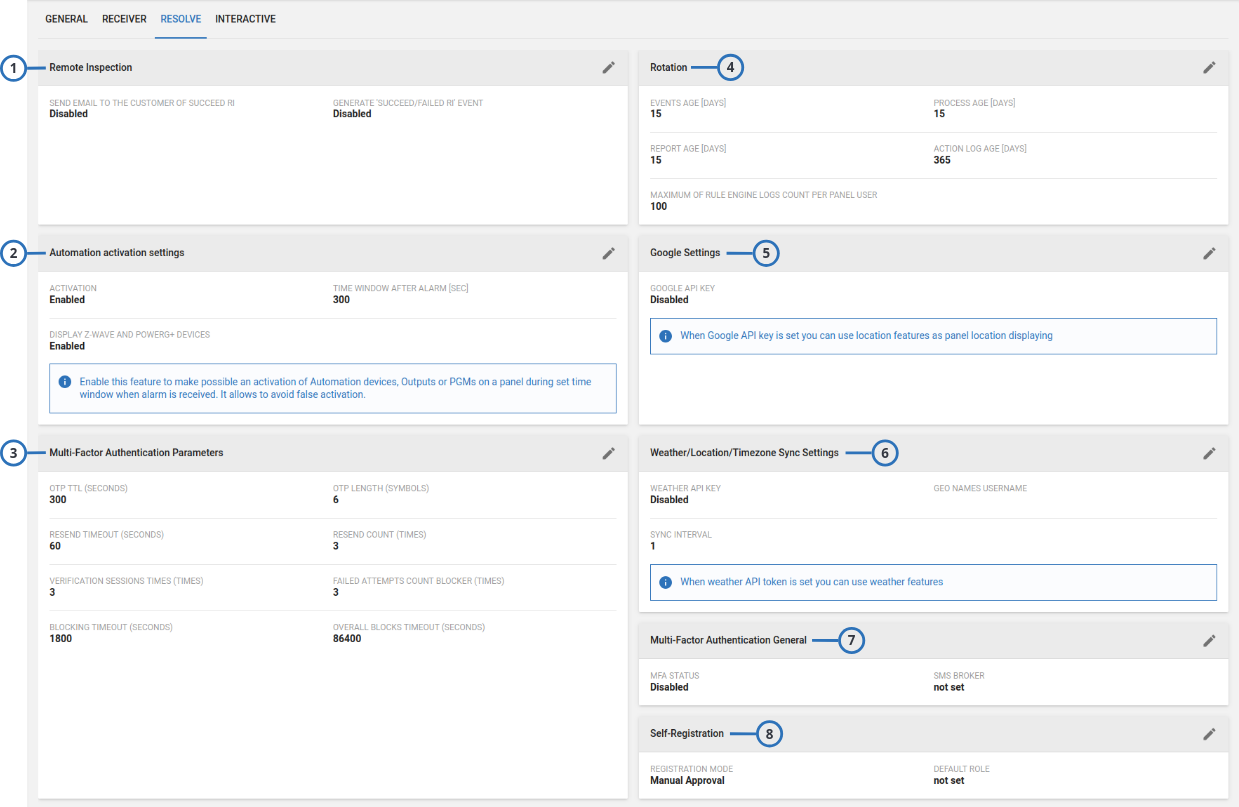
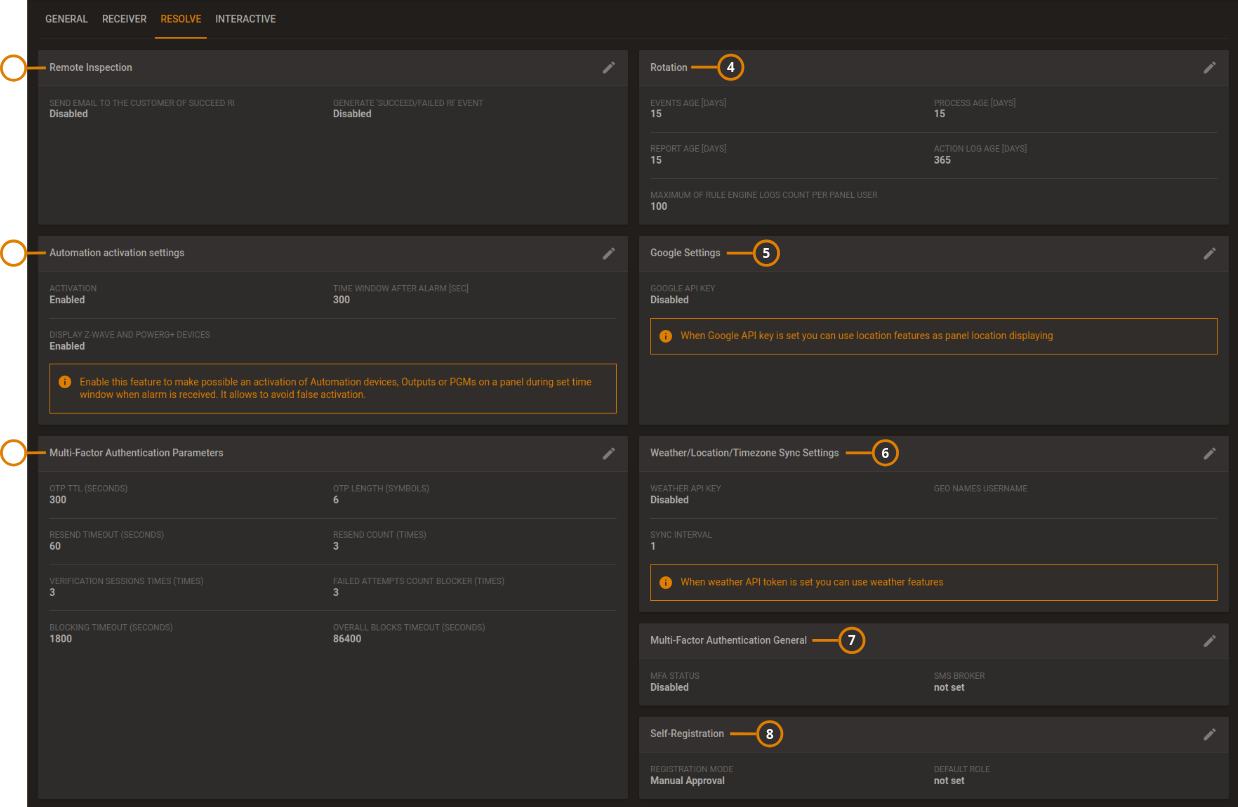
Figure. Resolve tab
| Callout | Description | Function |
|---|---|---|
| 1 | Remote inspection | You can enable or disable email notifications to the customer for successful report inspection and also enable or disable generating events for successful or failed inspections. |
| 2 | Automation activation settings | Enable this feature to permit activation of outputs or PGMs on a panel during a
set time window when an alarm is received in order to avoid false activation of
security equipment.
|
| 3 | Multi-Factor Authentication Parameters | You can set the MFA options here. |
| 4 | Rotation | Set the length of time that events, processes, reports, action log are saved on the server. MAXIMUM OF RULE ENGINE LOGS COUNT PER PANEL USER: Use this option to limit the number of rule engine events logged in the user app, for each user. When the number of rule engine logs reaches the limit that you set here, the user app deletes the older log to make space for the newer log. |
| 5 | Google settings | Enable the Google API key to use location features. |
| 6 | Weather/Location/Timezone Sync Settings | Enable weather forecast display. |
| 7 | Multi-Factor Authentication General | You can enable MFA on the server and set the SMS broker here. |
| 8 | Self-Registration | You can set up the Self-Registration on the server. |
Self-registration setup
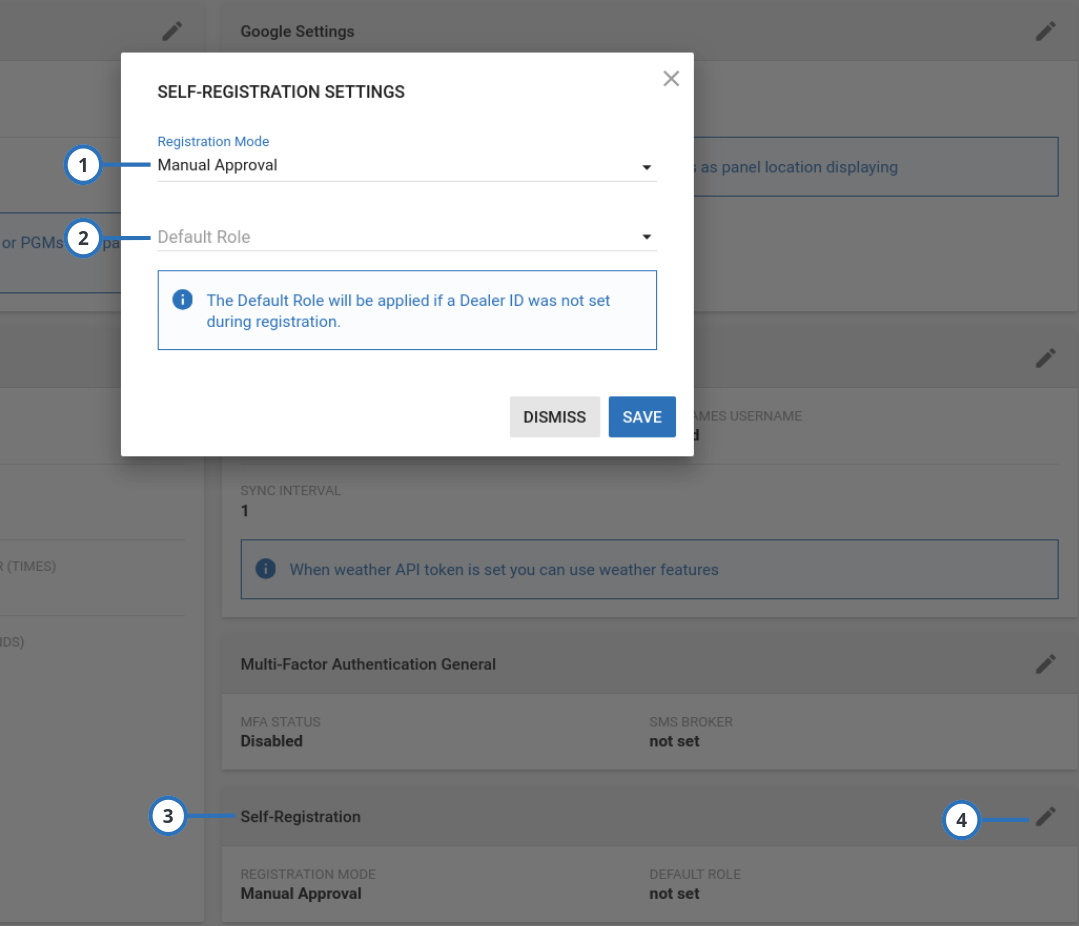
To set up the self-registration, on the navigation pane click Settings, then click the RESOLVE tab, and then click the pencil icon of Self-Registration section:
| Callout | Name | Description |
|---|---|---|
| 1 | Registration Mode | Lists the following options.
|
| 2 | Default Role | Sets the role assigned to new users |
| 3 | Self-Registration | Displays the self-registration settings. |
| 4 | Pencil icon | Click to edit the self-registration settings. |
Weather forecast
To set up the weather forecast display, you need to complete the following steps:
WeatherAPI.com sign up
- Go to Free Weather API - WeatherAPI.com
- Scroll down until Quick and Easy Signup for Weather API and click Get Started.
- Complete the signup: take note of the username (email) and API token
Some features require payment.
PowerManage setup
To set up the weather forecast display, on the navigation pane, click Settings > RESOLVE > the pencil icon on the Weather/Location/Timezone Sync Settings group:
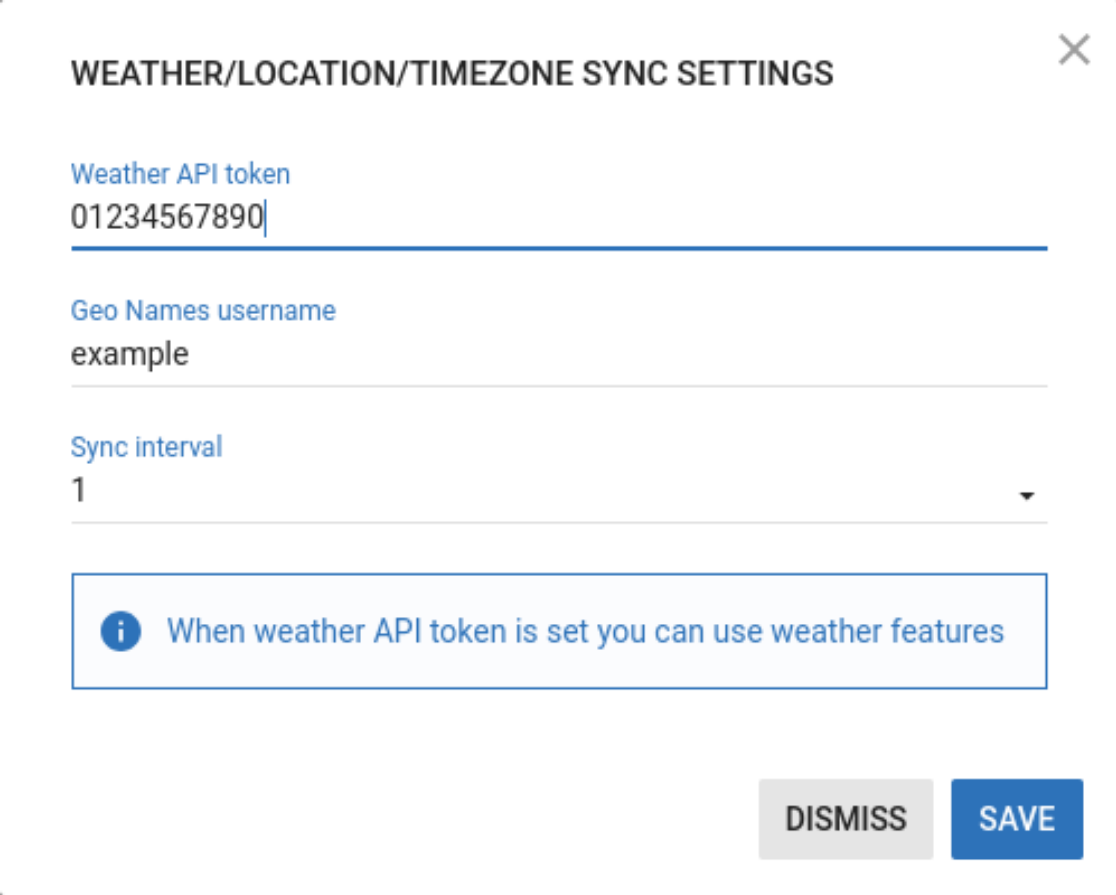
| Name | Description |
|---|---|
| Weather API token | Enter the API token got during the WeatherAPI.com sign up. |
| Geo Names username | Enter the Geo Names username. |
| Sync interval | Set the sync interval. |
IQ panel 4 setup
To set up the weather forecast display, on the IQ panel menu, tap Settings > Advanced Settings > enter the installer code then tap Installation > Installer Settings, and then search the Sync Weather Forecast and Weather Forecast Interval options: for more information, refer to the panel installation manual.
Multi Factor Authentication
In order to increase security and avoid fraudulent log in attempts, PowerManage V4.10 introduced MFA in the ConnectAlarm user app. In V4.12 MFA can be added to both the AlarmInstall app and the GUI. By default the MFA is disabled.
To enable firstly set the SMS broker:
- Go to Settings > RESOLVE > Multi-Factor Authentication General
To set MFA options use:
- Settings > RESOLVE > Multi-Factor Authentication Parameters
The operator's phone number can be changed in two locations:
- In the System Menu, click Users then specific user. In the EDIT dialog box you will be able to change the phone
- User icon on top right of the screen click Edit Profile then edit phone.
Technical support can access the MMI settings by navigating to Maintenance, then DSA account, and editing the Phone Number. This option is available if the Administrator has changed their phone number without updating it in the GUI. Additionally, Technical support can disable MFA from MMI if any issues arise.