Navigating the Equipment hub
General
View and configure detailed information for an individual panel in the Equipment hub. For more information on viewing a panel in the Equipment hub, see Viewing a panel in the Equipment hub.
The panel data is categorized by the following tabs.
- DASHBOARD: The panel dashboard summarizes most of the panel information, options, and commands. For more information, see Panel Dashboard tab.
- DEVICES: Manage all devices that connect to the panel. For more information, see Devices tab.
- OUTPUTS or AUTOMATION: Displays, controls and configures output devices such as output, PGM, activation port and ZWave. For more information, see Outputs or Automation.
- CONFIGURATION: Configure an individual panel and its zones, outputs, communication, and user settings. For more information, see Configuration tab.
- KEYPAD: Use a virtual keypad interface. For more information, see Keypad tab.
- STATE: Arm and disarm panels and partitions. For more information, see State tab.
- EVENTS: View events related to a panel. For more information, see Events tab.
- CUSTOMERS: View and manage users for the Connect Alarm app. For more information, see Customers tab.
- INSTALLERS: View and manage installers for the Alarm Install app. For more information, see Installers tab.
- LOGS: View a panel's log files. For more information, see Logs tab.
- SYSTEM TESTS: Test the IQ panels systems on the SYSTEM TESTS tab. For more information, see System tests tab.
- REMOTE INSPECTIONS: Manage the remote inspections for a panel. For more information, see Remote Inspections tab.
- REPORTS: View all reports that have occurred or are scheduled for a panel. For more information, see Reports tab.
- PROCESSES: View a list of all finished processes for a panel. For more information, see Processes tab.
- FIRMWARE: Upgrade an individual panel's software and its connected devices. For more information, see Firmware tab.
- BACKUPS: The PowerManage server checks the IQ panel’s setup daily. If something changed, then a backup of the previous setup is stored on the server. For more information, see Backups tab.
- INFO: View and edit general information about the panel and the customer, and leave comments about a panel. For more information, see Info tab.
Neo and Powerseries pro (PSP) panels require activation the first time you open the panel in the Equipment hub. If the message This panel has not been activated yet and cannot be correctly managed from PowerManage appears below the Equipment hub tabs, click ACTIVATE. In the ACTIVATE PANEL dialog box, enter the panel's installer code in the Installer Code field and click ACTIVATE. Another method to activate Neo and Powerseries pro (PSP) panels is to connect and log on to the panel using the AlarmInstall mobile application while in Remote mode. For more information, refer to Accessing an alarm panel using Remote mode in Alarm Install App User Guide.
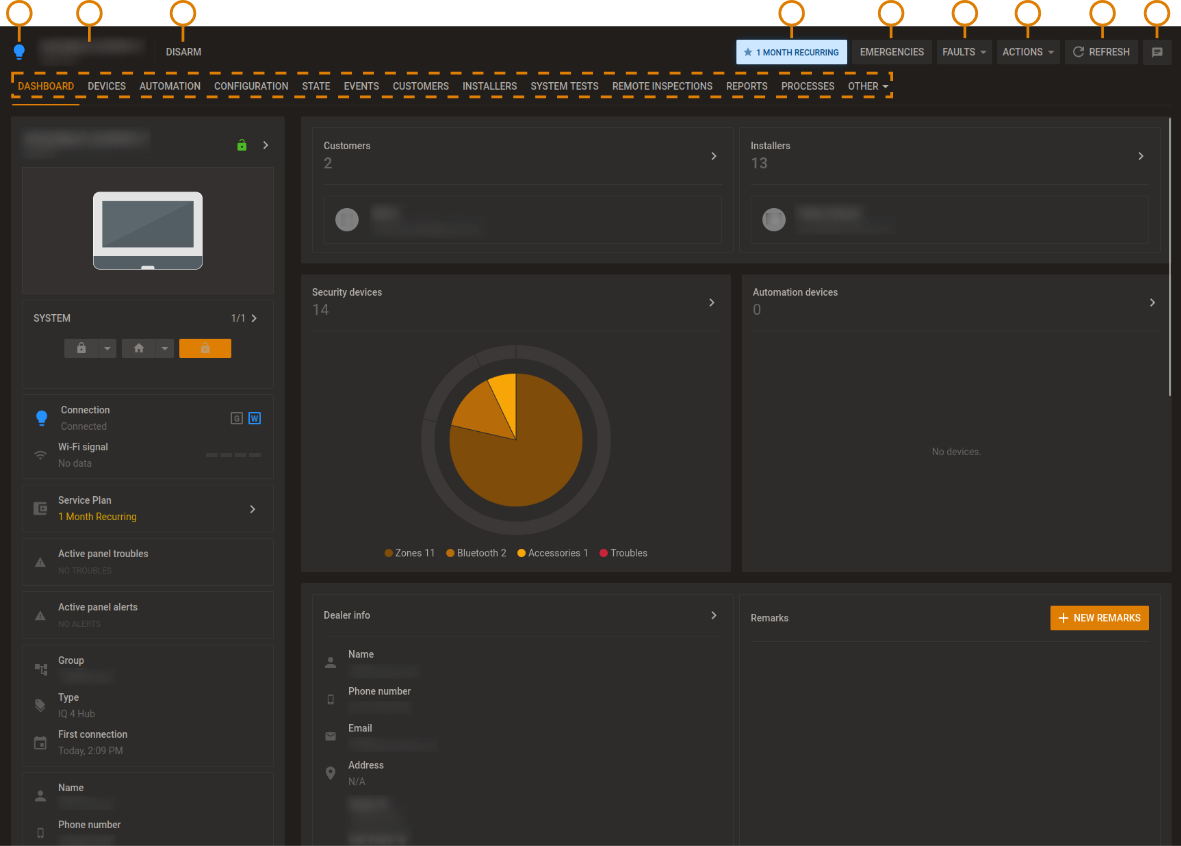
Figure. Navigating the equipment hub
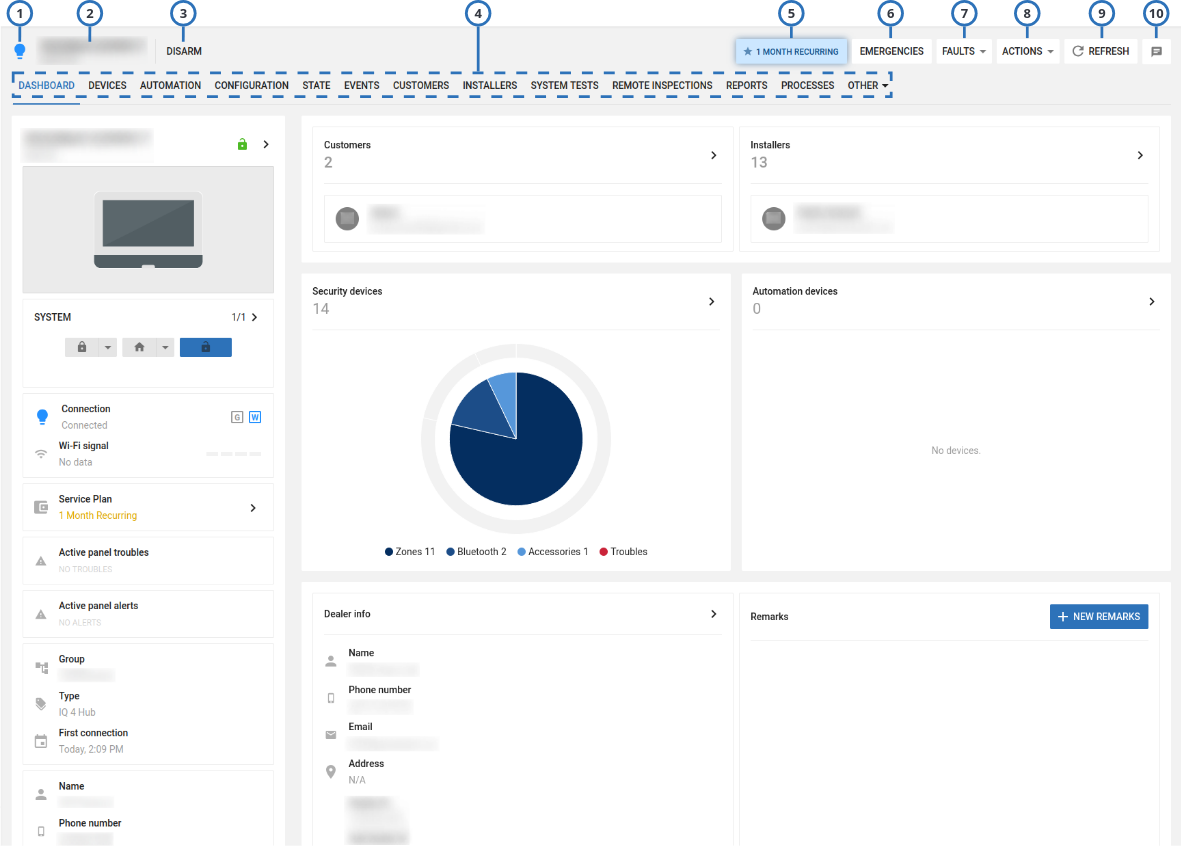
| Callout | Name | Description | |
|---|---|---|---|
| 1 | Online status | The bulb color signifies the status of the connection between the panel and the server. Hover over the bulb to see a text description of the connection status. | |
| If the bulb is blue, the panel has open connection to the server. Commands from the server execute immediately. | |||
| If the bulb is gray, keepalive messages are disabled in the group that the panel associates with. | |||
| If the bulb is white with a red outline, the panel is offline. There is no open connection and the server does not receive keep alive messages from the panel. | |||
| If the bulb is green, the panel is online. The server receives keep alive messages from the panel. | |||
| 2 | Panel name | Displays the panel name and account number of the selected panel. | |
| 3 | Status stream | A stream of various statuses. The status stream may not be up-to-date if the online status bulb is not green. note A progress bar displays instead of the status stream if a discovery process is in progress. | |
| 4 | Equipment hub tabs | Click a tab title to view the tab in the Equipment hub. | |
| 5 | Billing plan button | The billing plan button displays the billing plan set for the panel. Click on this button to open the Billing status pane to set up the panel’s billing plan. For more information, see Billing plan. | |
| 6 | EMERGENCIES | Select from 3 emergency events on the panel to create a real event:
| |
| 7 | FAULTS | To perform an action on the panel, from the FAULTS list, select one of the following options:
| |
| 8 | ACTIONS | To perform an action on the panel, from the ACTIONS list, select one of the following options:
| |
| 9 | REFRESH | Click to receive a reading of the latest status change in the panel | |
| 10 | REMARK | Add and remove comments about the selected panel | |
- Marking a panel for service in the equipment hub
- Reassigning a panel for service in the equipment hub
- Resolving faults in a panel in the equipment hub
- Resuming faults in a panel in the equipment hub
- Suspending faults in a panel in the equipment hub
- Viewing a panel in the equipment hub
- Panel dashboard
Viewing a panel in the equipment hub
- In the navigation pane, click Equipment.
- On the Equipment page, navigate to the panel to view and click the panel name in the PANEL column.
Marking a panel for service in the equipment hub
- Click the panel name in the PANEL column on the Equipment page to open a panel in the Equipment hub.
- Select Mark for service from the SERVICE list.
- Select a user from the To list in the MARK PANEL FOR SERVICE dialog box.
- Enter a comment in the Comment field.
- Click SAVE.
Reassigning a panel for service in the equipment hub
- Click the panel name in the PANEL column on the Equipment page to open a panel in the Equipment hub.
- Select Reassign from the SERVICE list.
- Select a user from the To list in the REASSIGN PANEL FOR SERVICE dialog box.
- Enter a comment in the Comment field.
- Click SAVE.
Resolving faults in a panel in the equipment hub
- Click the panel name in the PANEL column on the Equipment page to open a panel in the Equipment hub.
- Select Resolve faults from the SERVICE list.
- Click one or more faults to resolve in the RESOLVE FAULTS dialog box.
note
Only resolvable faults appear.
- Click SAVE.
Suspending faults in a panel in the equipment hub
- To open a panel in the Equipment hub, on the Equipment page, click the panel name in the PANEL column.
- From the SERVICE list, select Suspend Faults.
- In the SUSPEND FAULTS dialog box, click one or more faults to resolve, or select the All check box to select all of the faults.
- Enter a date in the Suspend until field manually or with the calendar.
- Click SAVE.
Resuming faults in a panel in the equipment hub
- To open a panel in the Equipment hub, on the Equipment page, click the panel name in the PANEL column.
- From the SERVICE list, select Resume faults.
- In the RESUME FAULTS dialog box, click one or more faults to resume.
- Click SAVE.
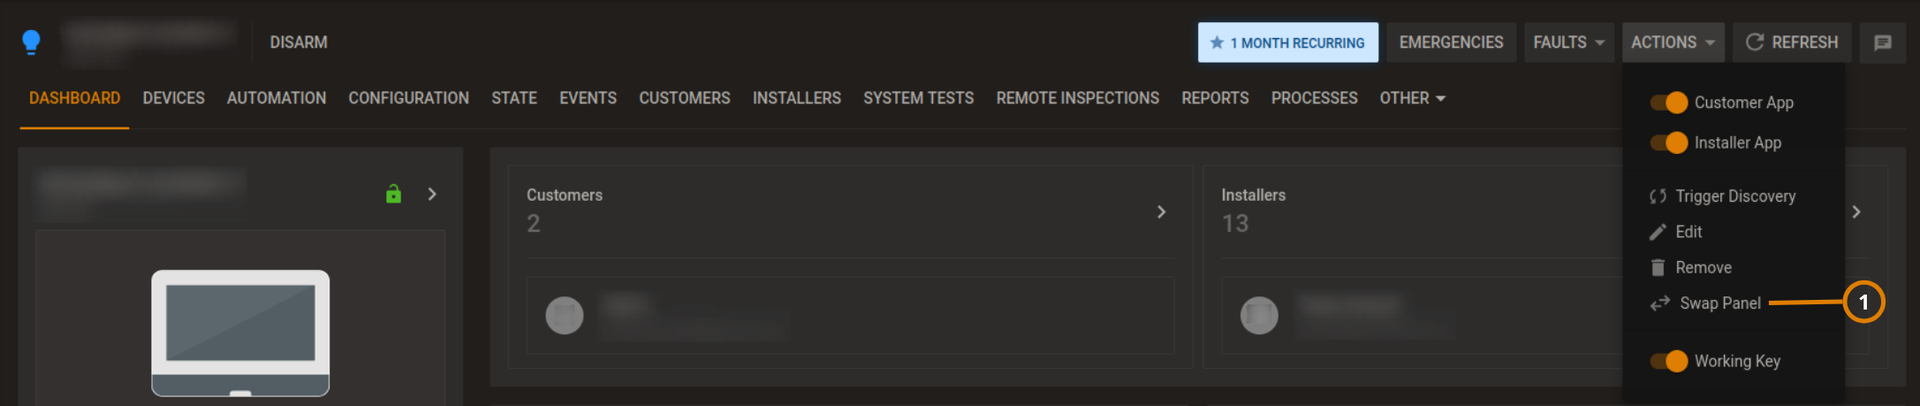
Swap Panel option
This action is available for the IQ panels only
To display the Swap Panel option, on the navigation pane, click Equipment, then click an IQ panel, then click ACTIONS:
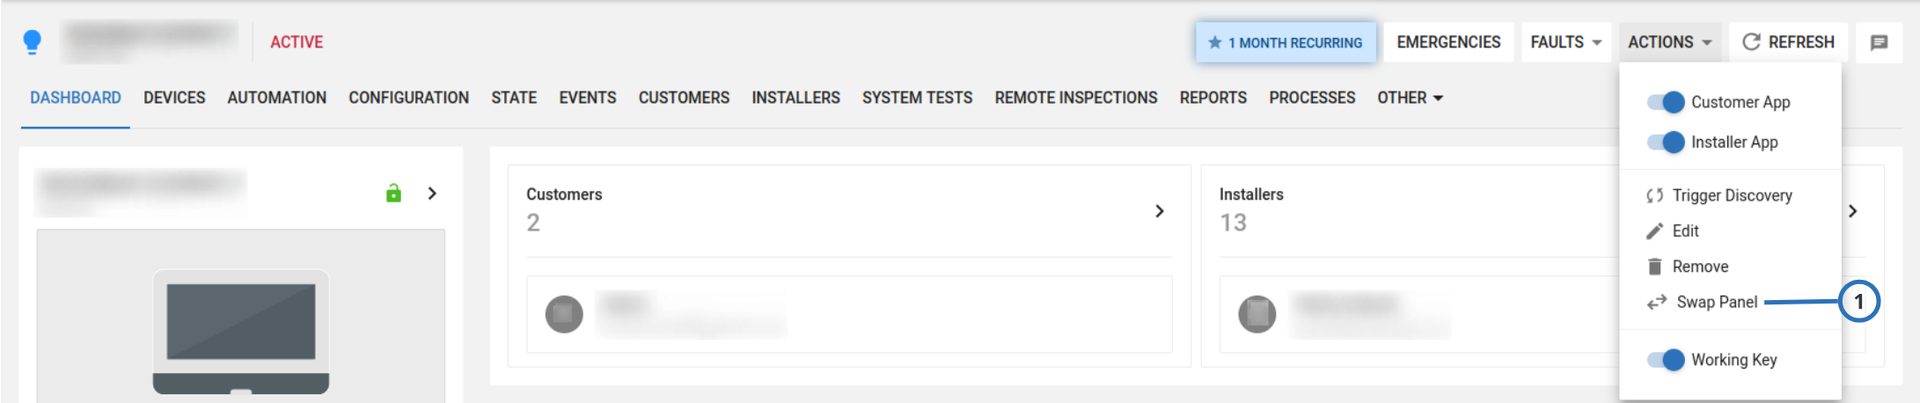
| Callout | Name | Description |
|---|---|---|
| 1 | Swap Panel | Click to apply the selected panel setup to a new panel. |
The Swap Panel option allows replacing of a panel that stopped working with a new panel, by keeping the same panel setup.
- You can perform panel swap between the same IQ panels, and between IQ Panel 4 and IQ4 NS.
- The new panel must have the same hardware and software versions of the old panel.
- The new panel must not be enrolled on PowerManage.
To replace a panel with a new panel, complete the following steps.
- In the Equipment hub, select the panel that you want to replace.
- Click ACTIONS > Swap Panel.
- In the Target panel IMEI field, enter the IMEI of the new panel.
- In the Backup menu, select the old-panel setup that you want to apply to the new panel.
- Click SWAP.
- Enroll the new panel on PowerManage.
The new panel inherits setup of old the panel.